My sewing caddy
When I sew, I like to keep everything at my fingertips. I have a storage drawers next to my machine, but it means opening and closing when ever I need something. Of course that quickly gets old , and my scissors and seam ripper usually get left out, and then lost among layers of material, notions and directions. I am constantly doing the “scissor pat”. You know what I am talking about. Patting the various stacks of material and what ever is lying around in order to find the scissors hiding beneath. I also like to keep track of the needles I am using. if using a ball point needle, I’m neurotic about it getting back into the same packaging and not mixed up with a universal or sharp needles. Maybe a little OCD right? Anyway, the needle packaging usually ends up next to my machine as well, hidden along with my scissors . What I need is a sewing caddy. Something to hold my most used sewing tools, with a pocket just to hold the needles.
So I made one. Mine is to hang off of my thread organizer, as it is close and very accessible.. so I actually use it!

- My caddy in all it’s useful glory!
A Materials List:
11 by 12 each of a main color and a contrasting color
11 x 12 batting
2- 5 by 2 of main color for loops
2 ½ by 11 of main color for binding top of pocket
37 ½ by 2 ½ of main color for binding rest of caddy
3 ½ by 7 of contrasting color for needle pocket
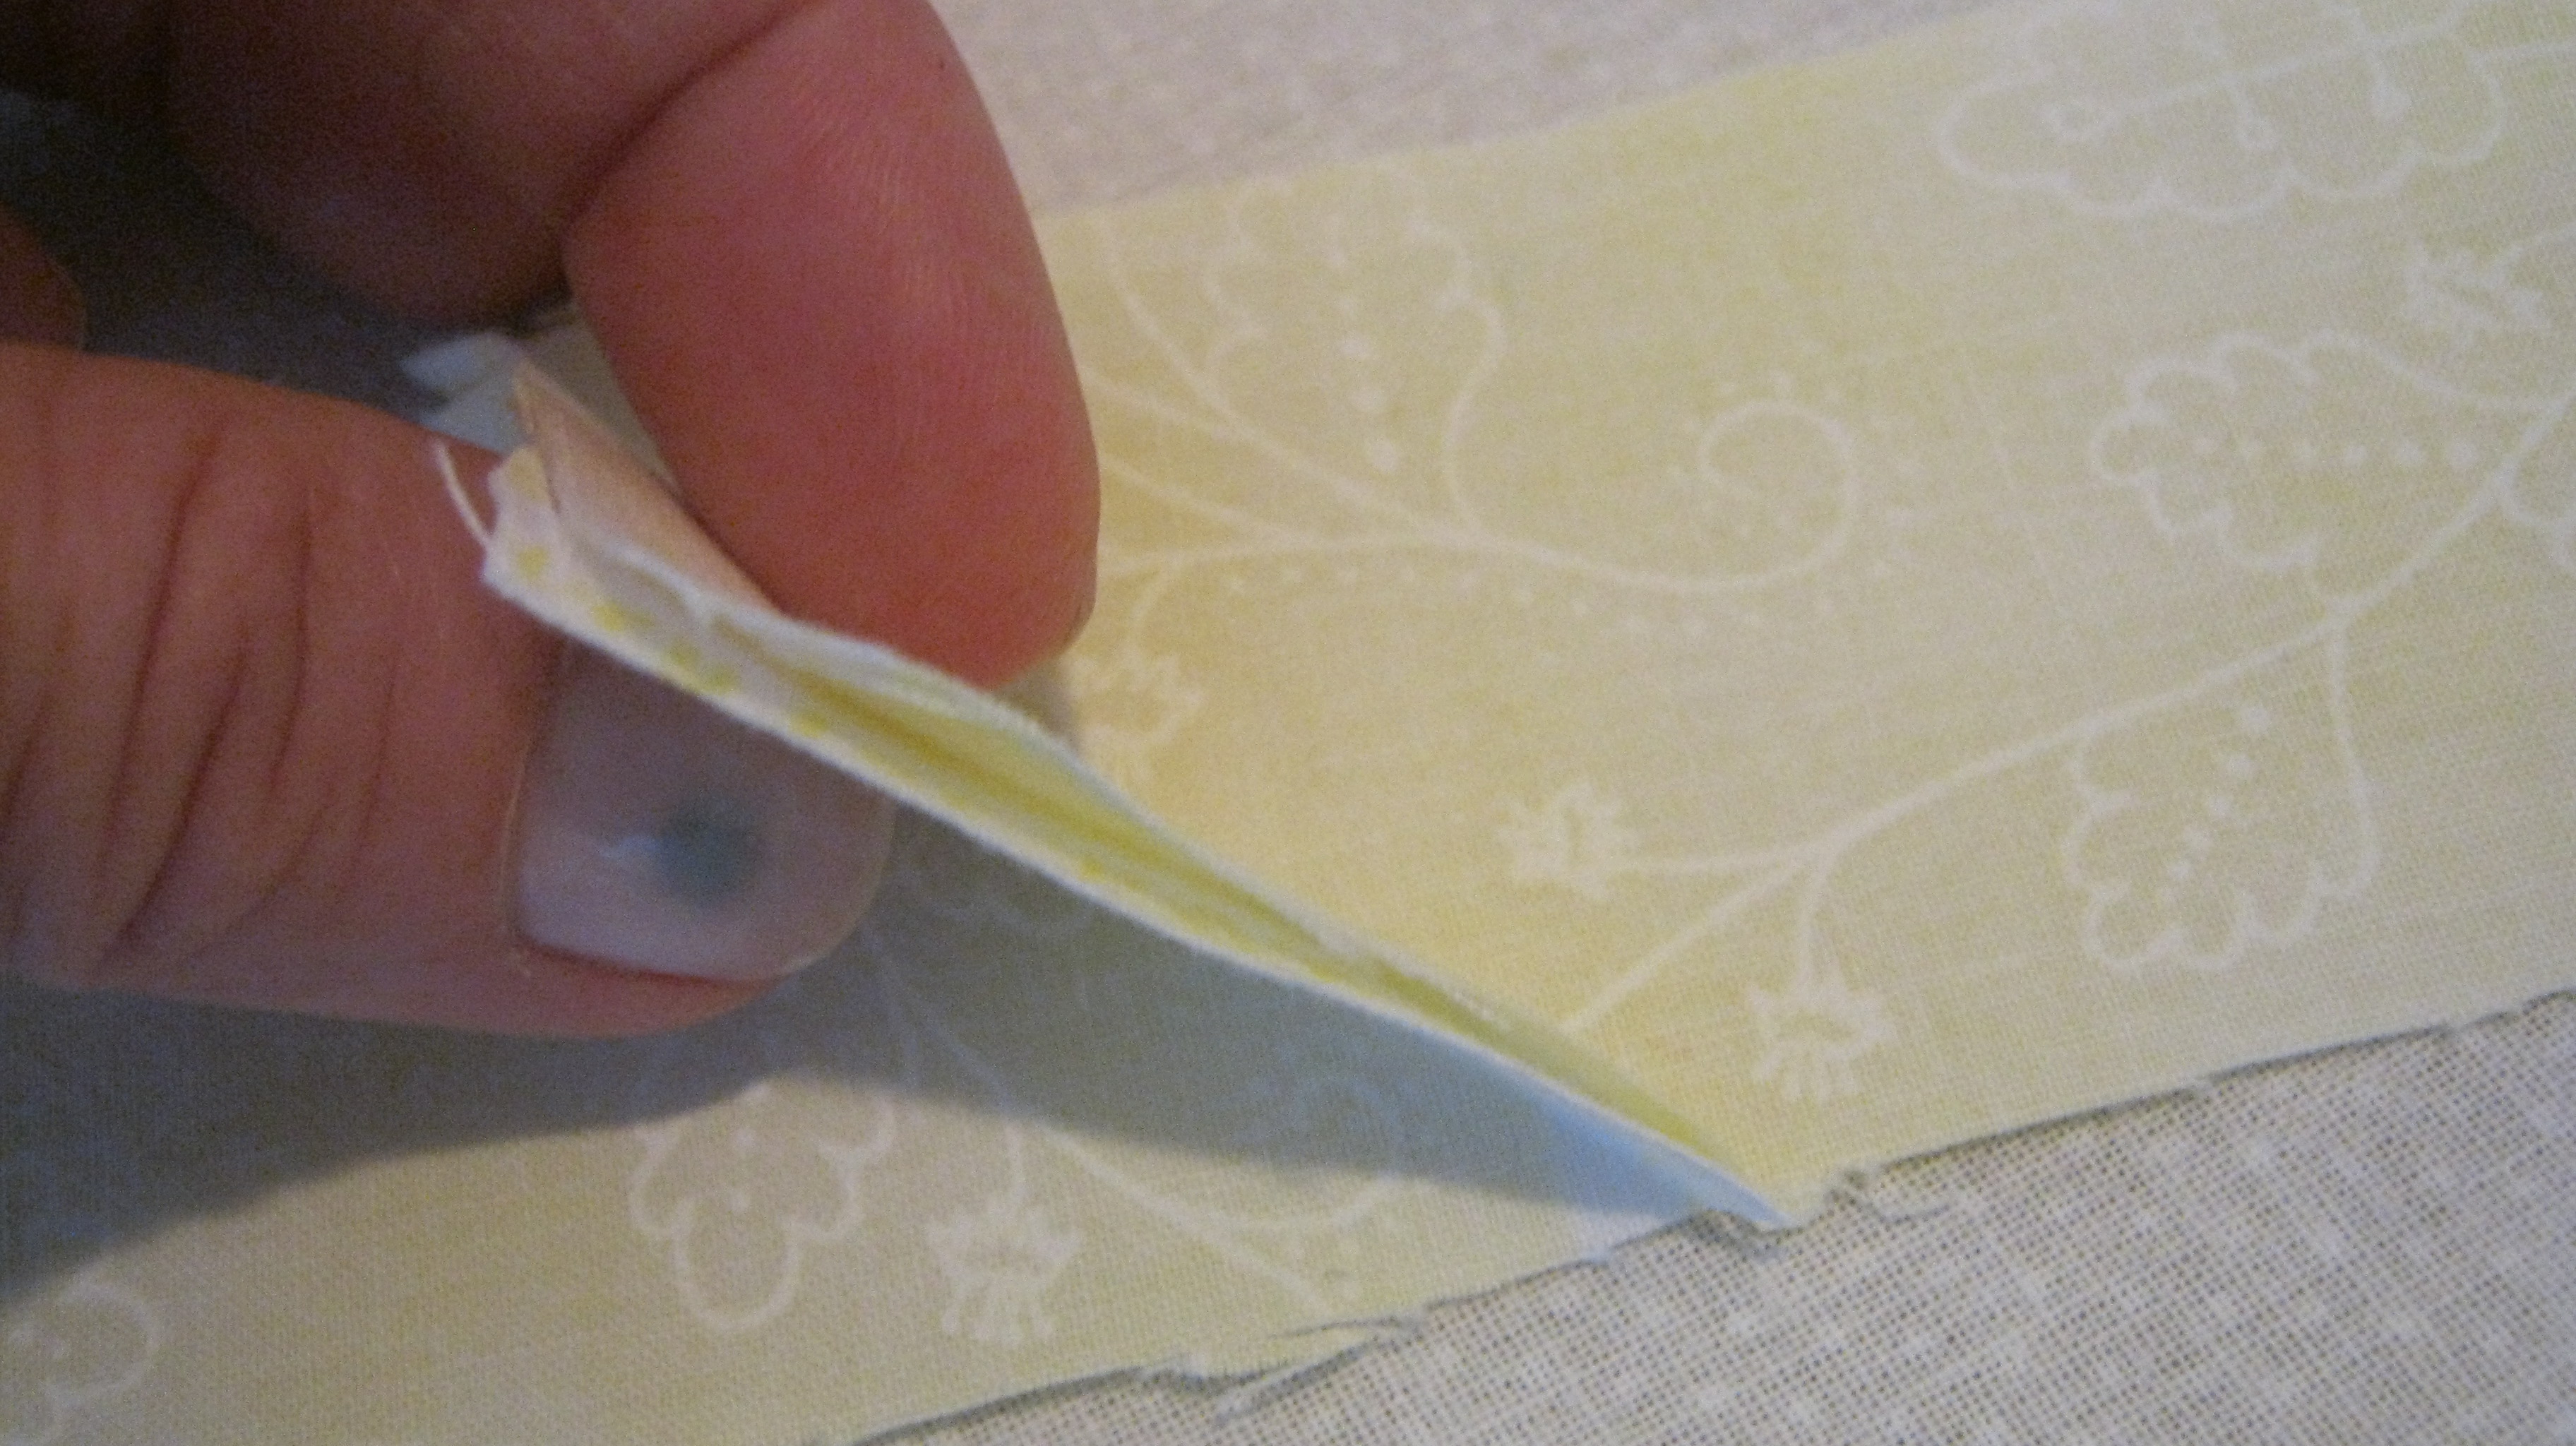
We will start with making the small pocket on the front of the caddy. Take the 3 1/2 by 7 piece of contrasting material and fold in half with right sides together. You will have a 3 ½ inch square.. Sew around outside, using ¼ inch seam allowance leaving small opening on one side to turn inside out. Snip corners then turn inside out.. press folding open area to the inside, and set aside.
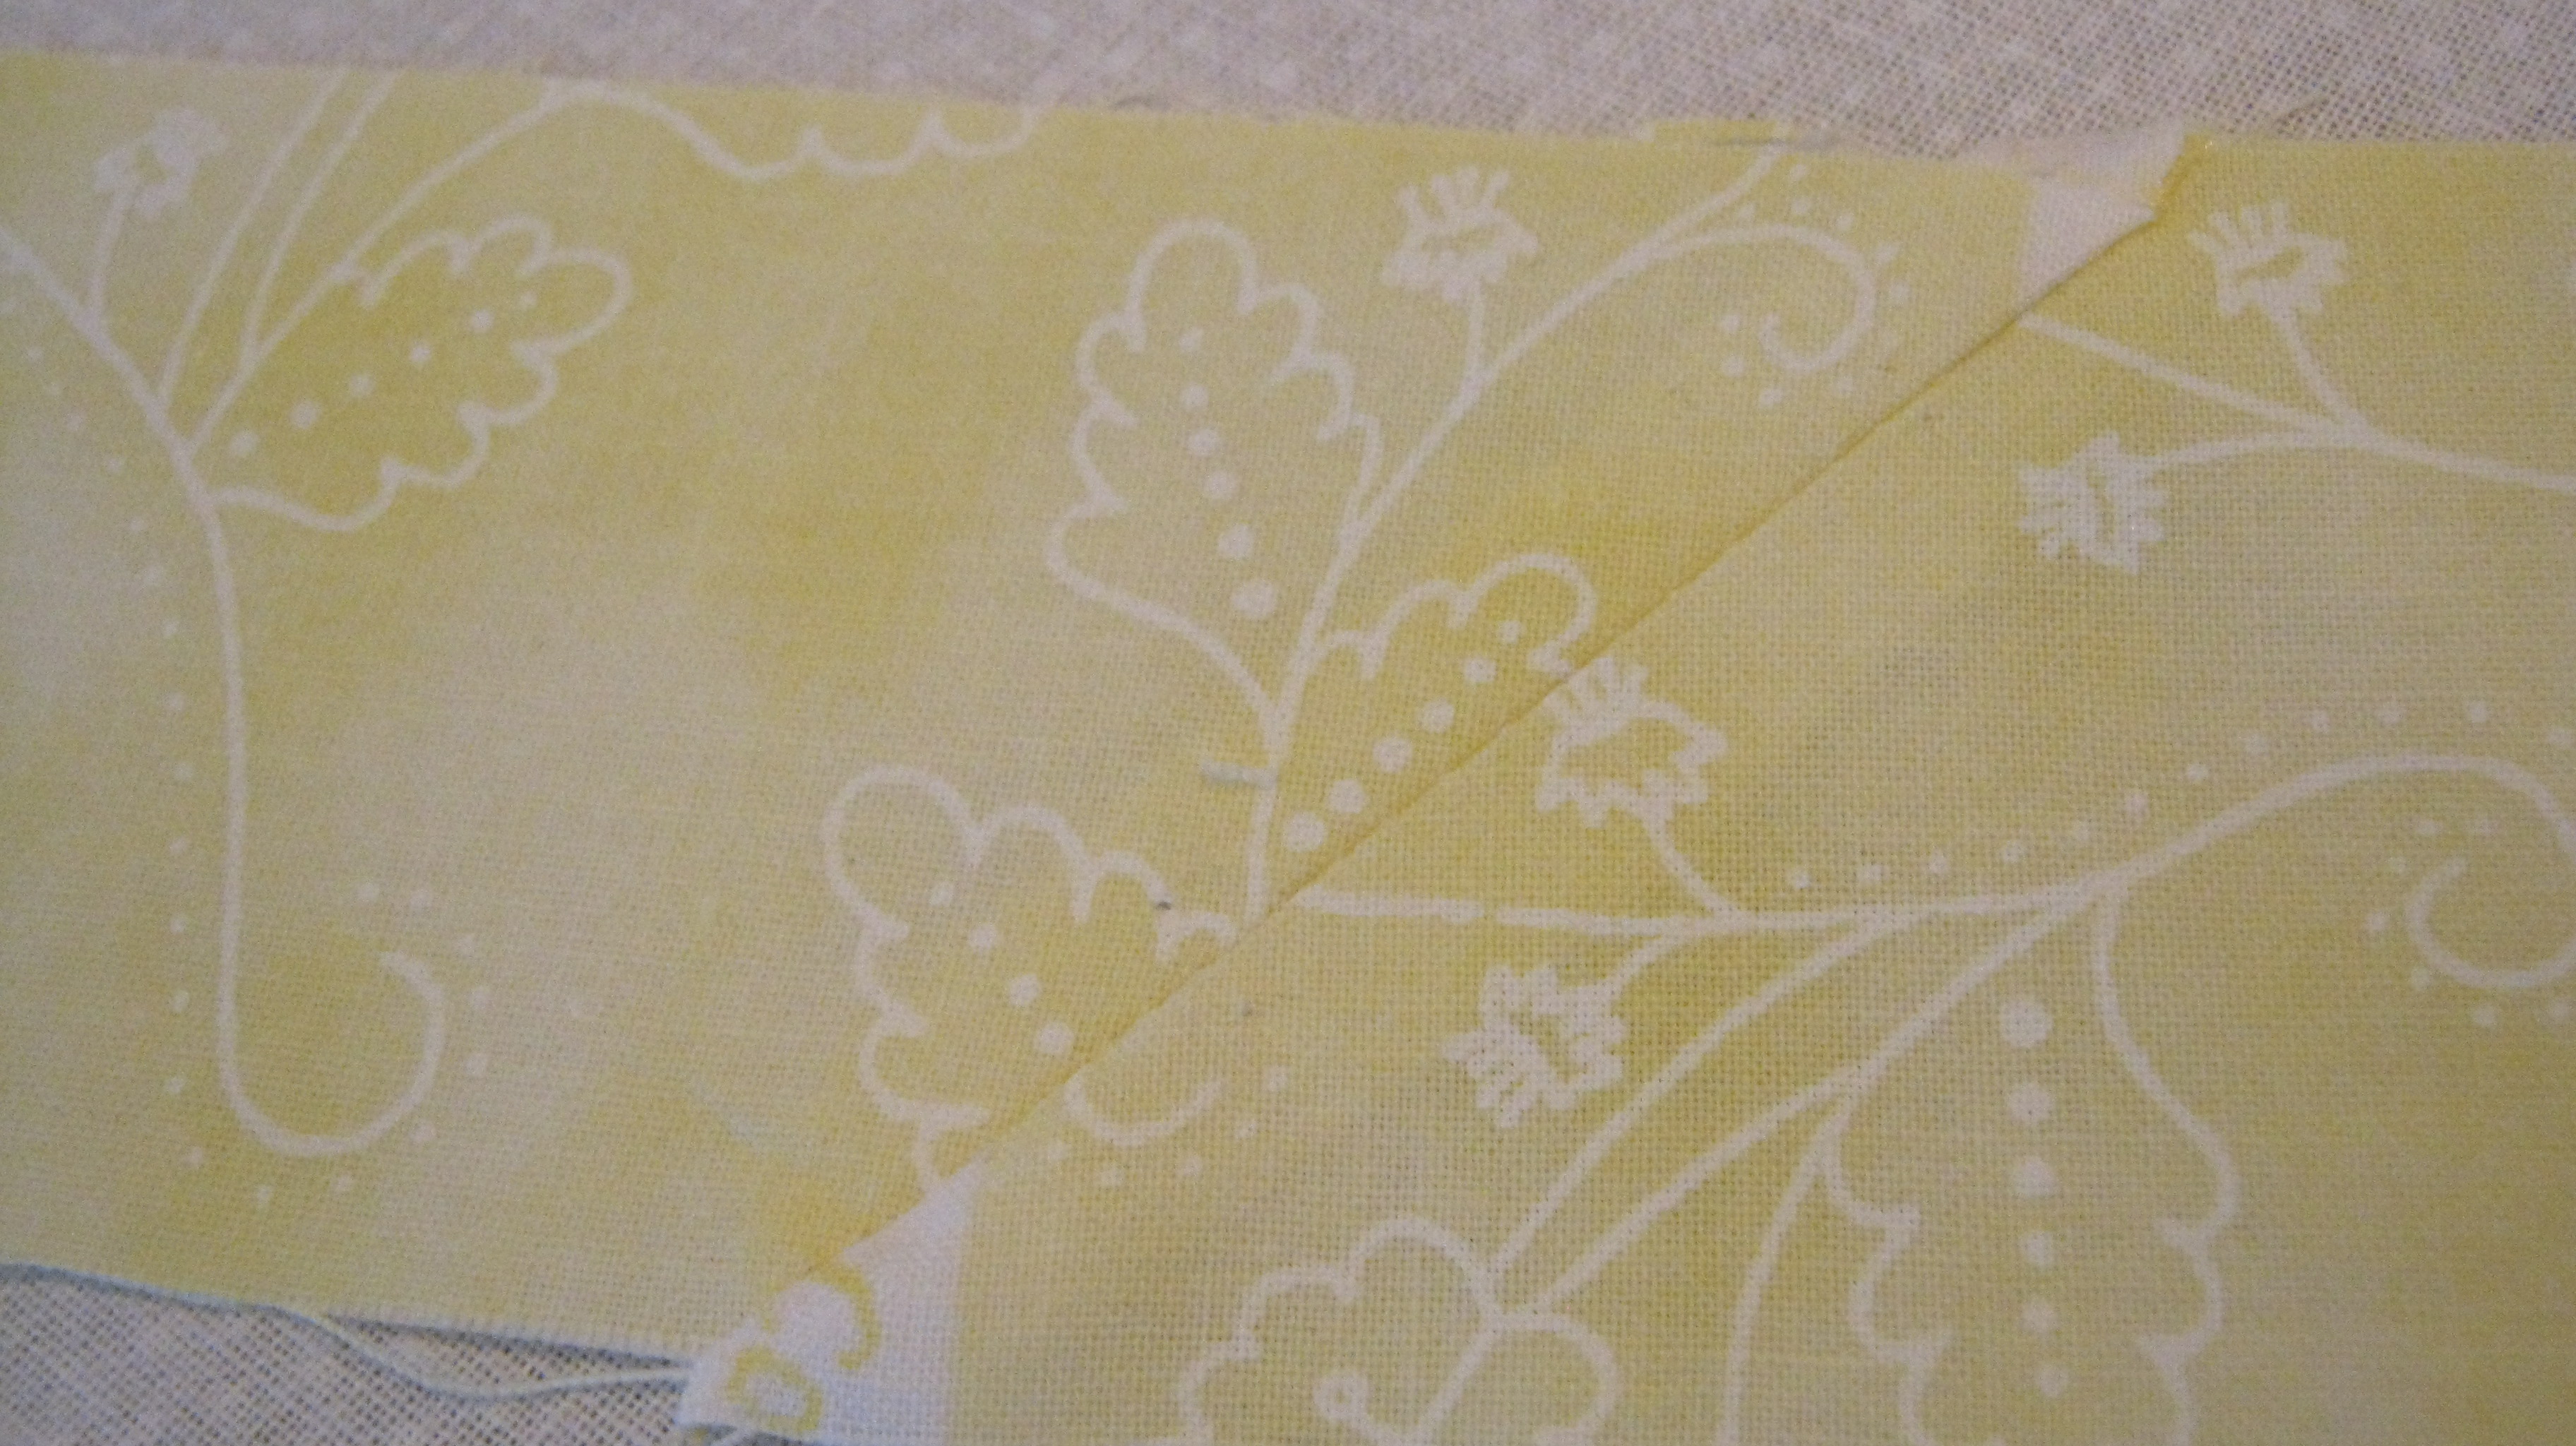
Next we will practice making binding by making the loops for hanging the finished caddy. Take the 2 x 5 inch pieces of main color, and fold them in half length wise right sides facing out and press. Open this up, and fold sides in length wise, so the edges touch the middle fold line, as shown


Press, then fold these edges in and press again for finished binding/loops
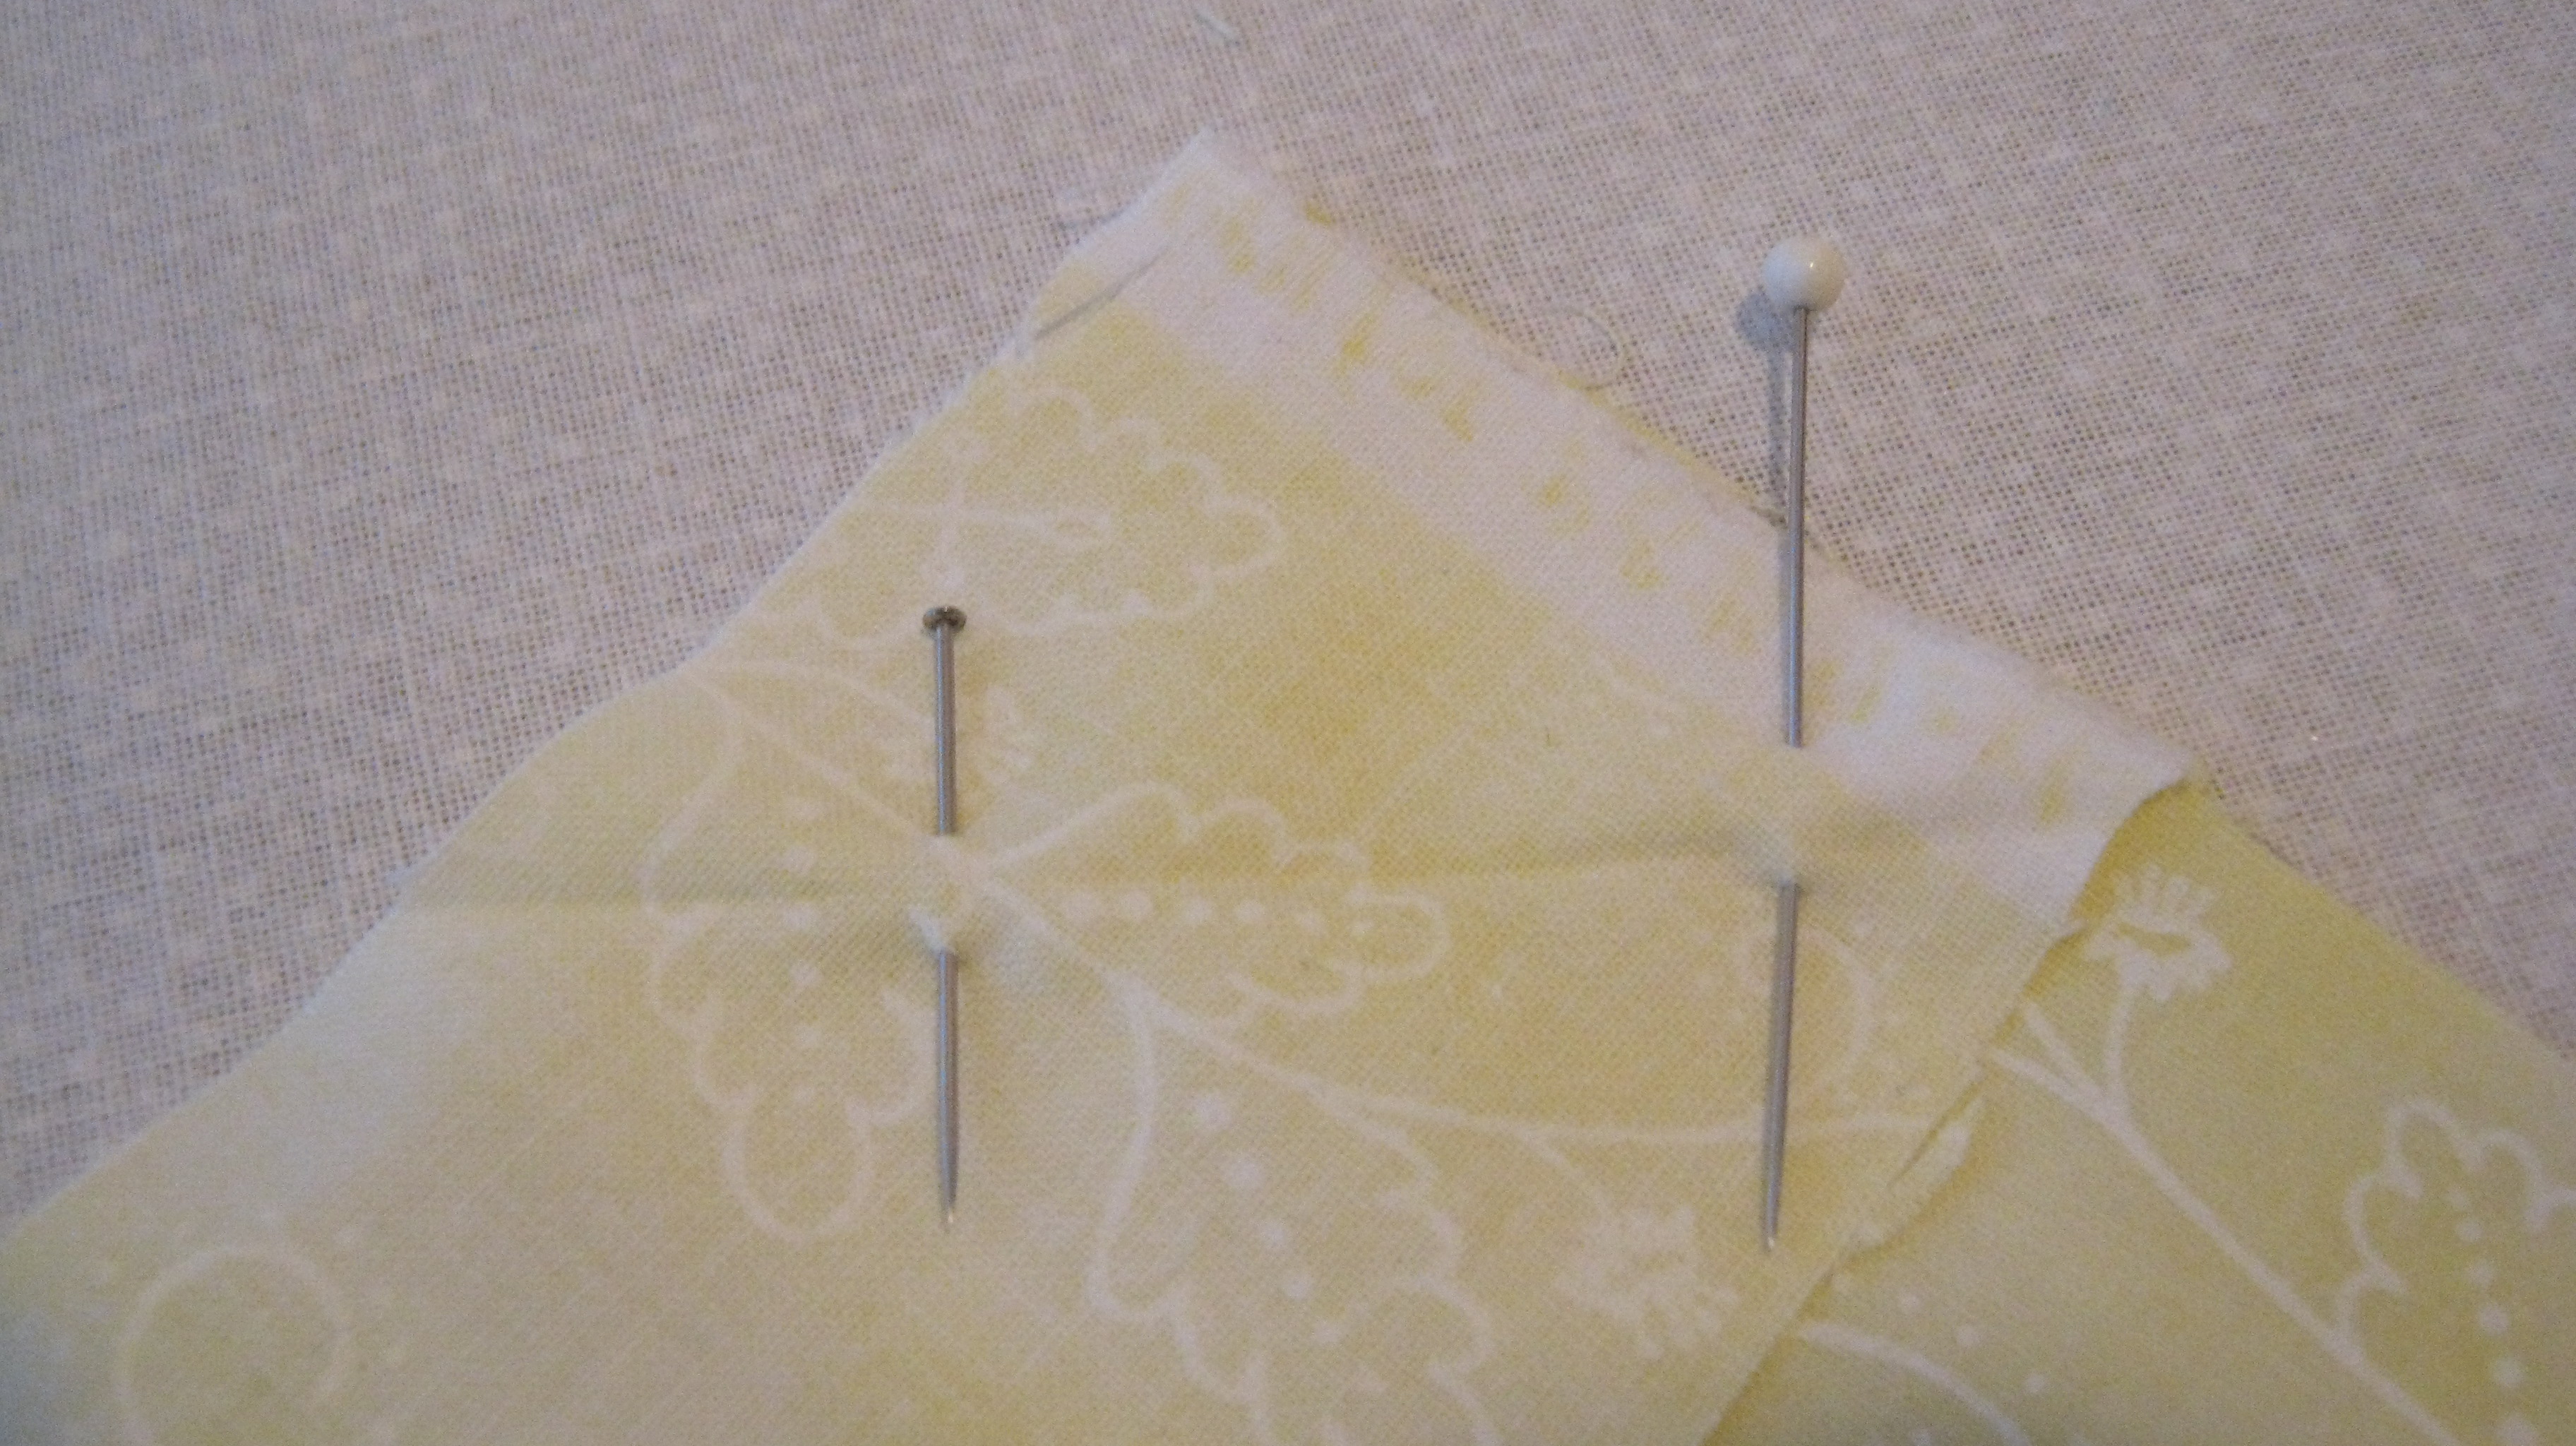
Now for the main event. Place the 11 x 12 piece of contrasting fabric face down on table placing the batting down on top of that and finally the main color 11 x12 face up on top. Quilt as desired. I drew angled lines by using a quilter’s ruler and marking pencil on the main color before layering the fabric. Starting in the upper left corner, making a diagonal to the bottom right corner. I made parallel lines one inch away on either side of the initial line, continuing until entire square is covered. When you are pinning this, pin perpendicular to your lines drawn, this will keep the pins out of your way when you are sewing.

- parallel lines with perpendicular pins
Next take the 11 x 2 1/5 piece of contrasting color and turn it into binding as you did with the loops. Take your quilted piece and place it so that the main color is facing up; lay the binding right side facing down, along one of the 11 inch long sides, and pin as shown . Attach binding by sewing along first fold ( ½ inch seam allowance). O pen and press, then bring rest of binding around to other side of quilted piece, covering previous seam as shown and pin, turn the piece over and stitch in the ditch to secure the back of the binding in place
 Attach binding face down to main color on side that is 11 inches wide.


Open and press binding


fold binding in, covering previous seam, and pin in place

Turn piece over and stitch in the ditch to secure binding.
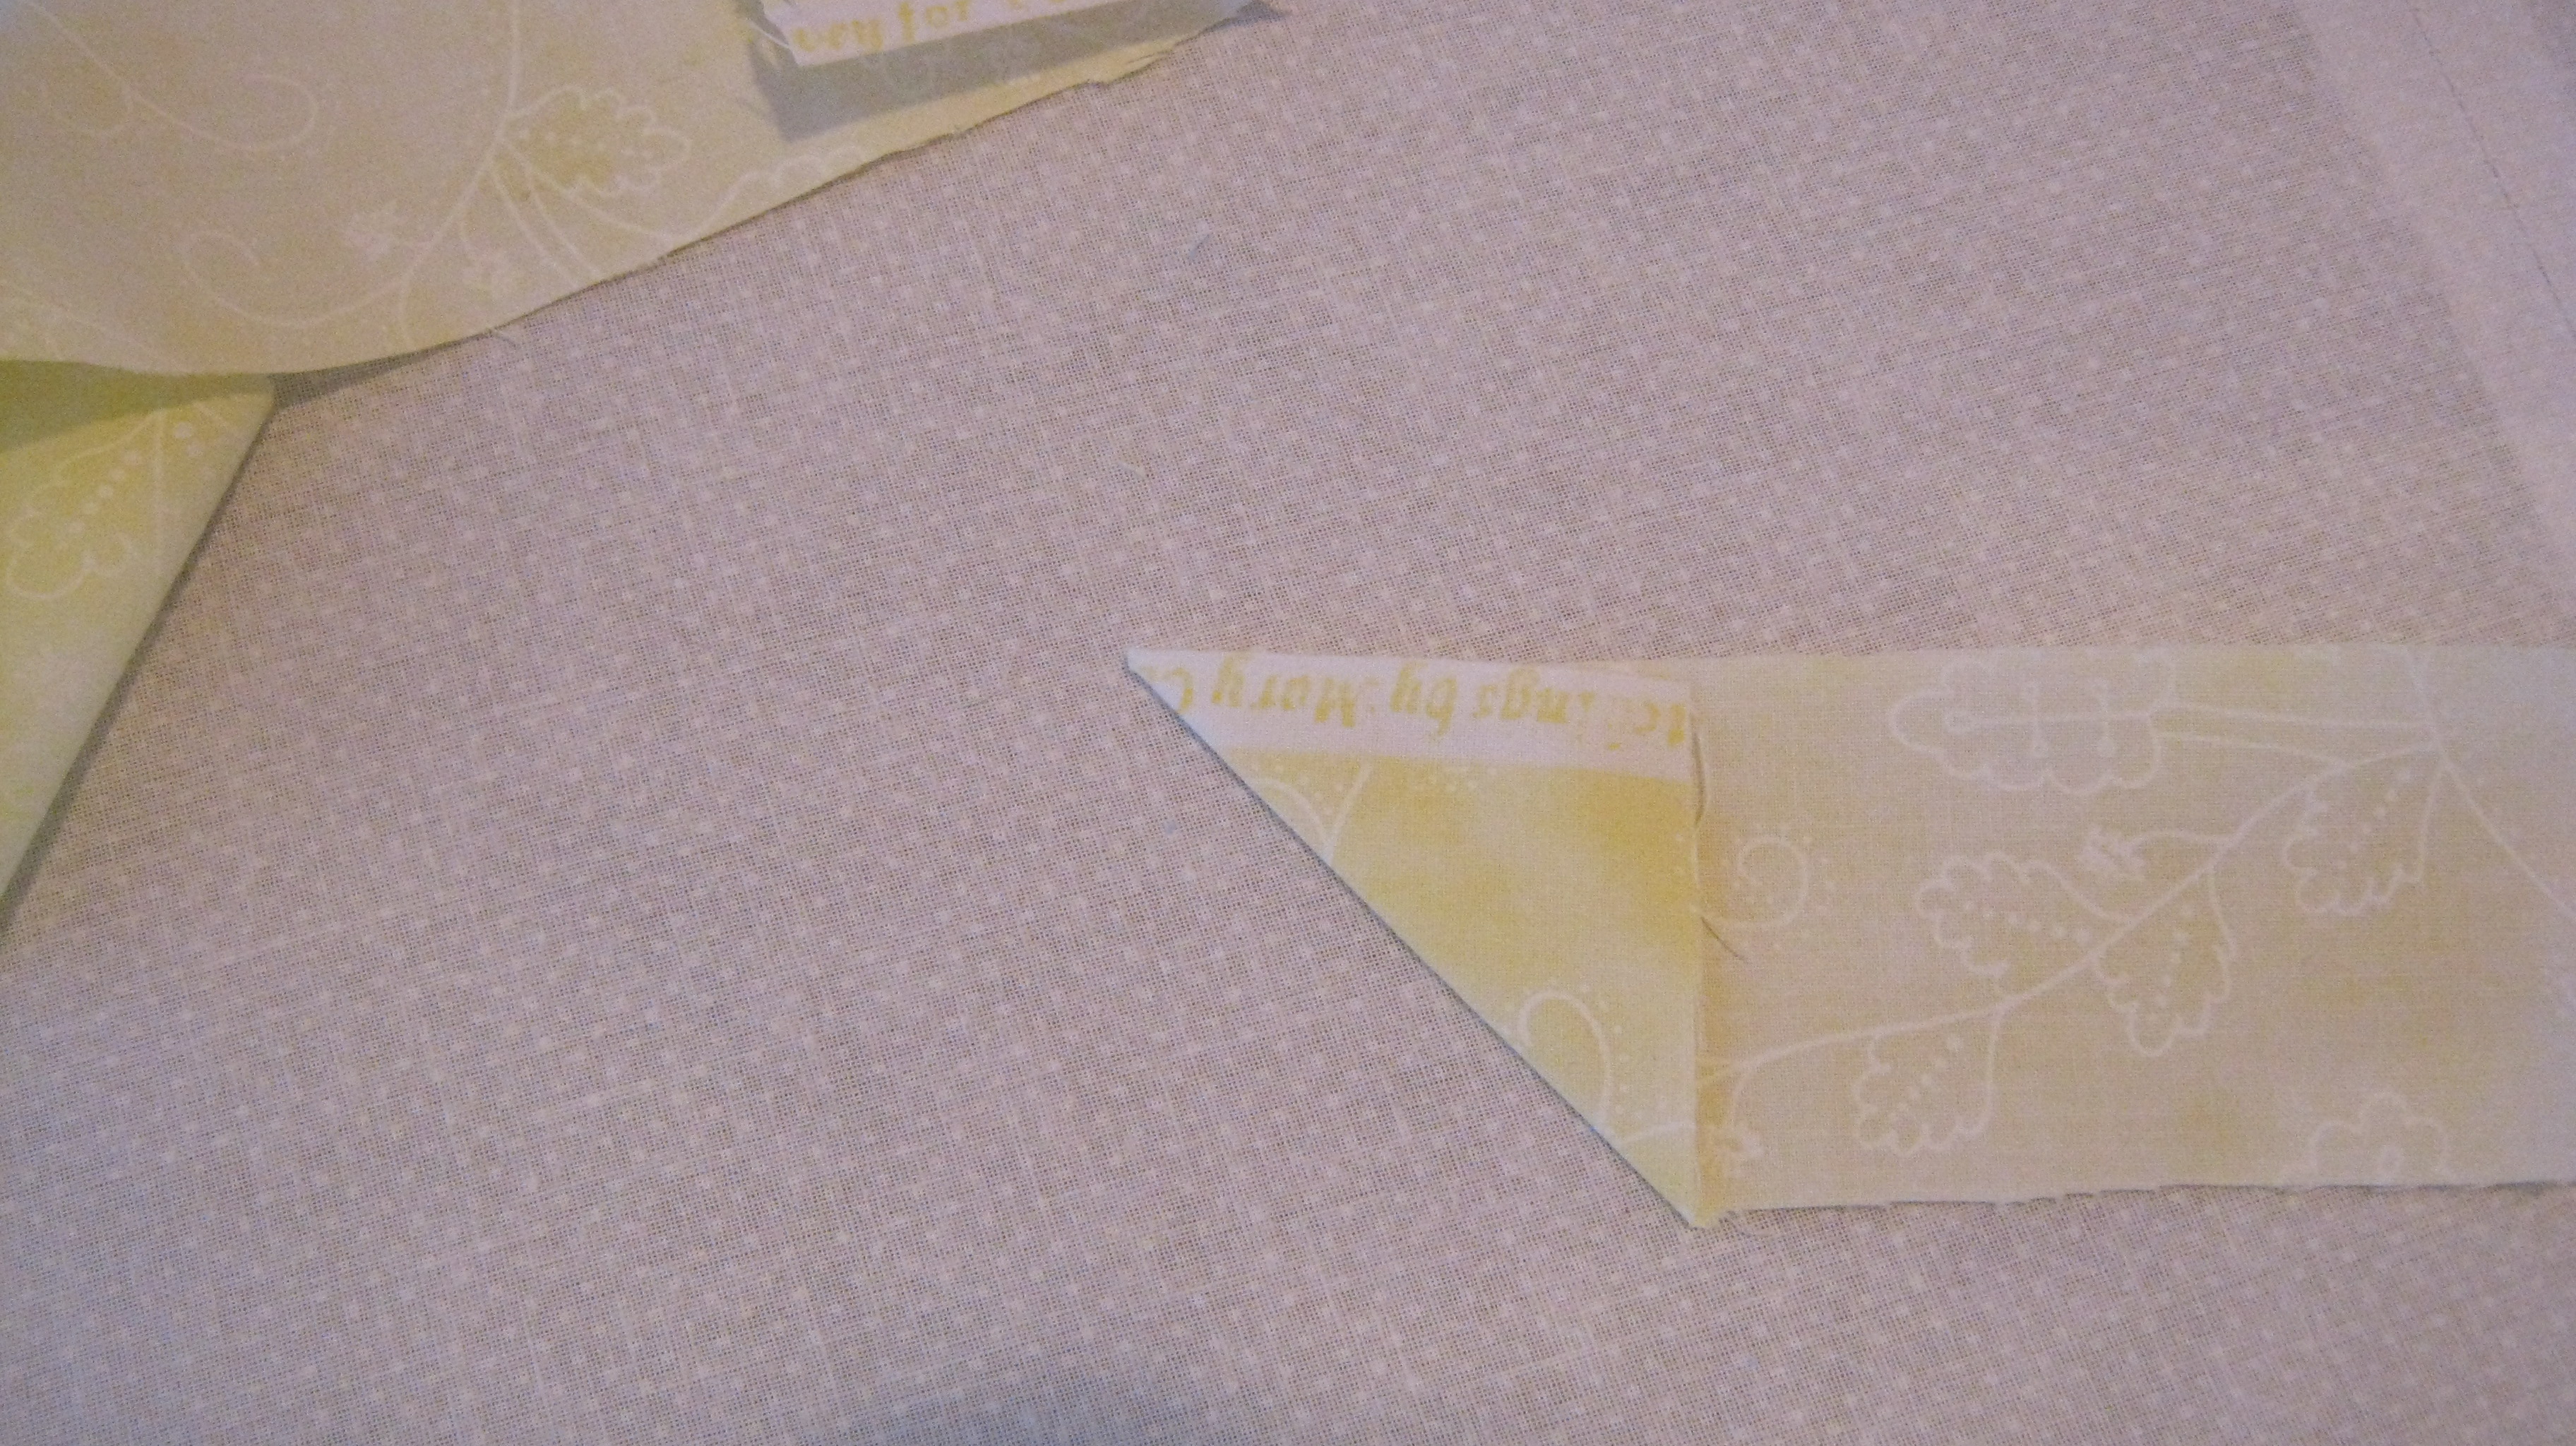
Now we attach the 3 inch pocket . With main color facing up,
place the pocket 1 ½ inches from the left side, and 1/ ½ inches
from the top including the binding. Sew the pocket in place
using a 1/8 inch seam allowance


It’s the home stretch…time to fold the fabric to make main pocket of the caddy,
fold it so that the main color is on the outside and contrasting color on the
inside of pocket. Fold it so that you have a 5 inch deep pocket and pin into place.

We are going to attach the binding as above, using the 37 by 2 1/2 piece of main
fabric. But now we have to consider ends and corners. Fold one end of the
binding down ½ inch then pin to right side of binding to caddy as shown.

End of binding folded in 1/2 inch
sew along folded edge stopping 1/2 inch before you reach corner.


bring binding up so it is now laying perpendicular to first sewn side,
then bring down along second side to be sewn. Sew this seam by starting
at the corner, and continuing until you are 1/2 inch from next corner.
Repeat the next corner as above. Finish off by folding under last 1/2 inch.

Fold the bottom edge in 1/2 inch.

now you are ready to turn the binding to the other side.


Gently lift the binding and flip it to the opposite side. You can see the corners form a nice mitered look.


starting at one edge, fold the binding in as you did with the contrast binding attached earlier, and pin


fold the the corners as shown below, pinning as you go.


finish the binding as you started, by folding under 1/2 inch.
I attached the loops in each top corner, by tucking them into
the binding as shown below. Then hand stitched all into place.


The last step is to form the individual pockets. ‘ I used
the needle pocket as a guide, sewing along it’s sides to
form the first 2 pockets. The first pocket was narrow,
but good for holding a sewing gauge or marking pencil.

marking for first 2 pockets, by following line of needle
pocket.

For the last two pockets, I divided the space that was
left in half, marked it, and sewed along that line.
When this was finished, I realized I needed a shorter
pocket for my seam ripper and thread snippers. So I
sewed a horizontal seam across the third pocket about
an inch and a half from the bottom. This worked
perfectly.
Finished!