I Phone bag/case ..big enough for the otter box too!

My daughter’s

her friends’s

We recently manned up, (or parented up I should say), and bought our kids I phones. We opted for the otter box case for my daughter, and a less protective case for my son. Which as I look back now made no sense. My daughter had the original phone that she received when she was 11. she is now 16. My son on the other hand has been through 3, maybe 4 phones in the same amount of time.
But it was what it was, and as a consequence, my daughter realized she can no longer stuff her phone in the pocket of her jeans. The otter box is just too big. So she asked if I could make her a bag that she could tuck her phone in at school. I pulled out some patterns that I had, and found an old Butterick pattern for an Ipod case. My daughter liked the style, and with a few modifications we were able to create a bag that suited her and fit her I phone/otter box. Her friend at school liked it so much that she asked my daughter if I could make her one too. The tutorial is on the one I made for her friend.


As you can see, the original pattern was for the old I pods, with a window to see the
scroll controller and screen…so old school! We did not want/need the
window, so we skipped that part of the directions. She did want the strap to be
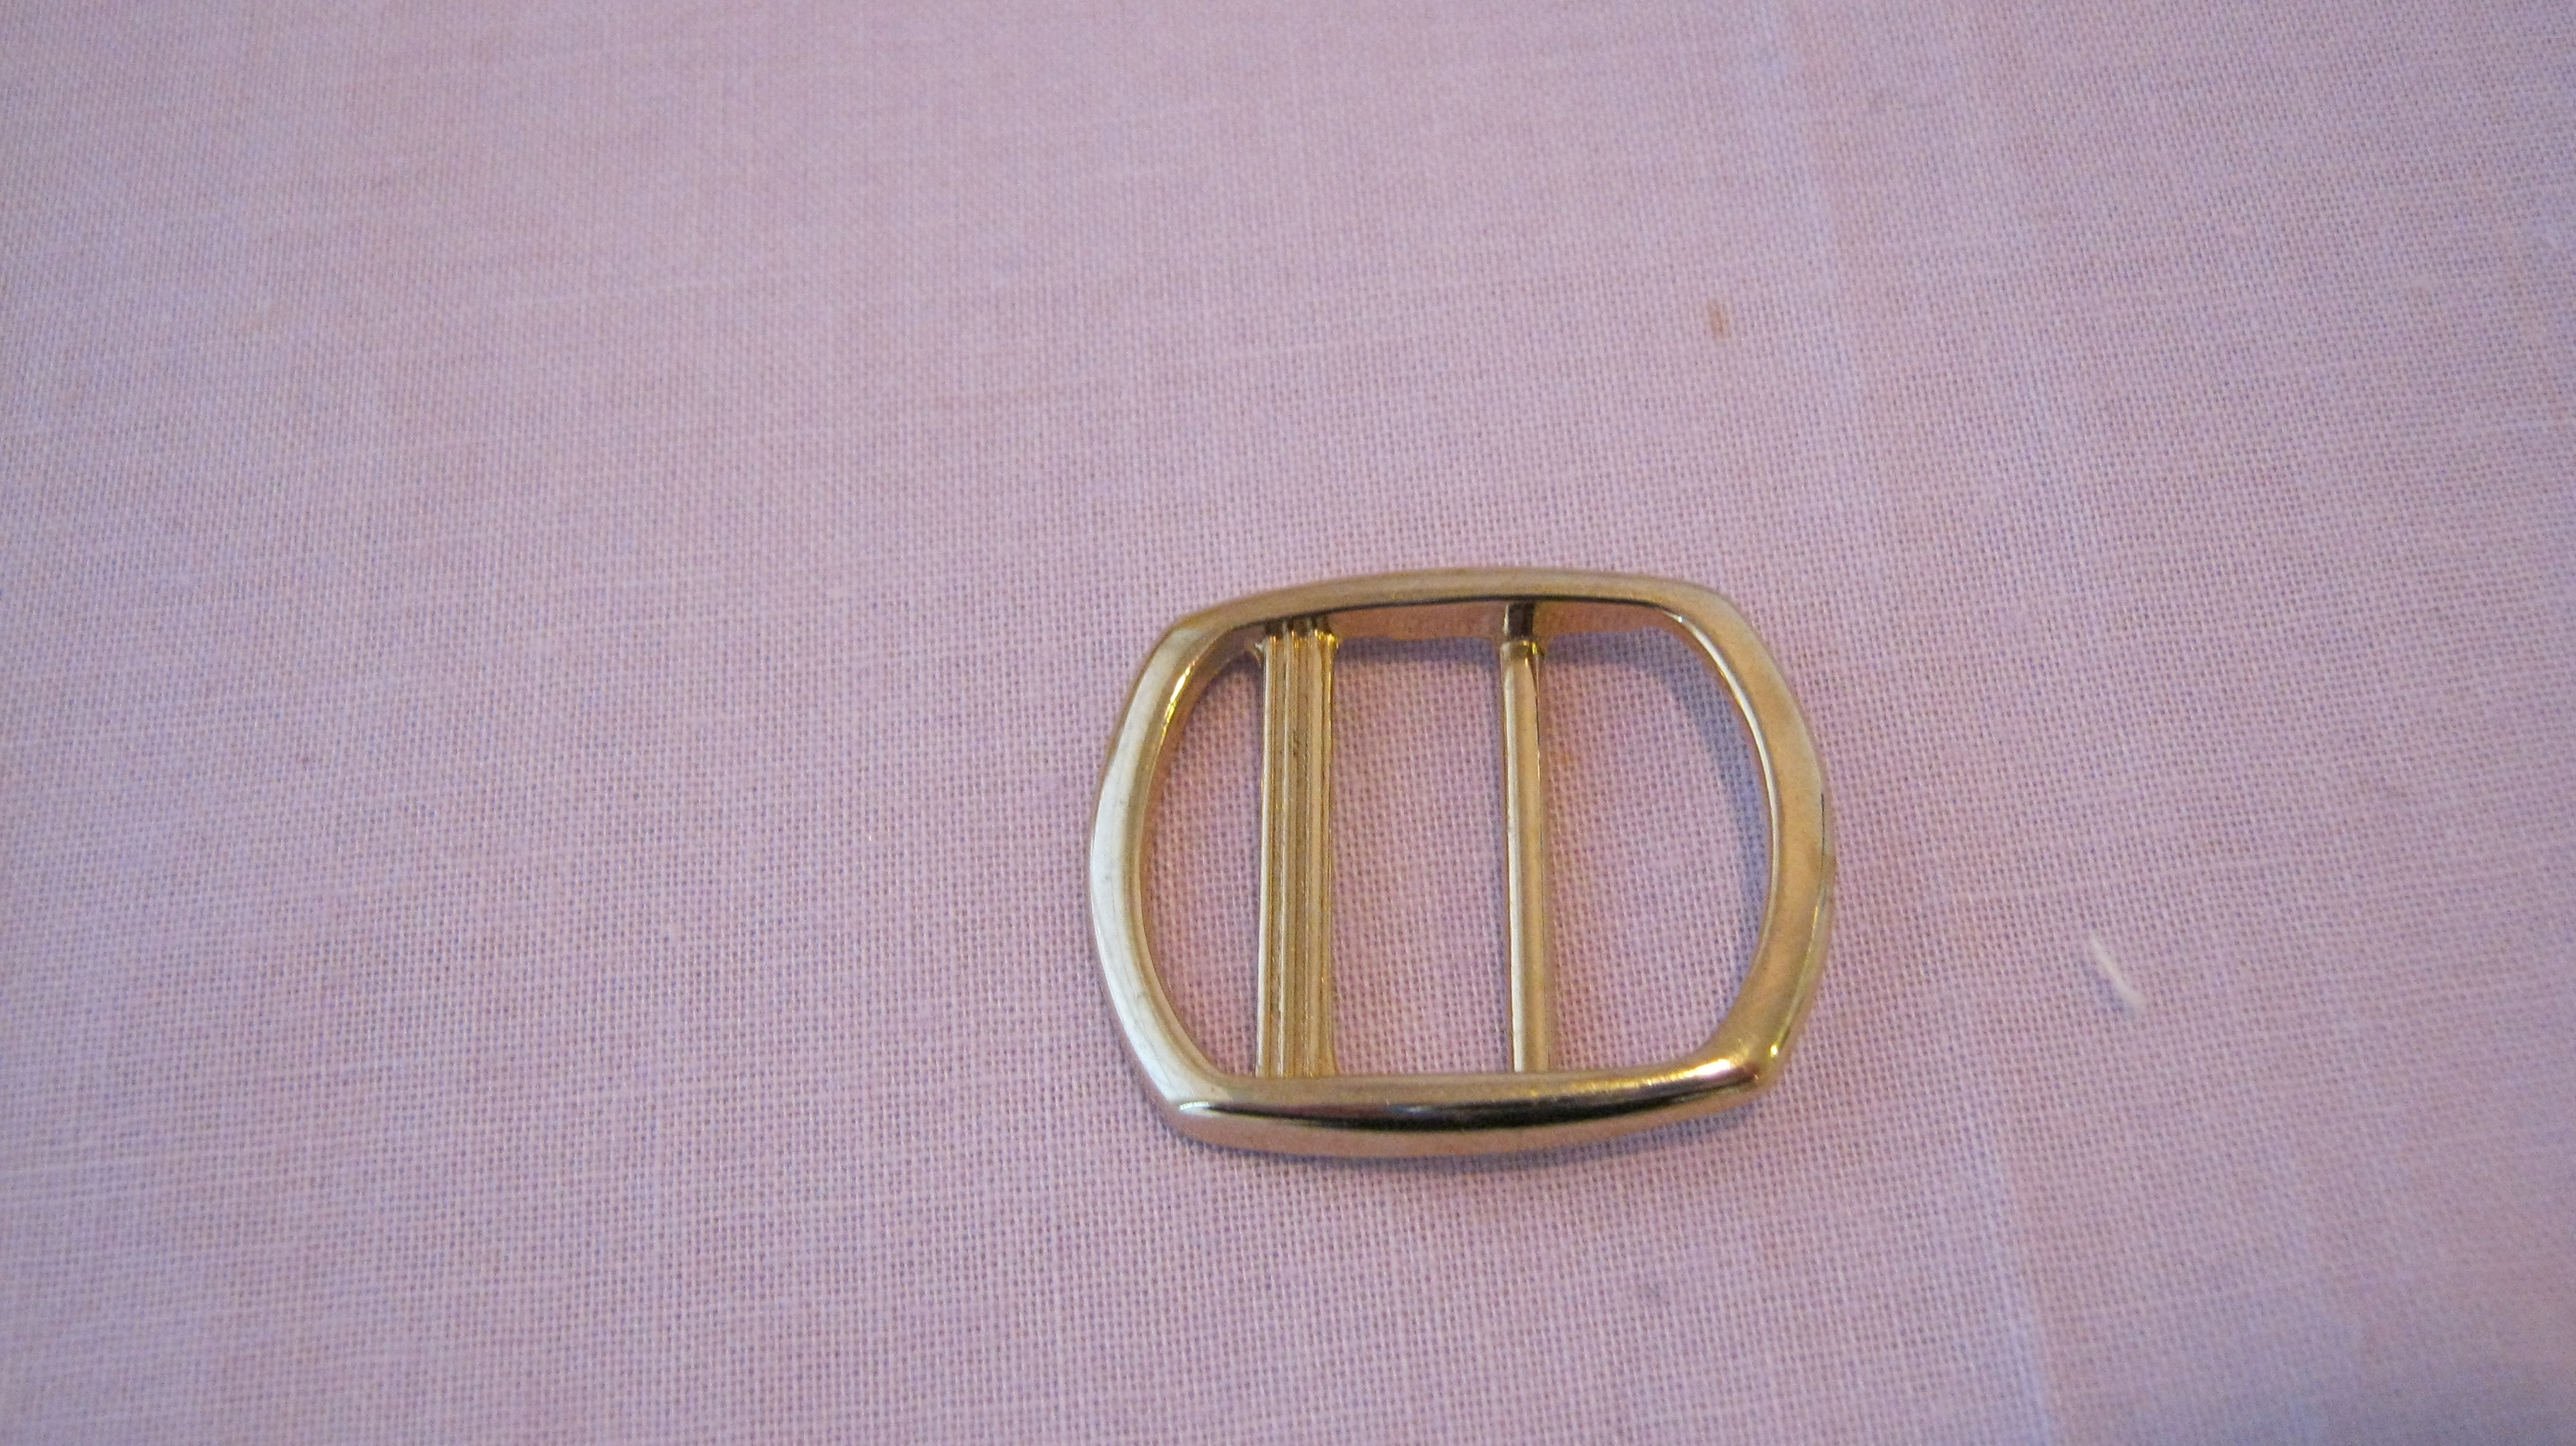
adjustable, so I incorporated this using a double ring slider.
To make the bag, you need about a 1/4 yard of fabric, fusible interfacing, 1.5 inch
Velcro, a small O ring ( I used 1/2 inch), and a double ring slider to accommodate
a 3/4 inch wide strap.


The only small rings I could find were the type you use for key chains.
It works fine, but a real O ring would probably be better. I found a
double ring slider at my local fabric store. It has 2 center bars,
but only needs to have 1. I did find a web site that sells the necessary
hardware, …but I had already finished the bag! At least it will be a good
resource for future projects…. and for you.
http://www.buckleguy.com.
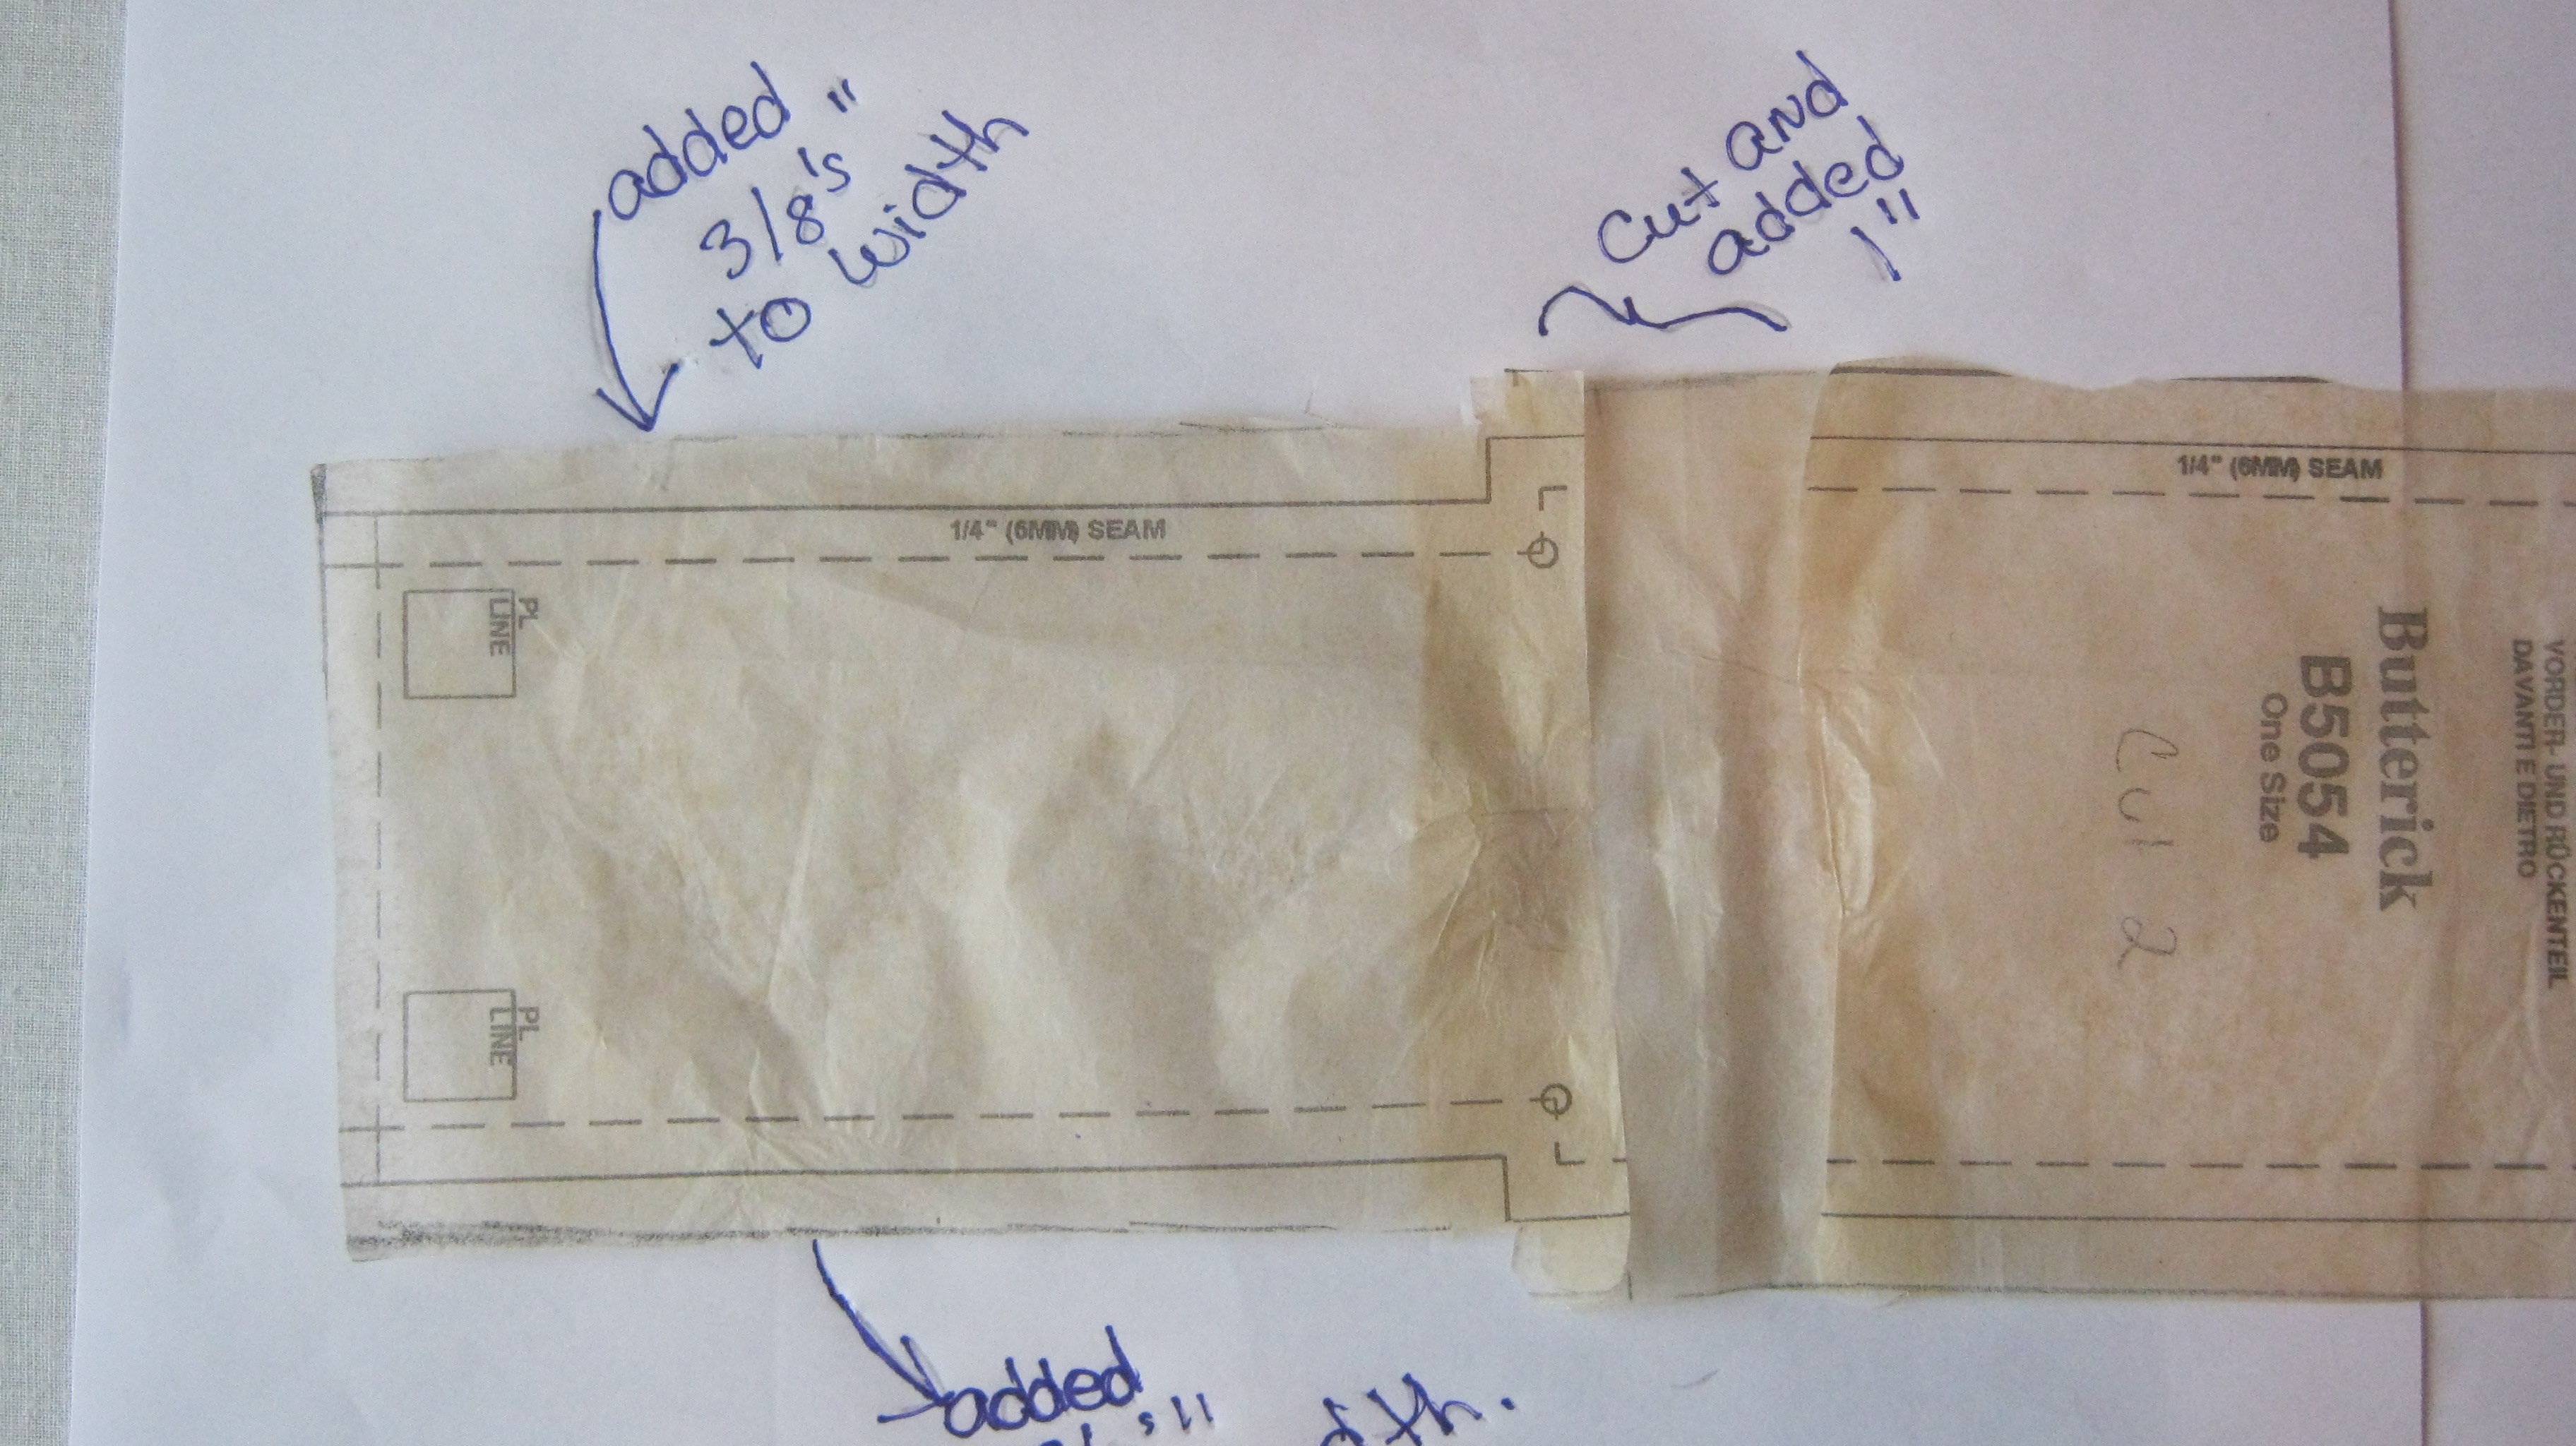
First.. Increase the pattern to accommodate the phone:


I added 3/8s of and inch to both sides, 1 inch to
end near the flap, and 1 and 1/4 inches to other end.
(Hint: patterns generally have blank portions with
nothing printed on them.. I save the bigger pieces
just adjusting patterns)

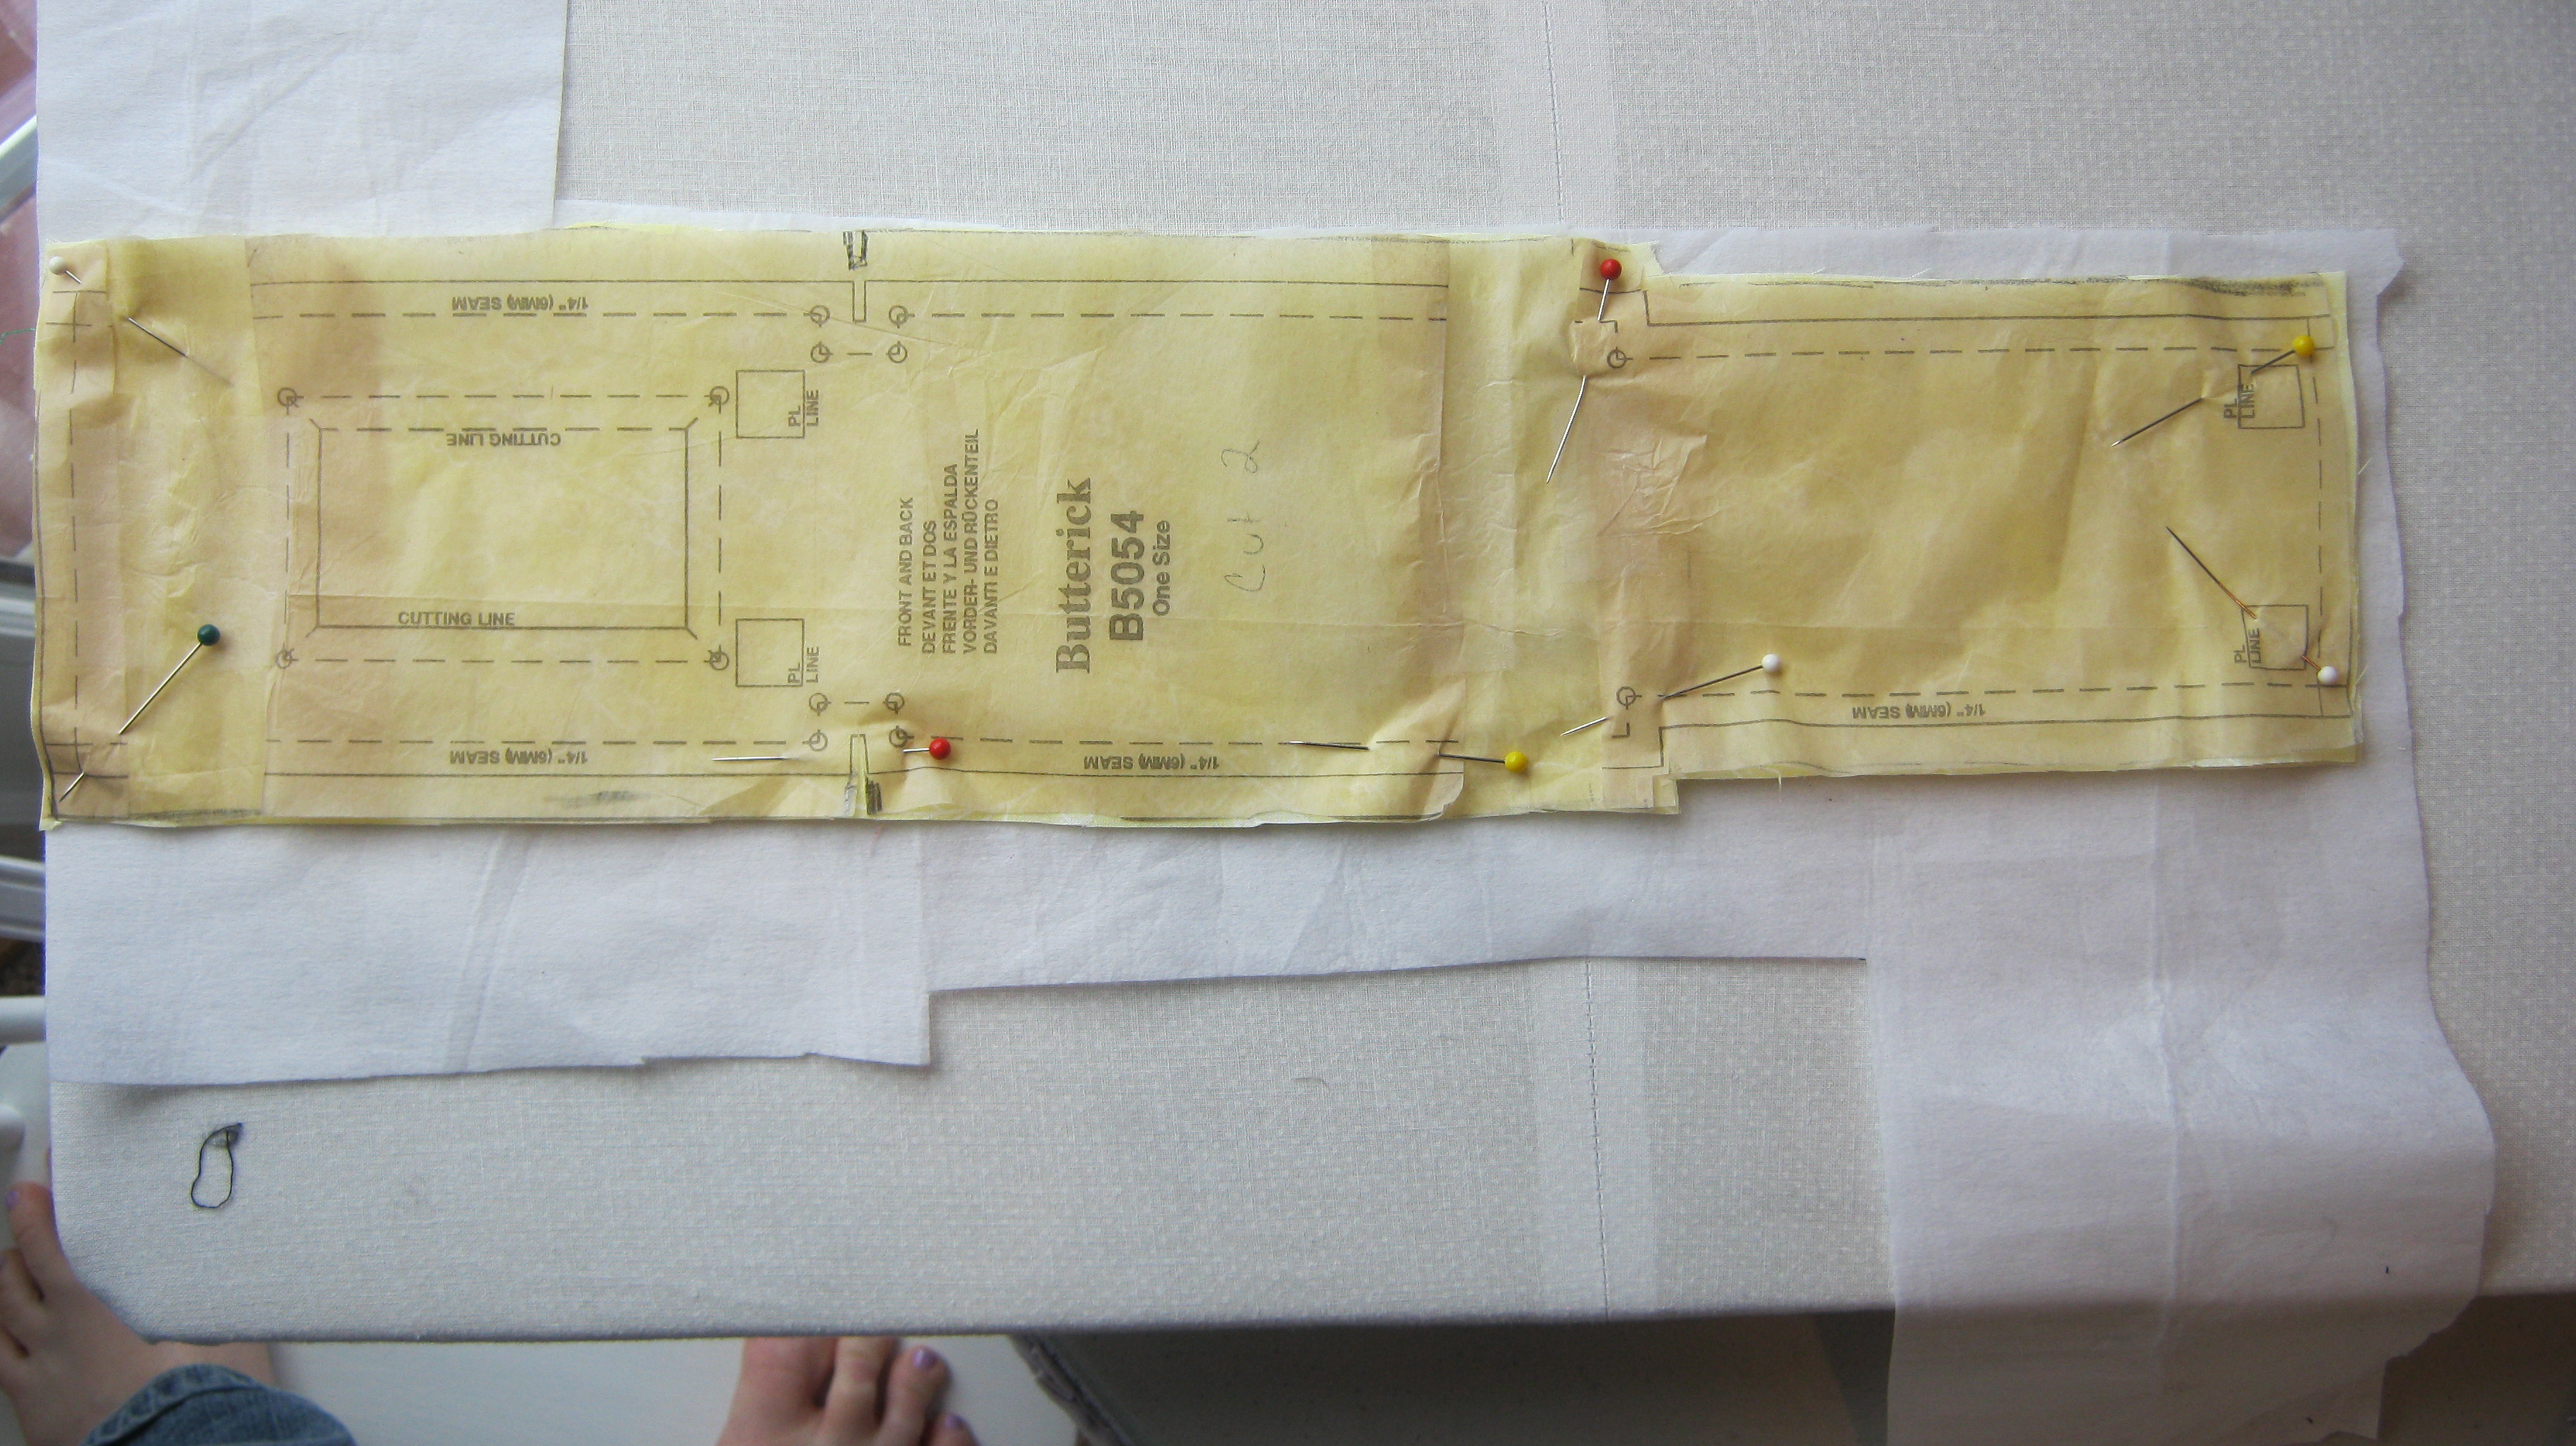
cut 2 of material and 1 interfacing


Iron interfacing onto wrong side of one fabric piece.

with right sides together sew entire flap end including “shoulder”
of main section, sew the opposite end, leaving sides open.

Turn right sides out and press.

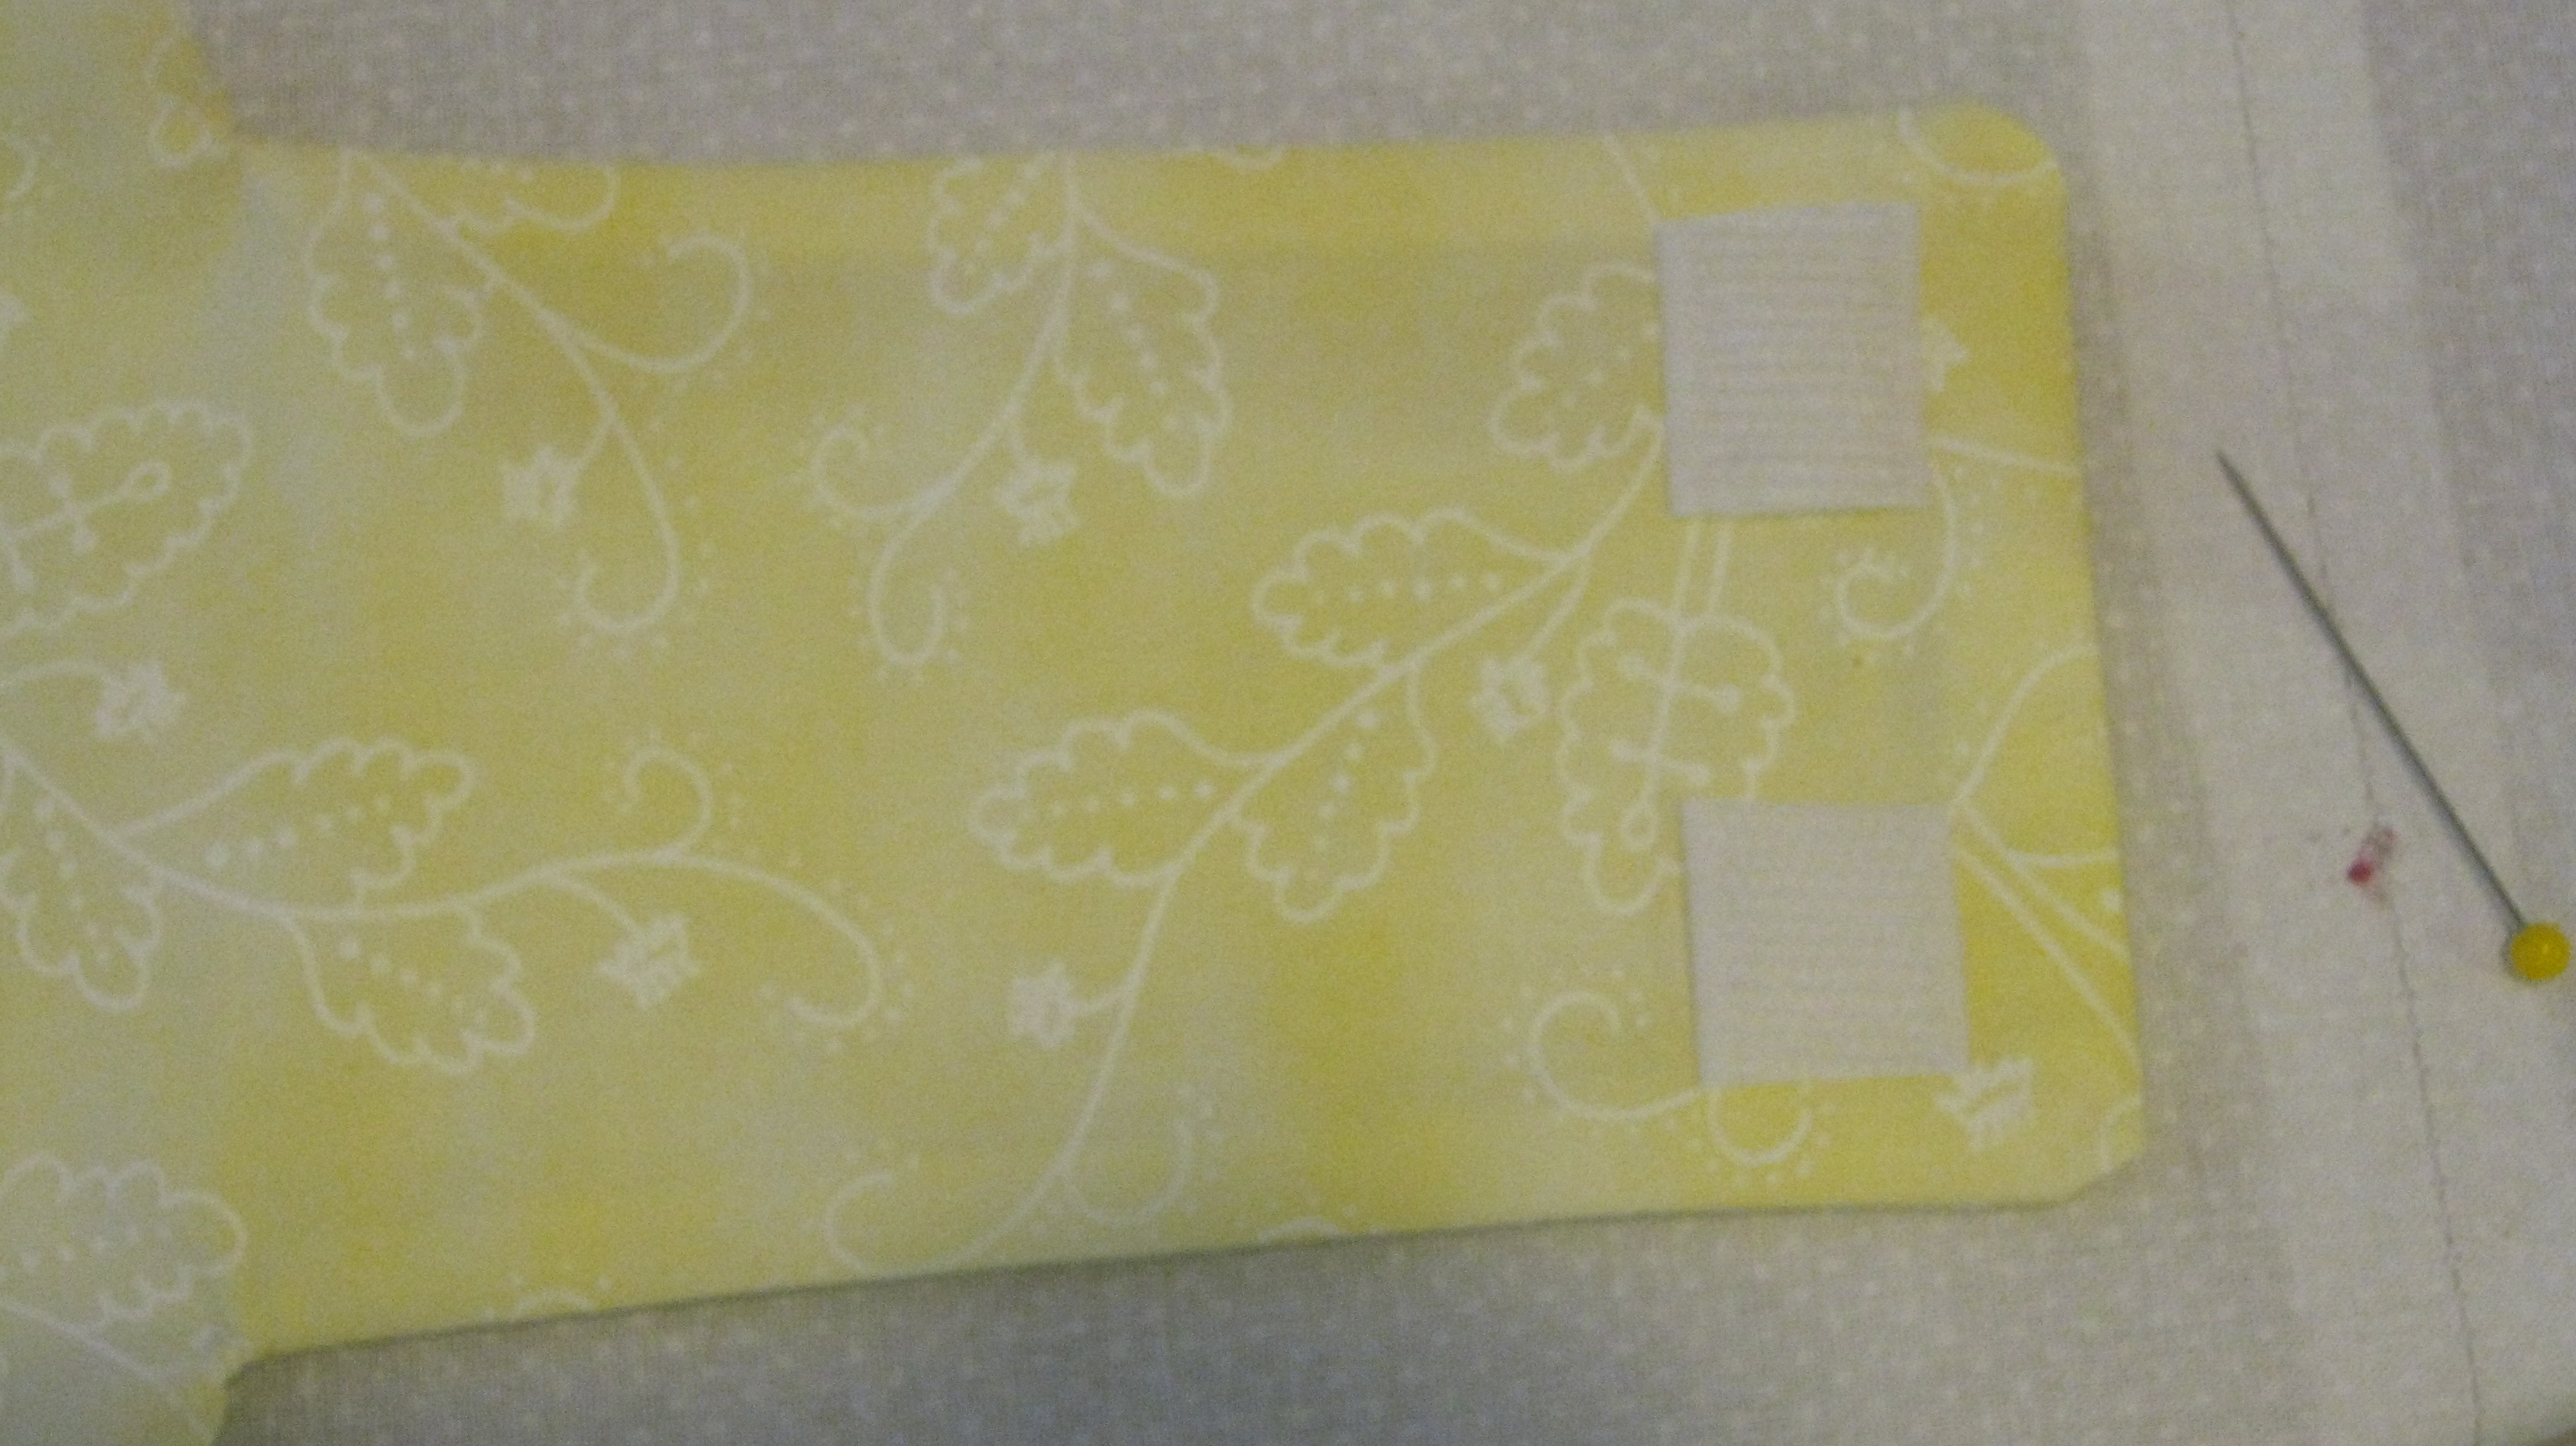
orient the bag so that the side that is fused to interfacing
is facing down. Hand sew loop Velcro to the flap end, as
shown, onto side not fused to interfacing. Set aside.

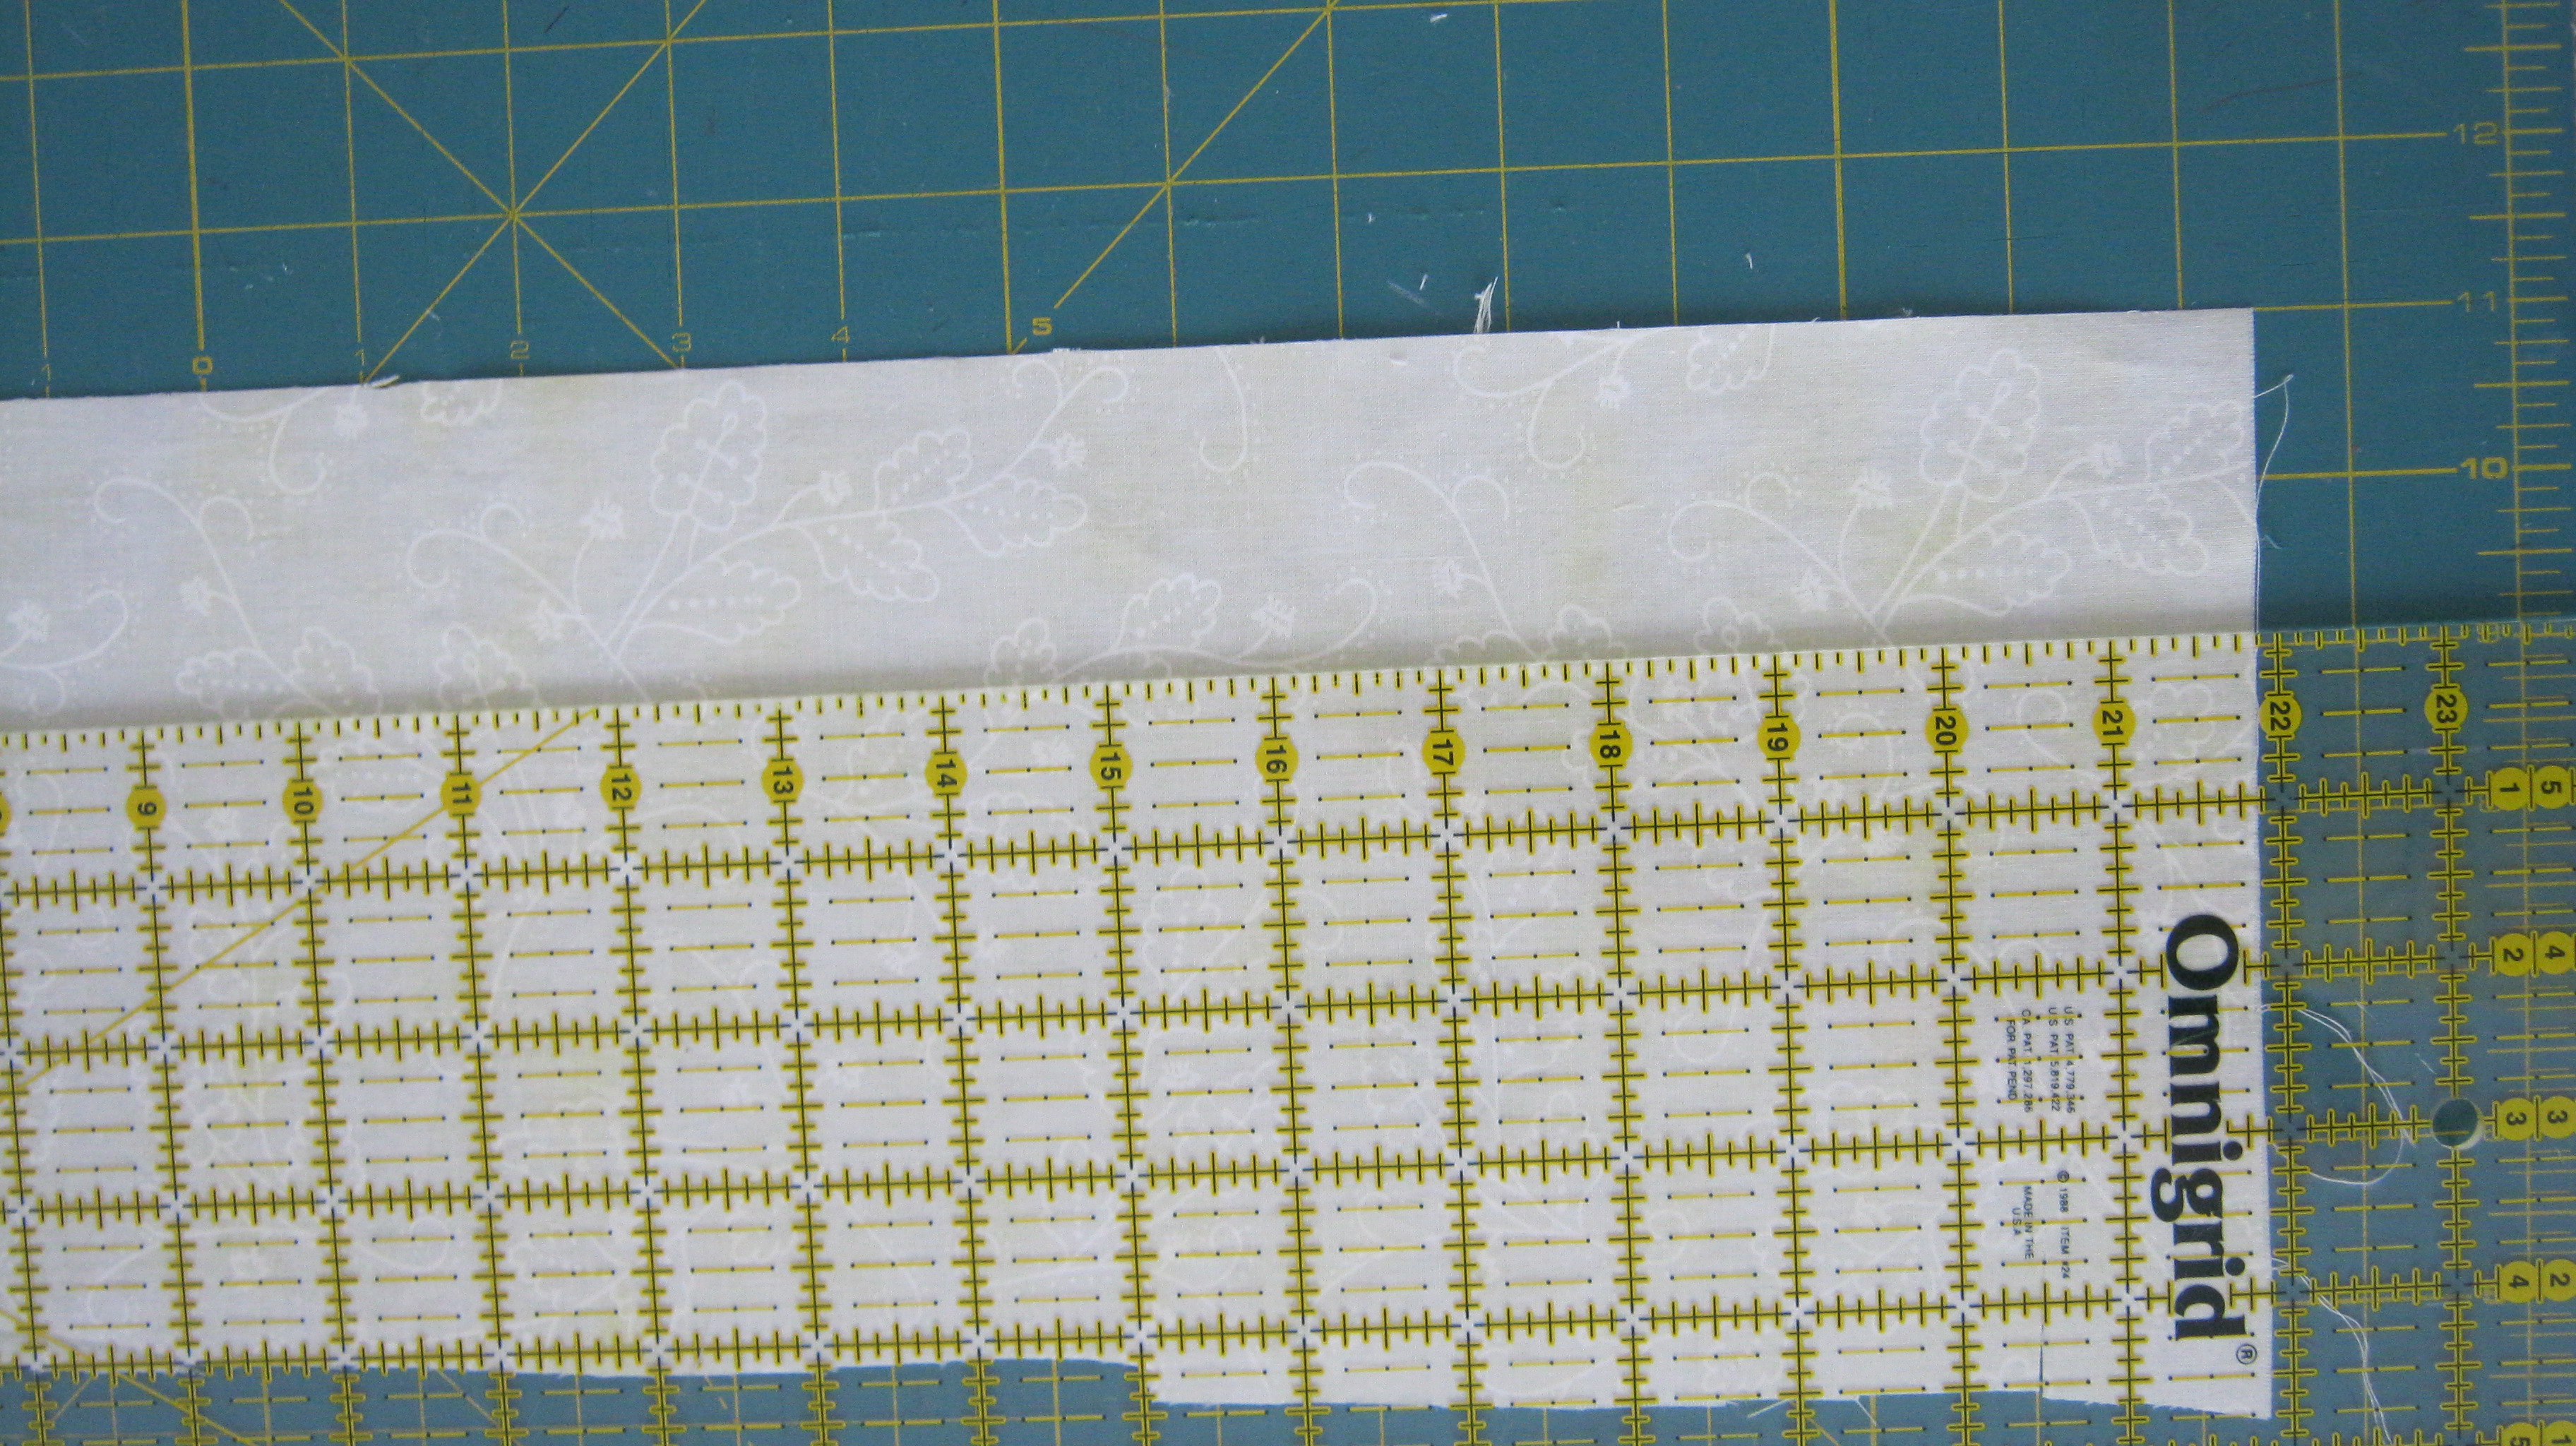
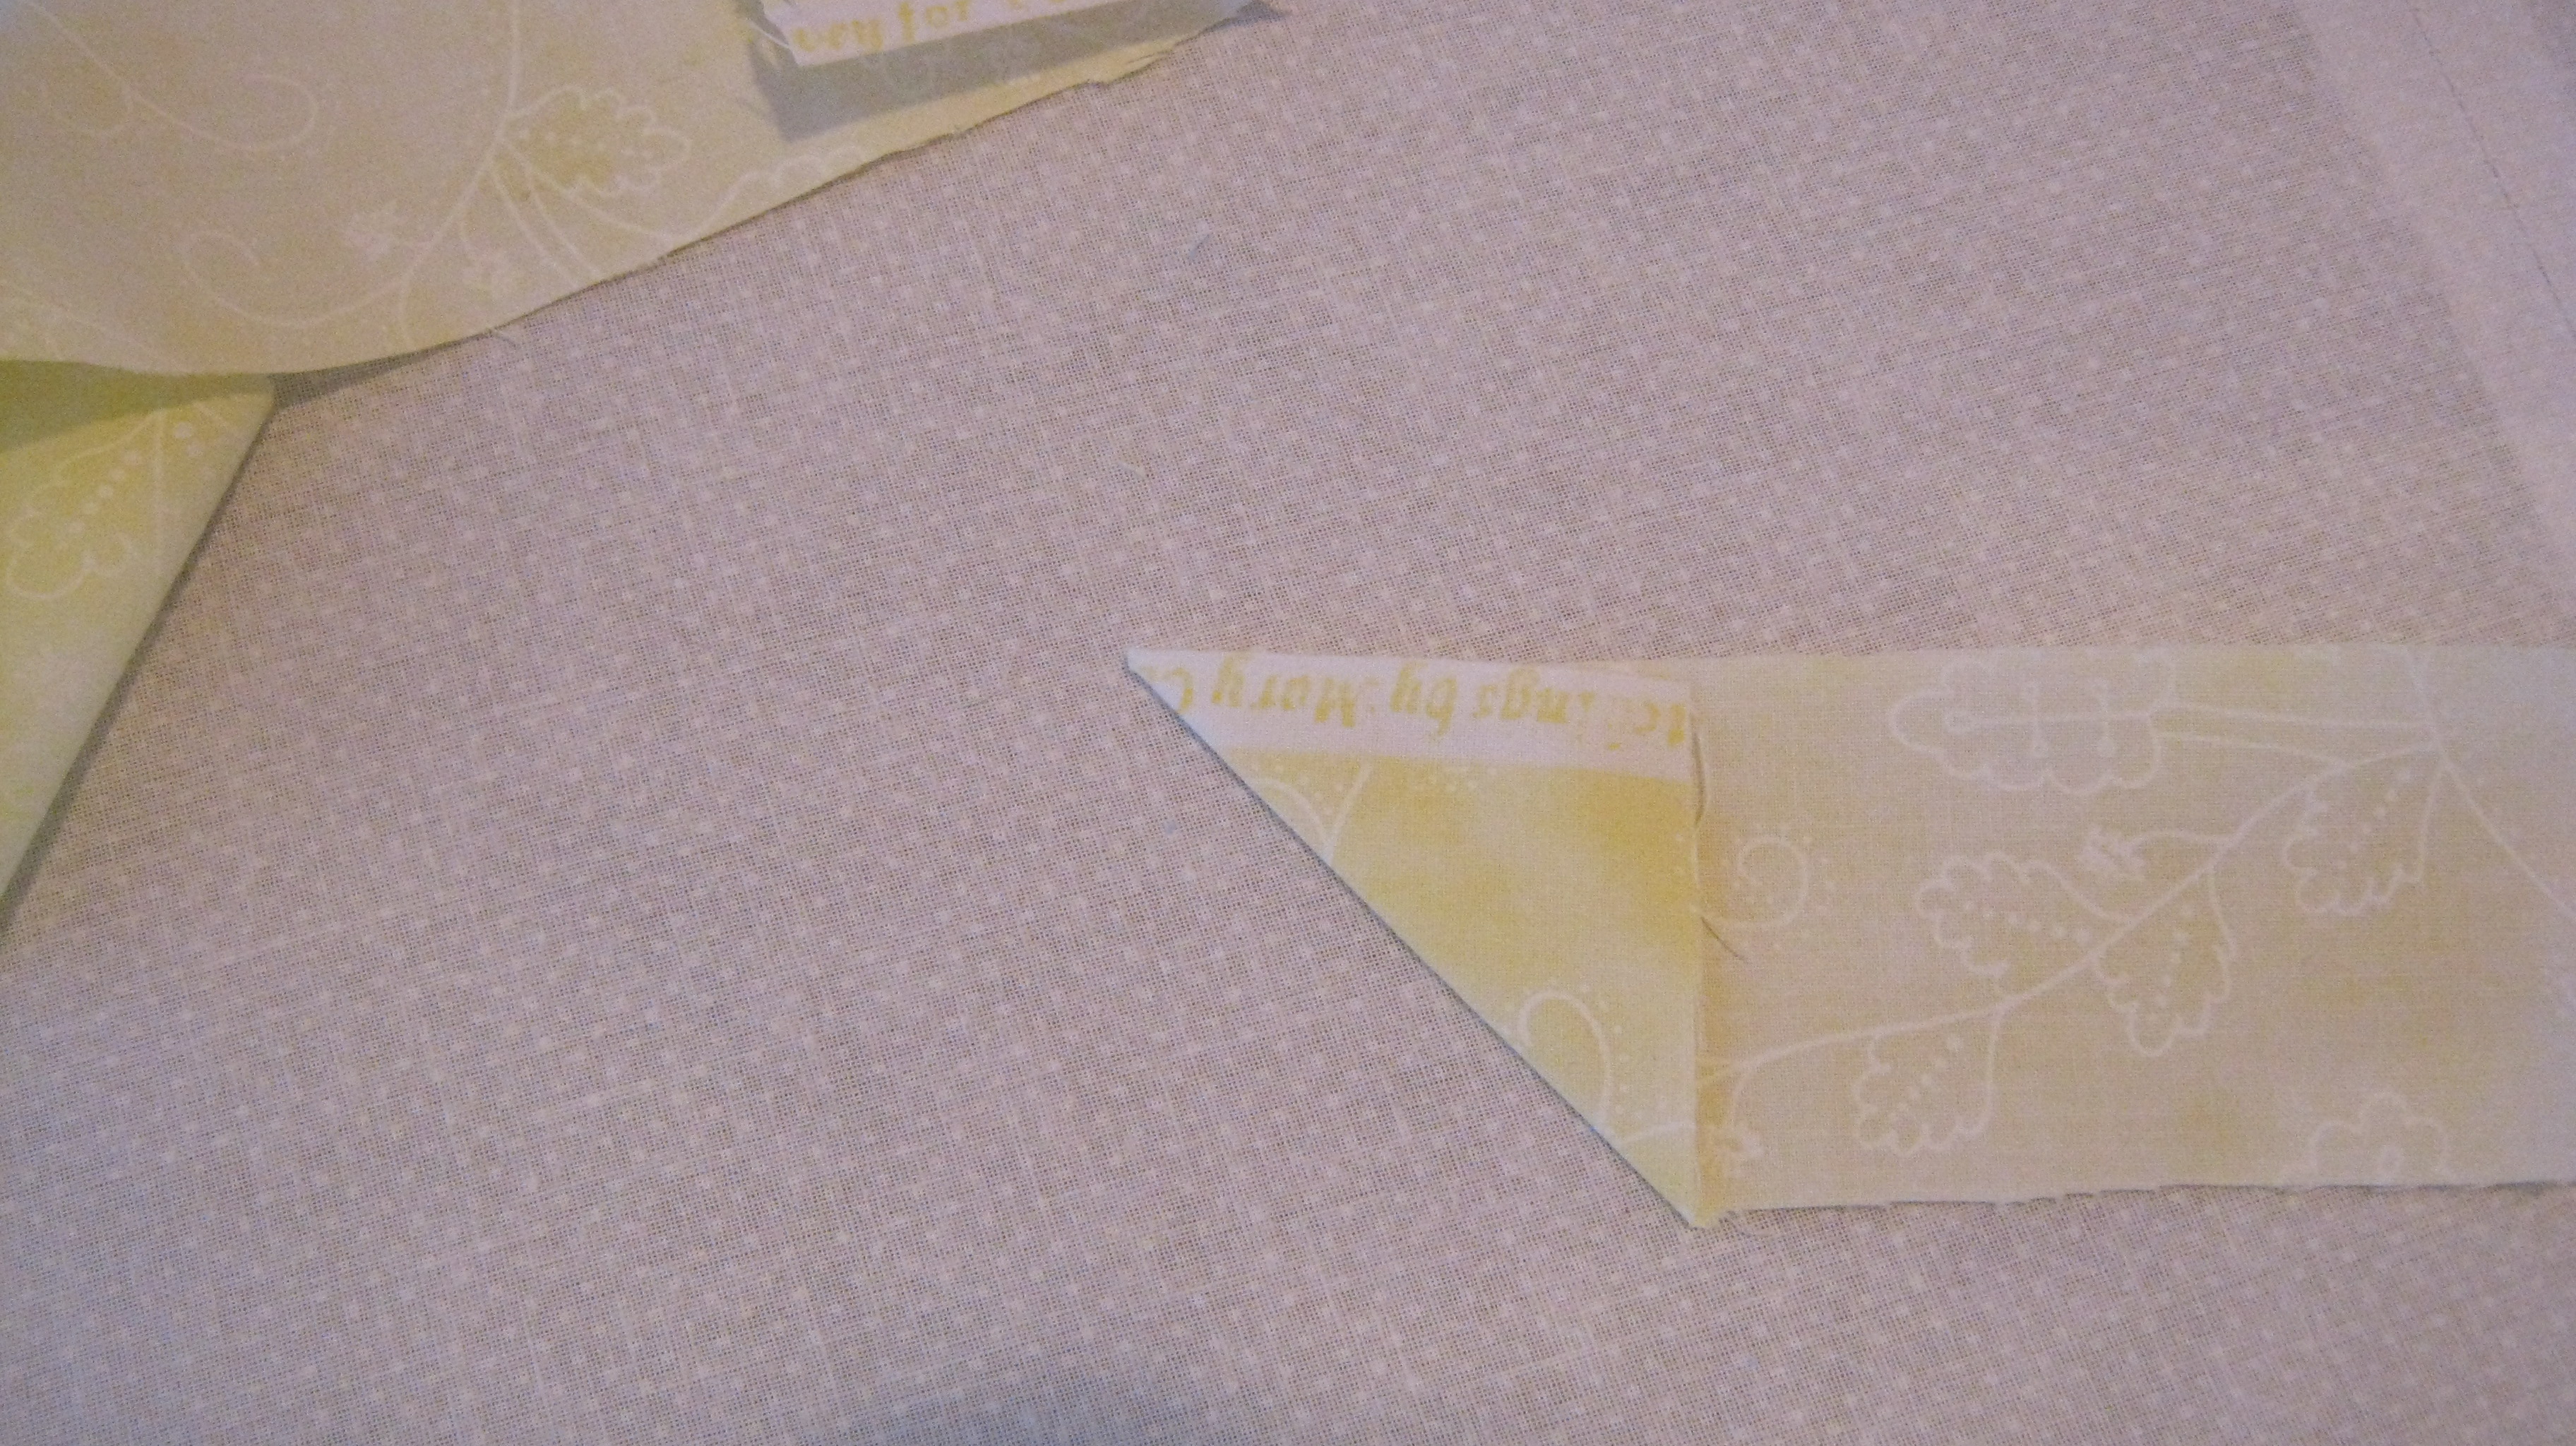
Make the strap by cutting 2 inch strips of fabric- you will
need about 60 to 62 inches in length

to piece the strips, place right side down and fold
corner up to form a 45 degree angle, press.

take a second strip and fold end to opposite corner as
above, and press.

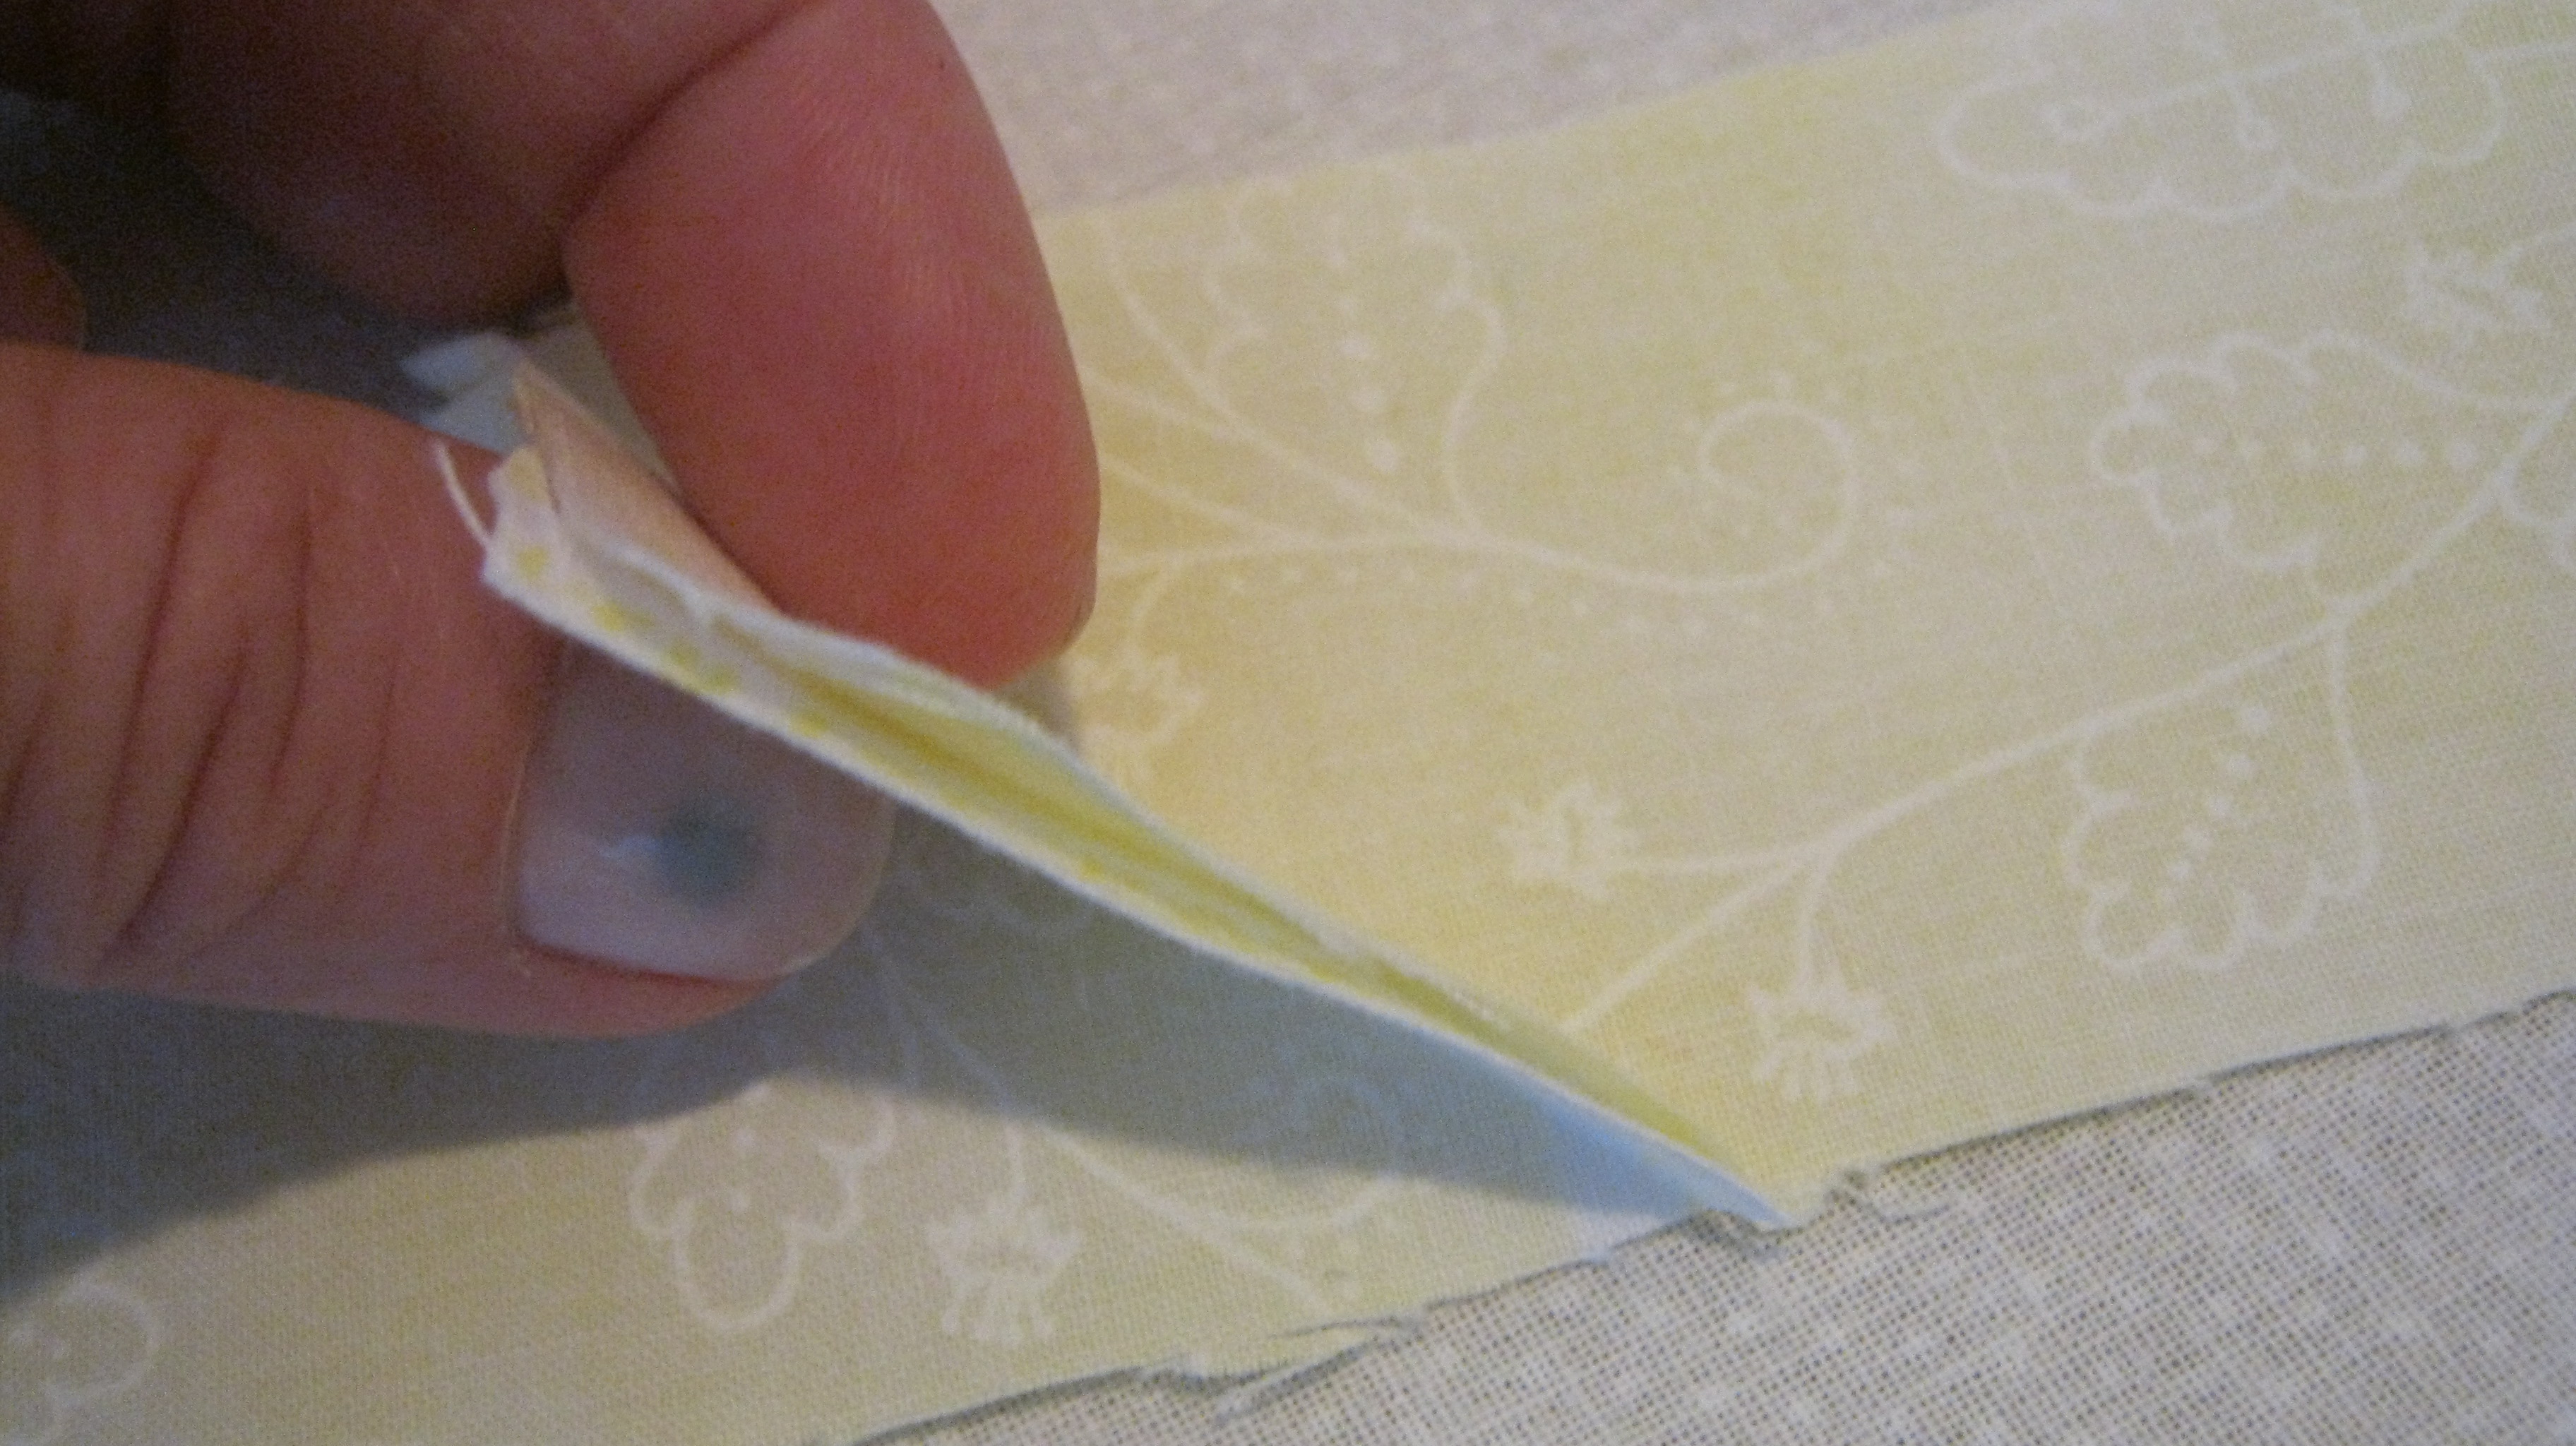
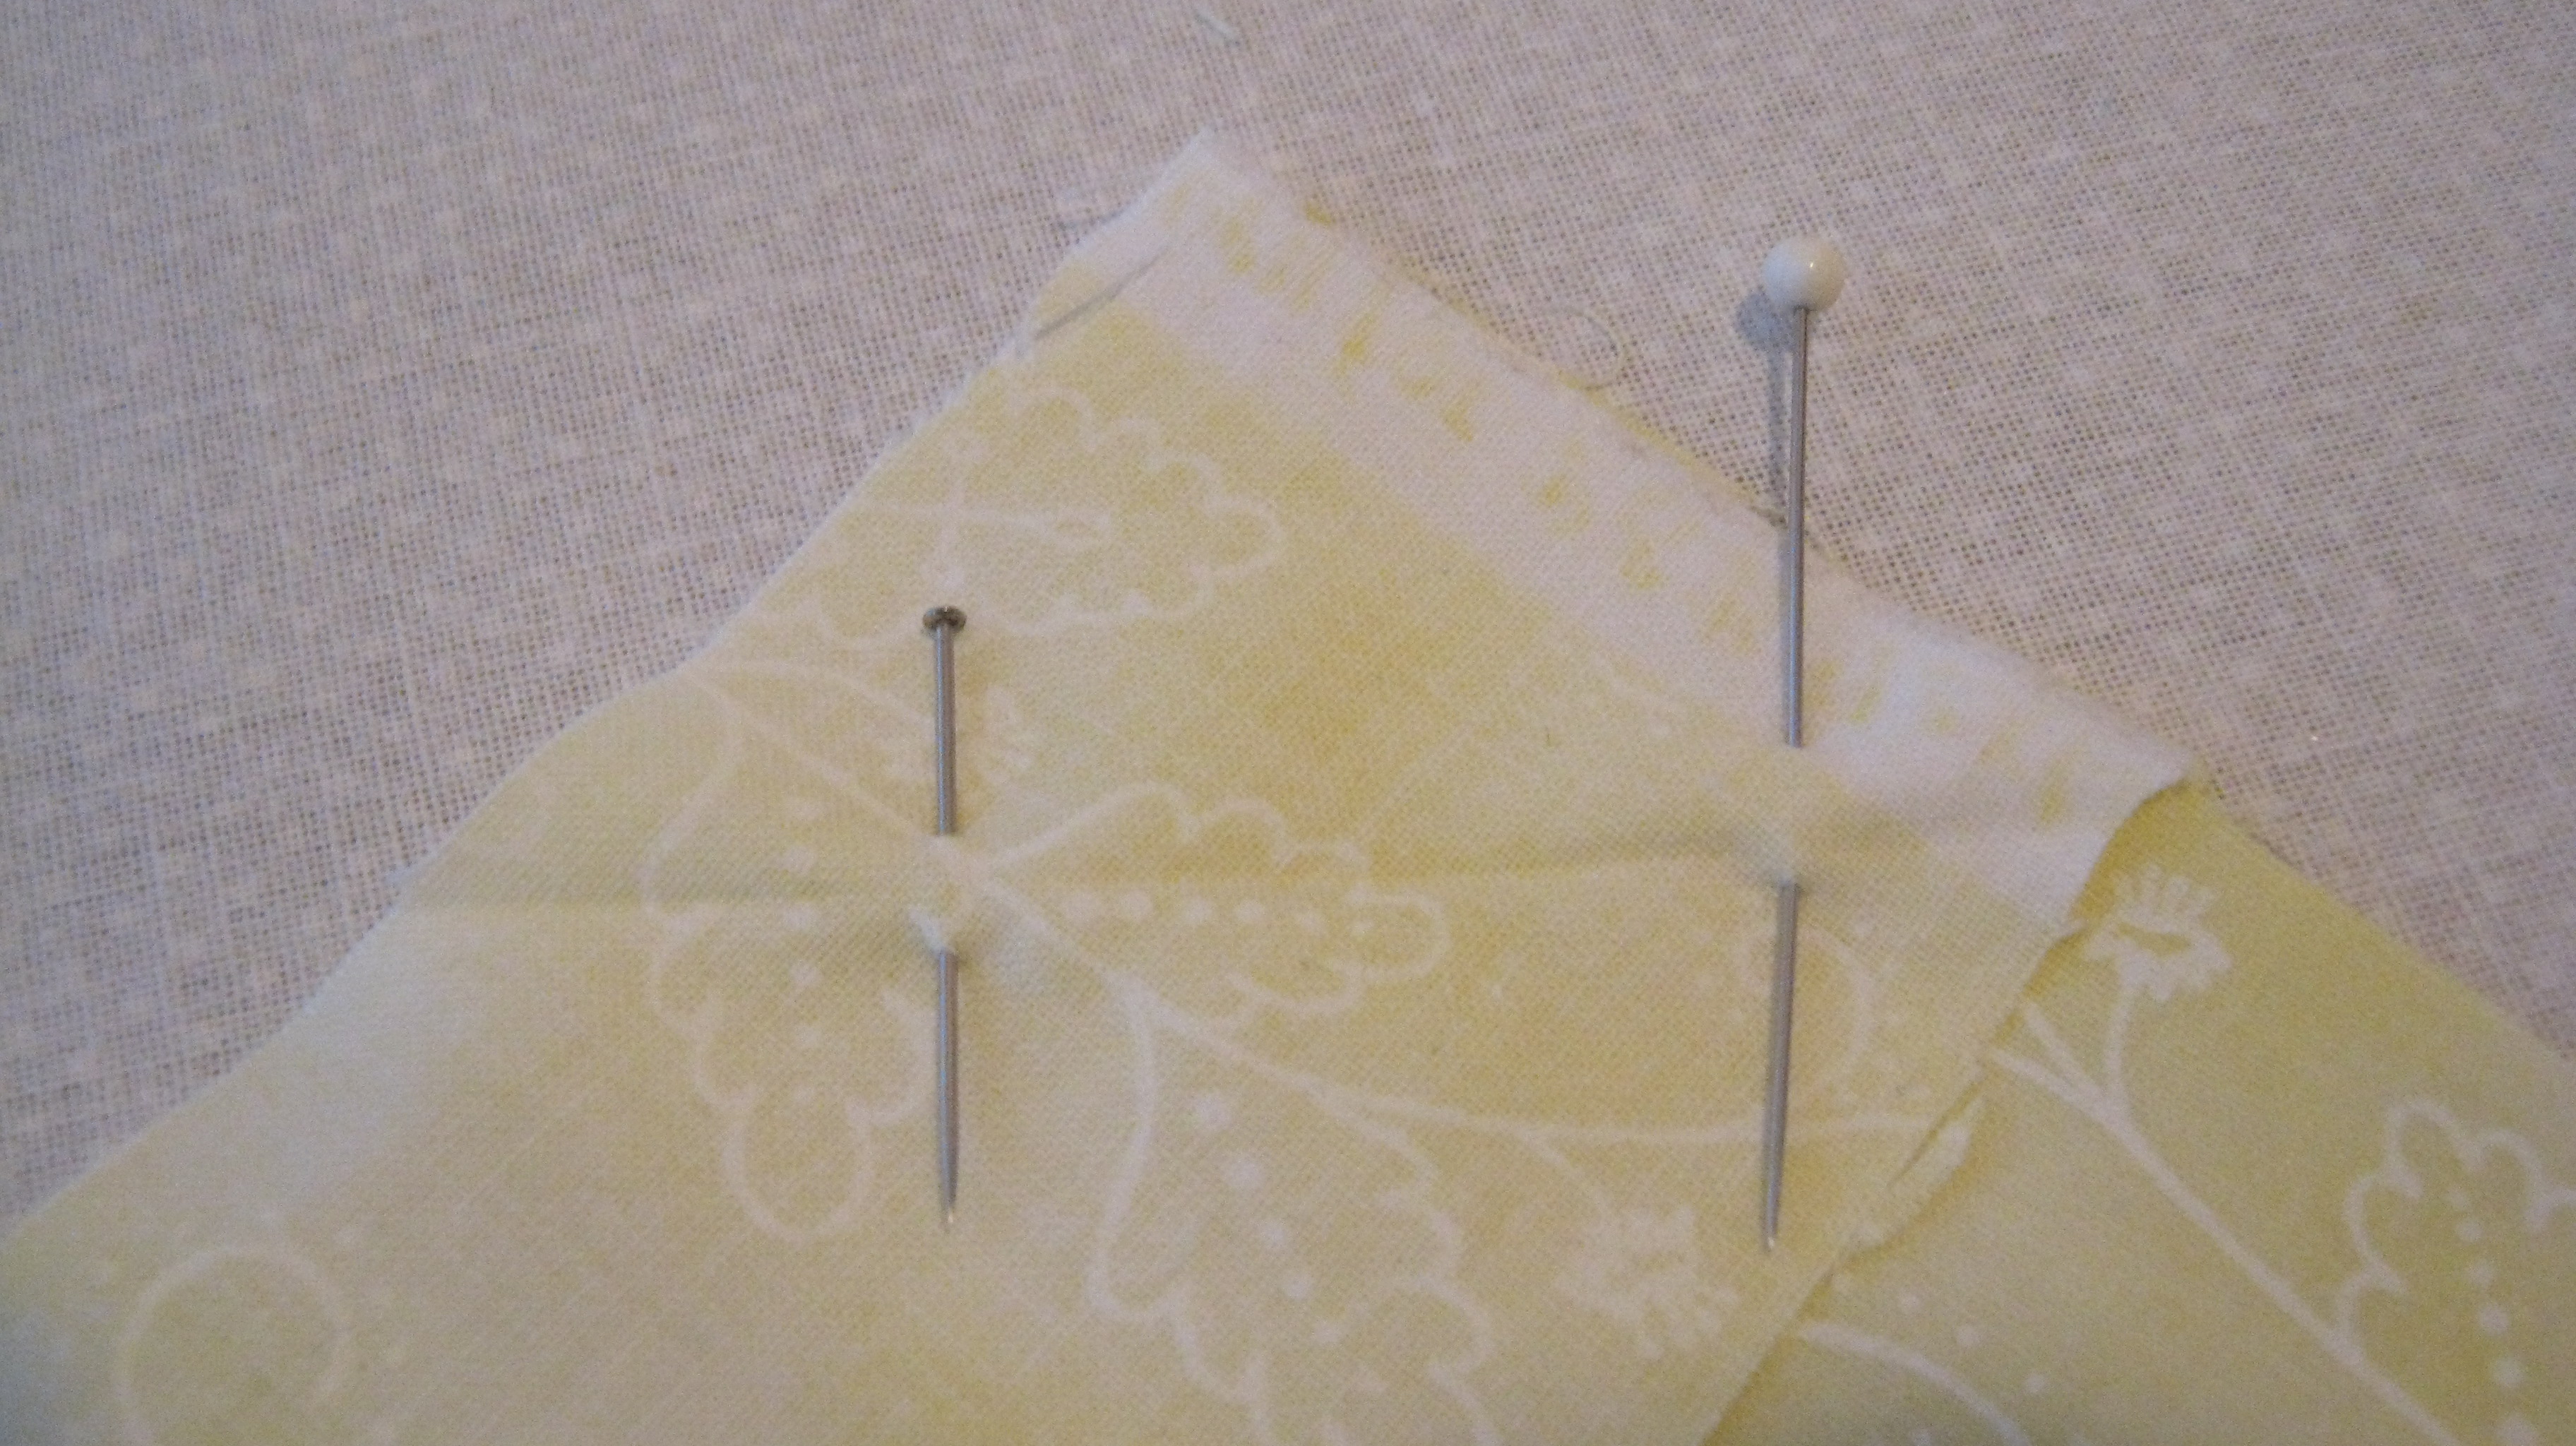
line the folds up, placing right sides together.


sew along fold line

trim to about 1/4 inch from seam.


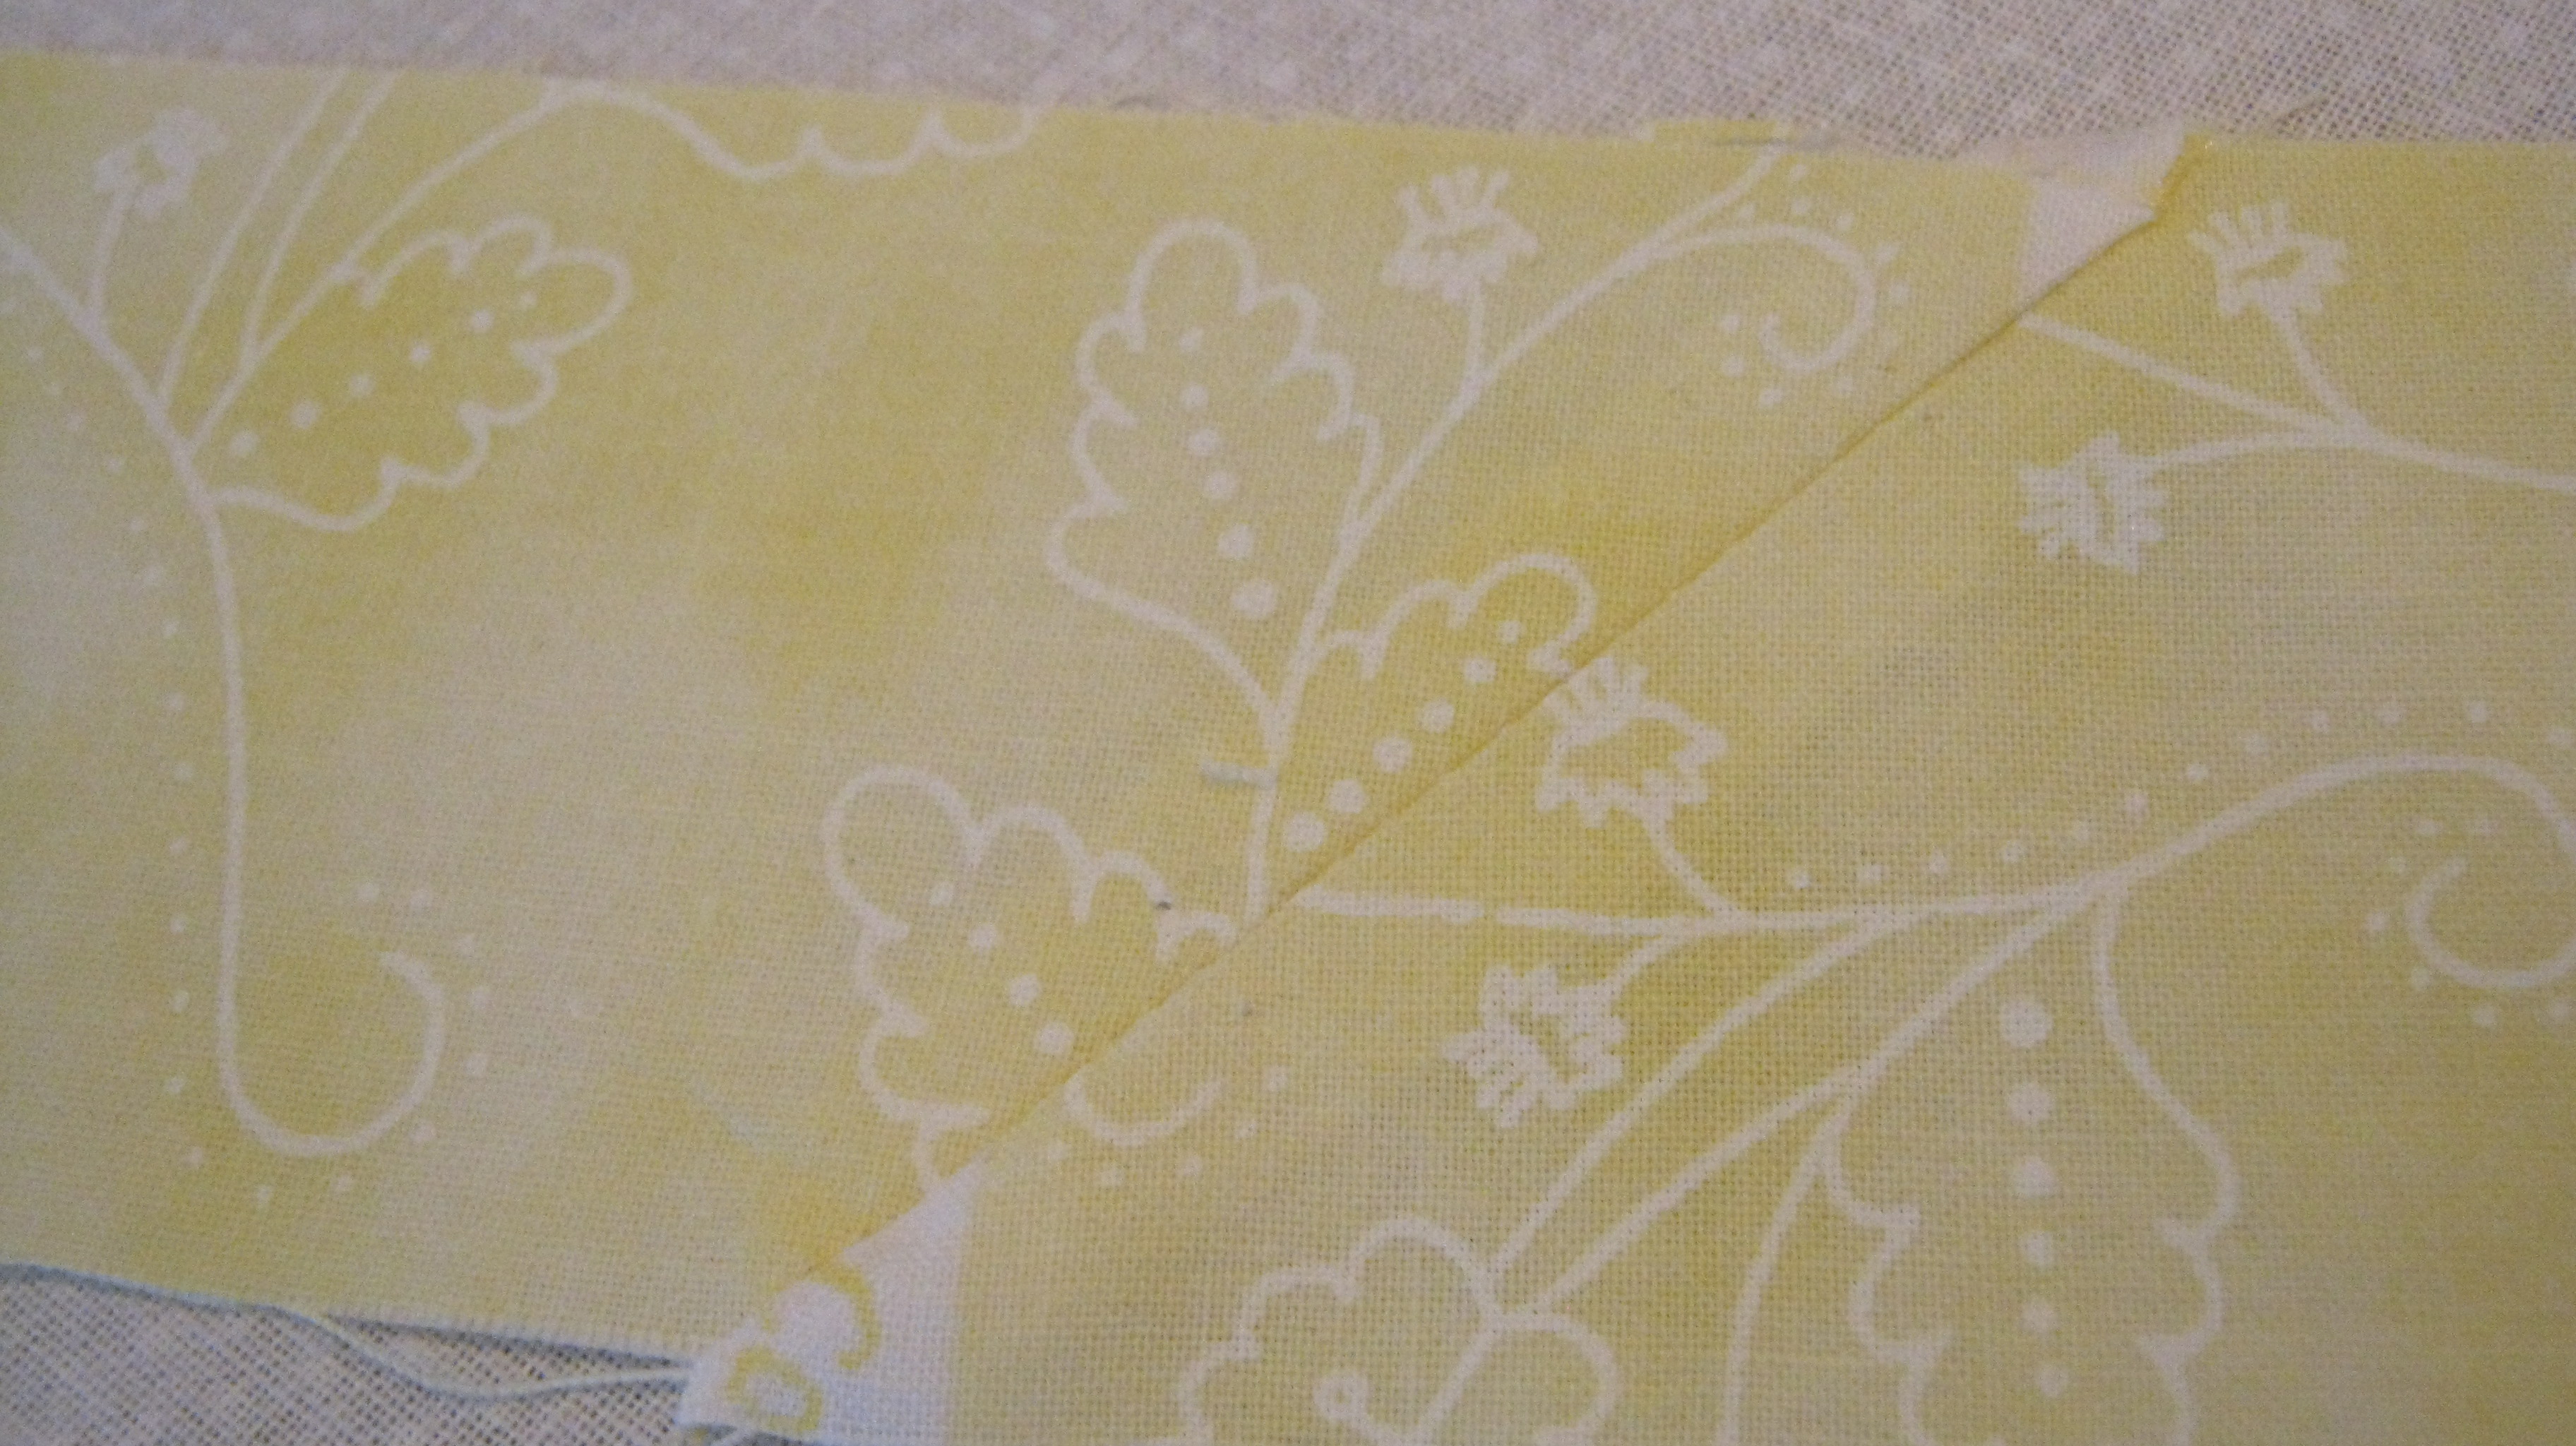
Press open. Join all strips in this manor until you have
one long strip at least 60 inches long.

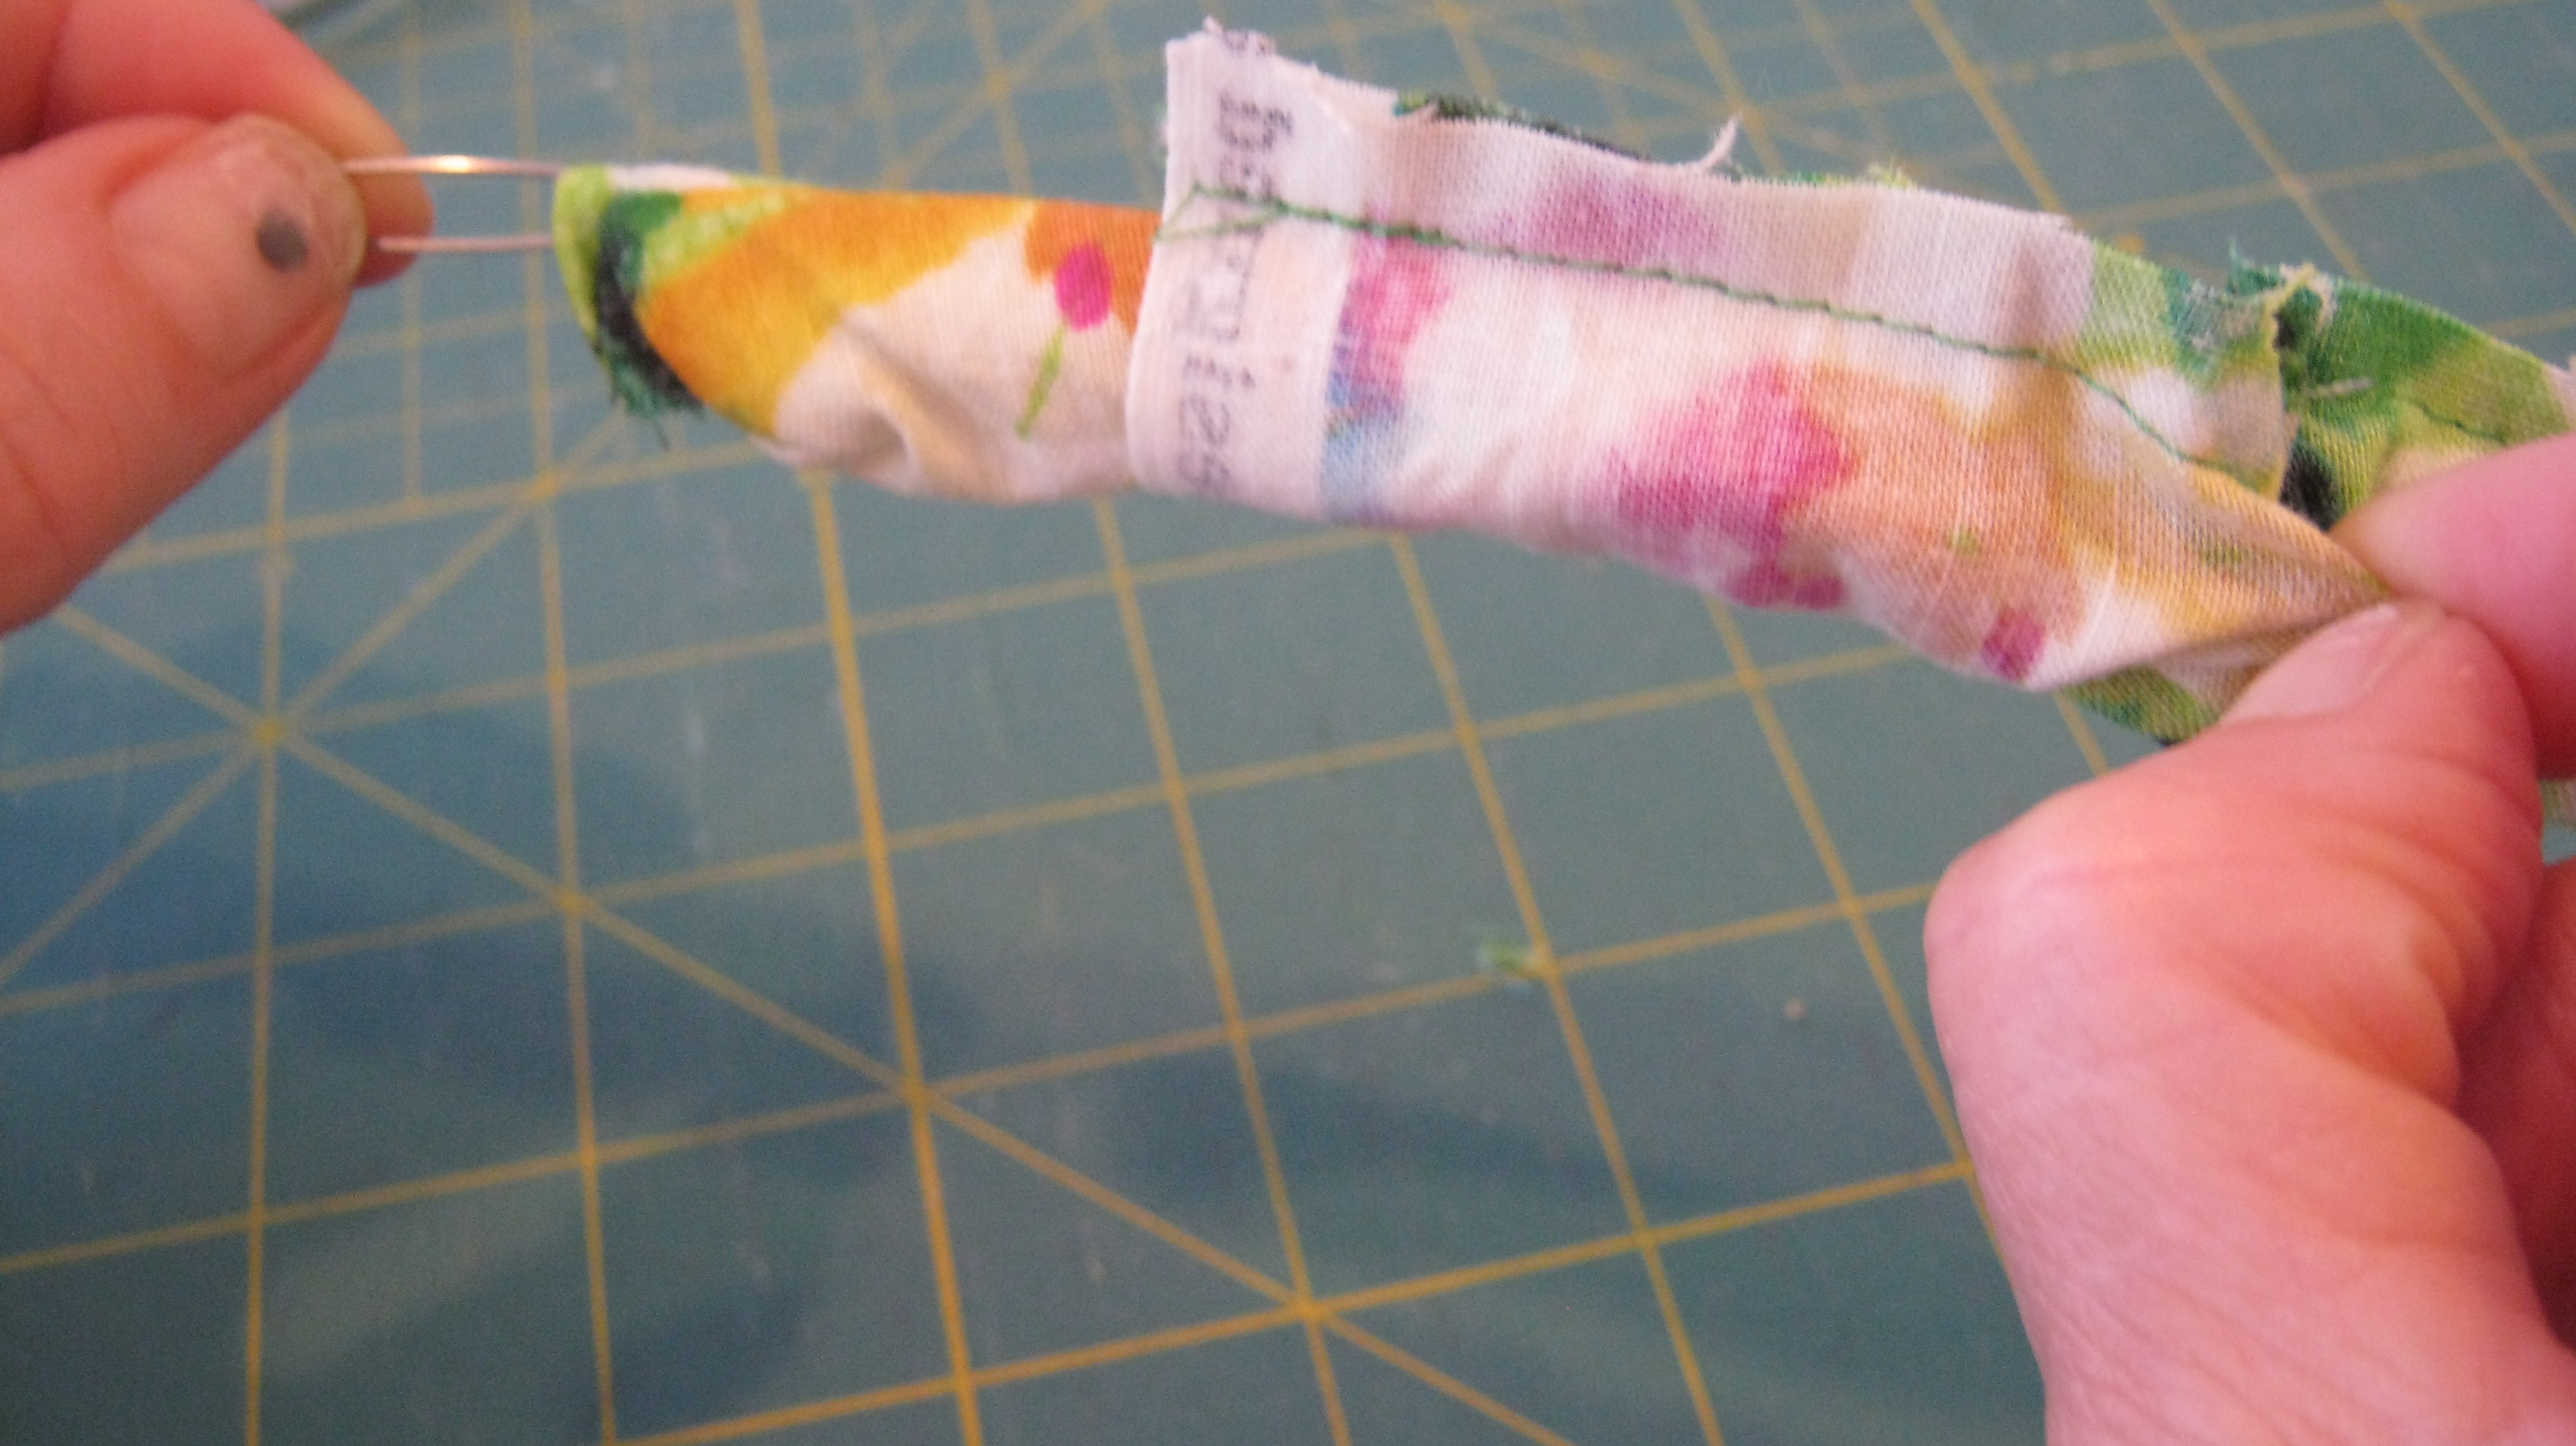
fold this strip right sides together and sew. Turn right sides out.

a quick way to do this is to attach a pin to inside of one end,
(so sorry- forgot to take pics of this, therefore showing you
with scrap material)

Push the pin through

until it comes out the other side. Flatten and Press.

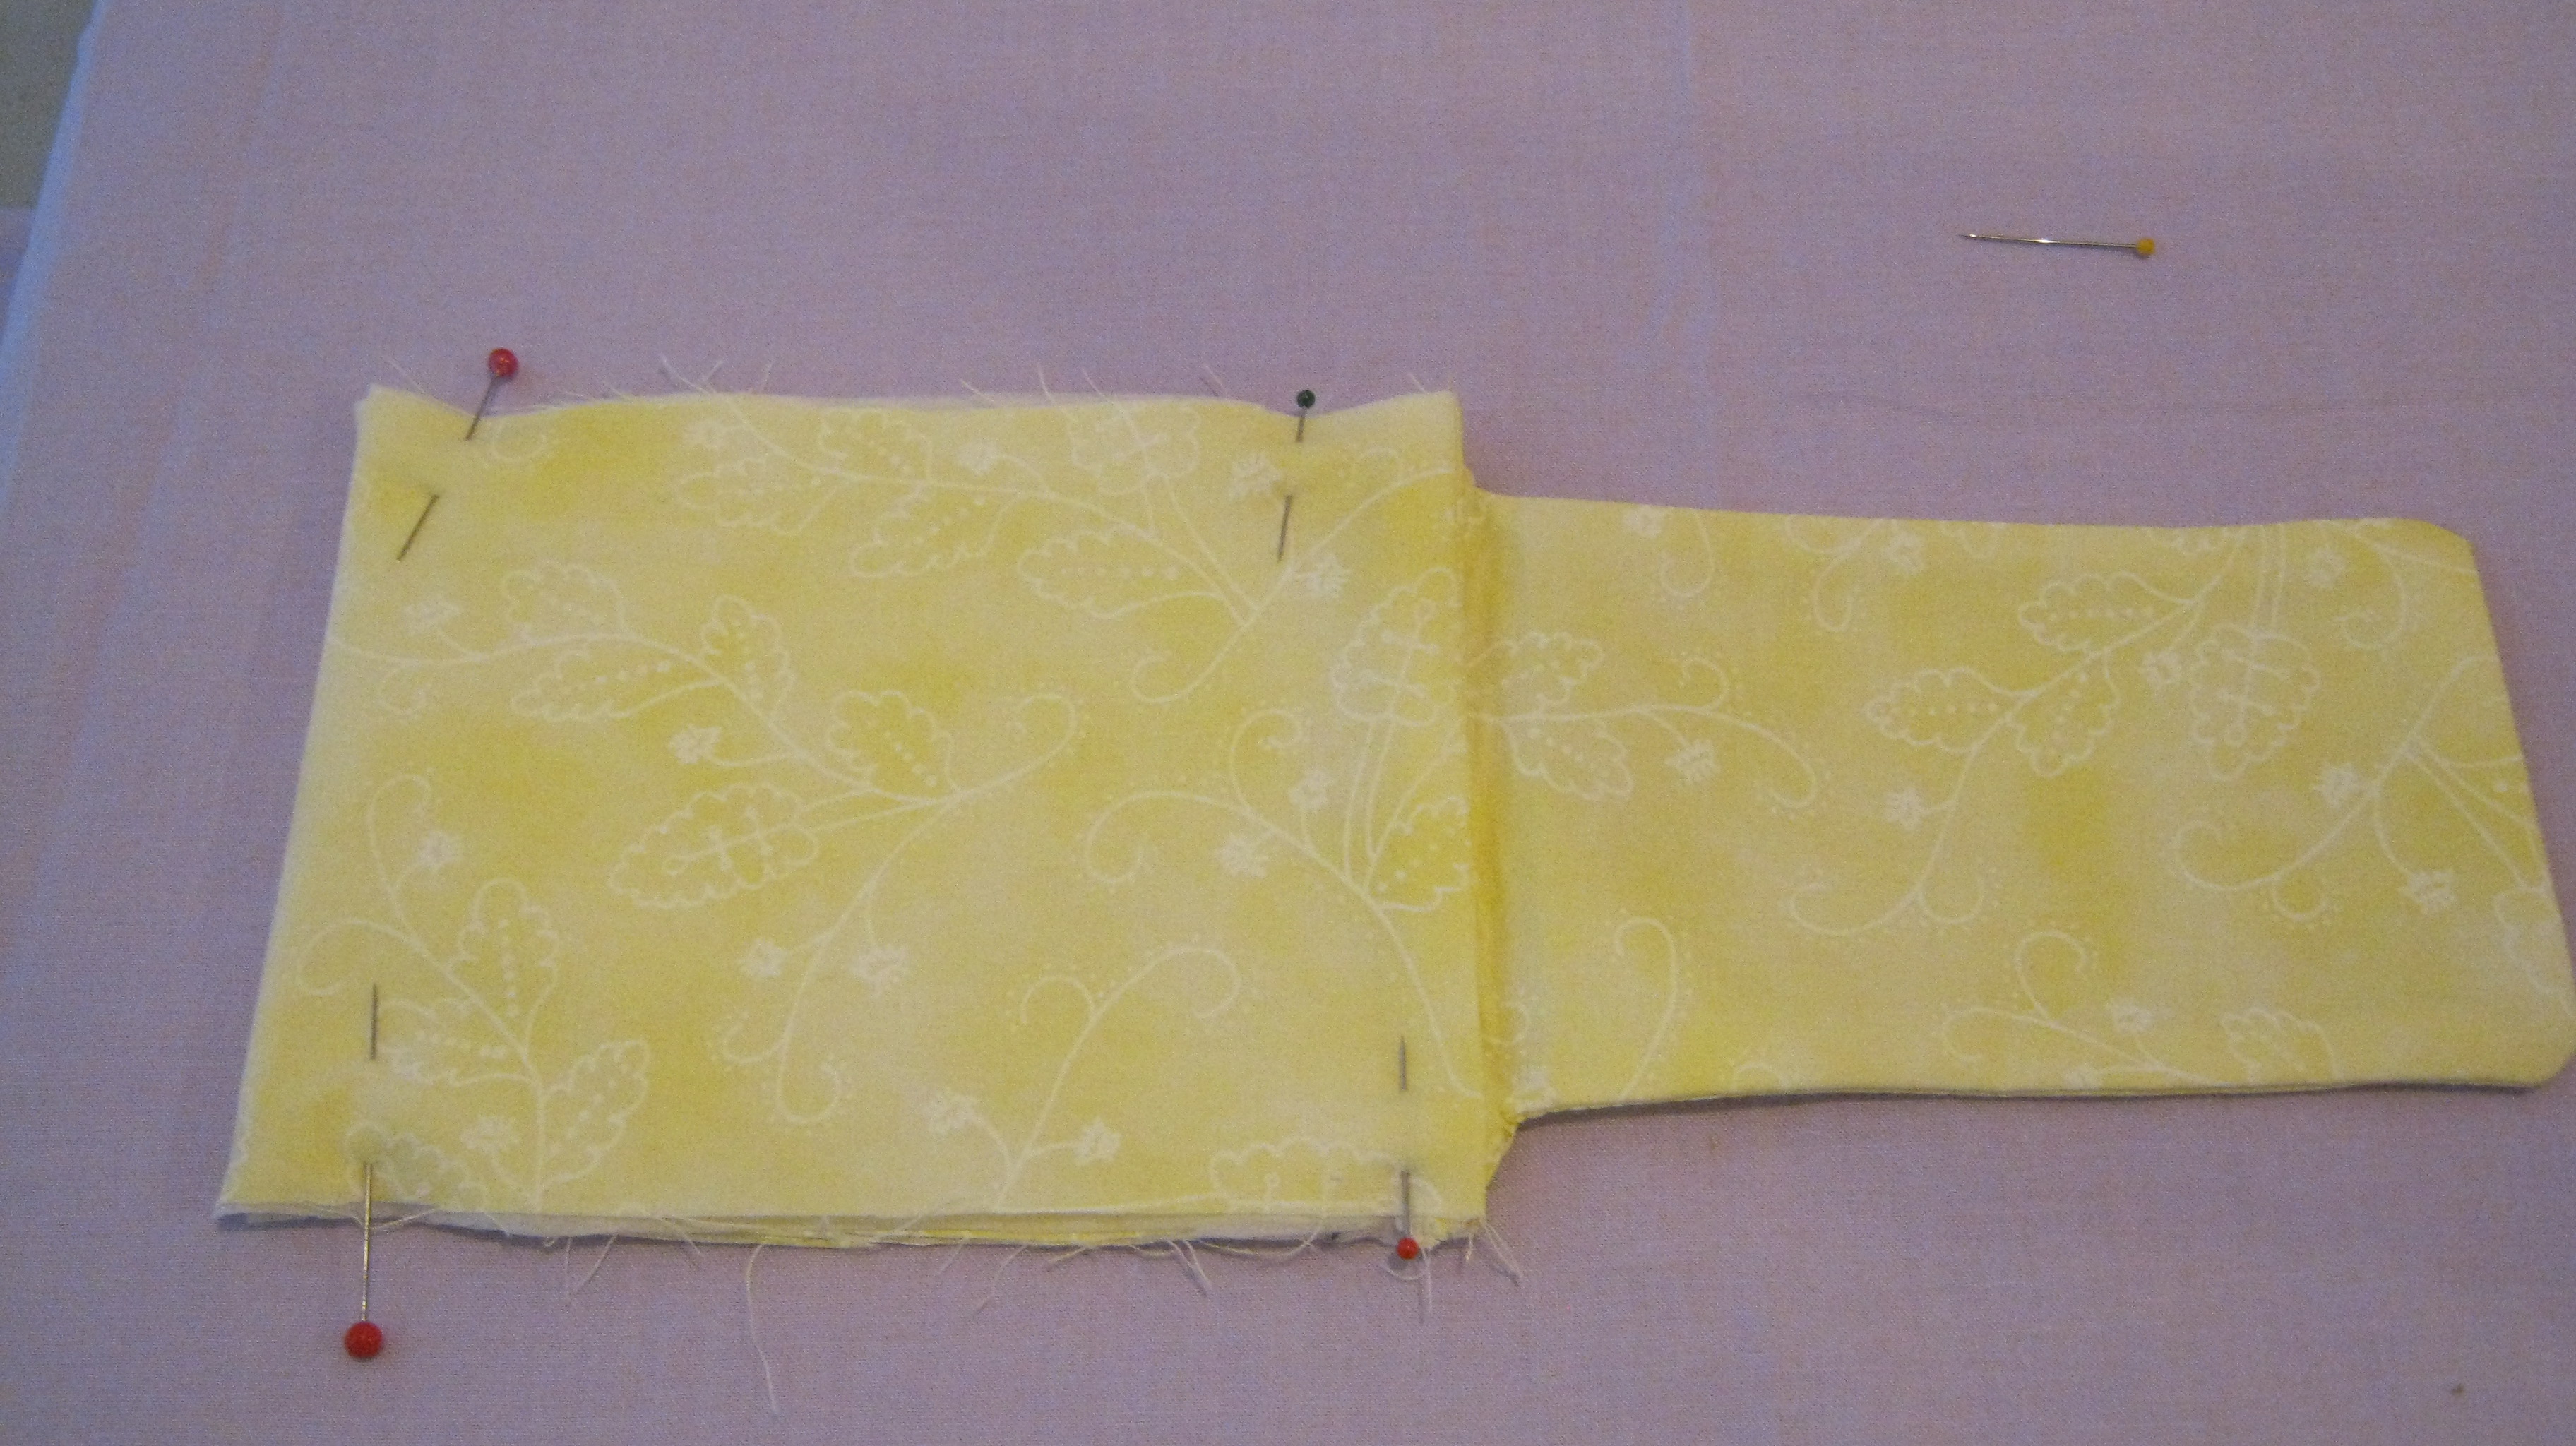
place the bag so that the Velcro is facing down.
Form the bag by bringing the end up until it meets the
base of the flap.

Sew just one side, leaving other side
open as adding the strap will be easier.

Measure the length of the seam just sewn, and add
an inch. Cut this much off of the strap, and zig zag stitch
all four ends to secure raw edges.

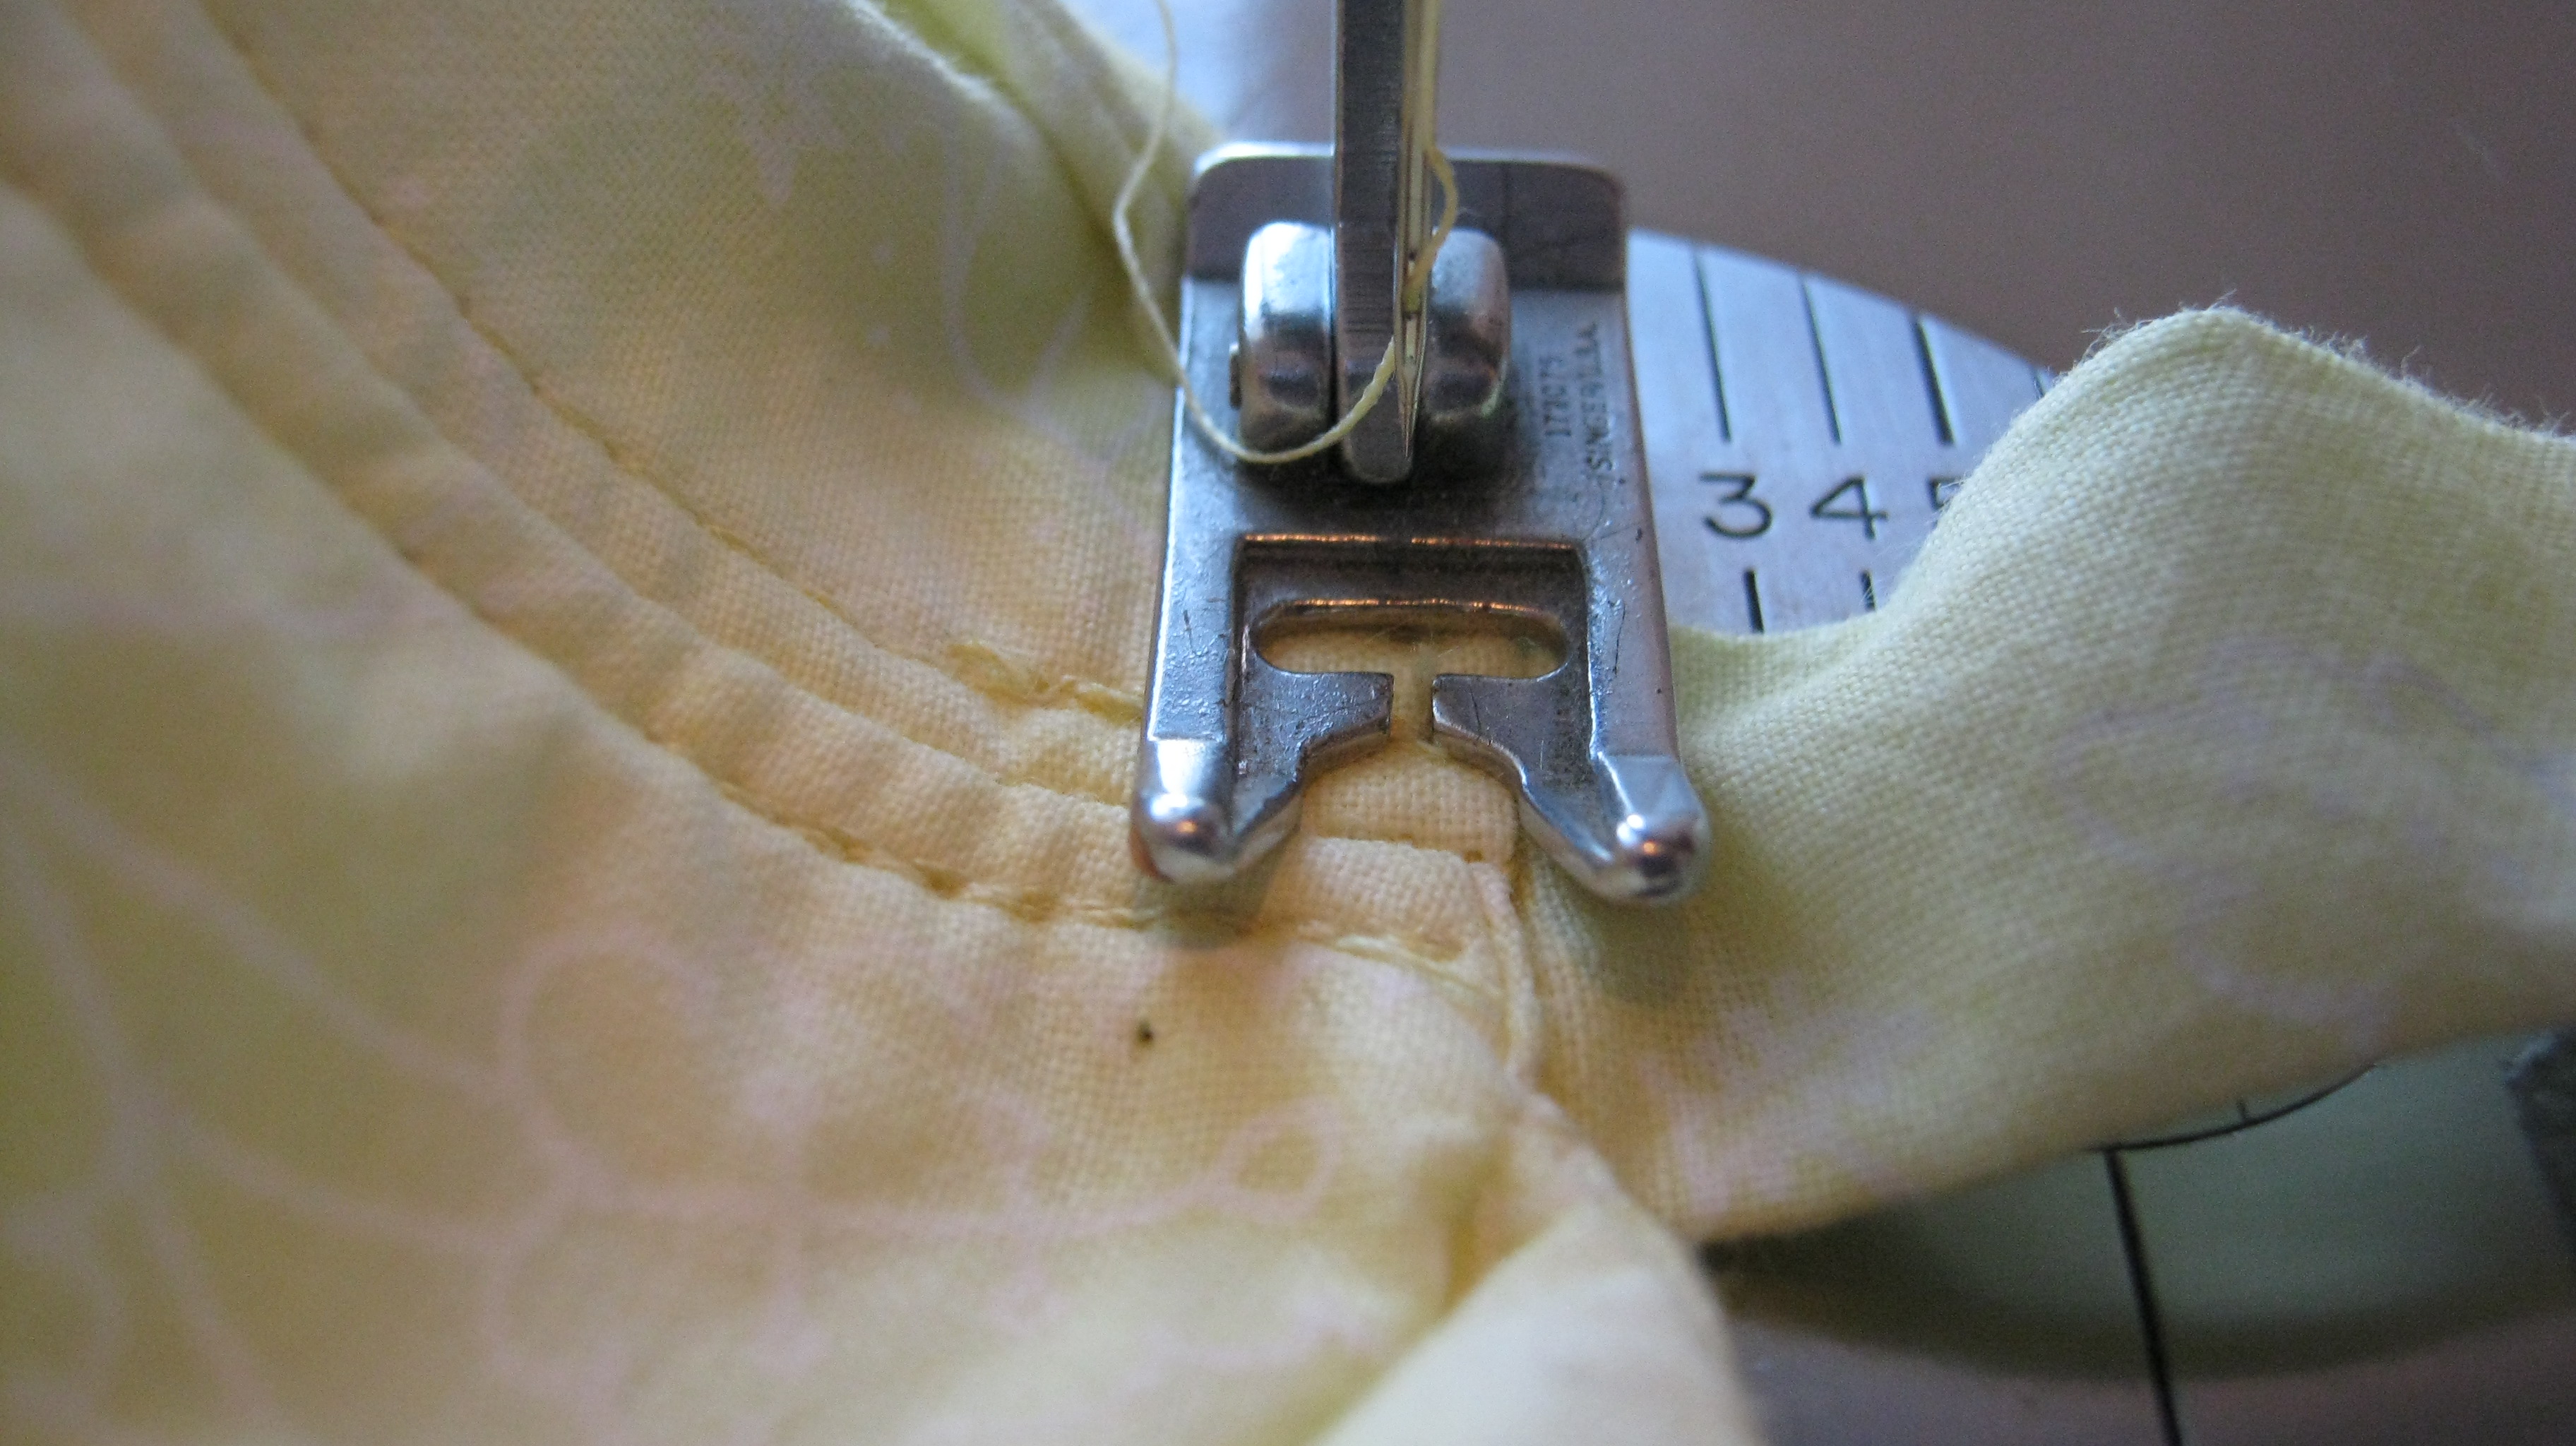
slip the strap through the O ring, folding the end down
and sew. You may need to use your zipper foot, in order
to get closer to the ring.

take this piece and pin it to the inside of the bag
centered over the side seam.

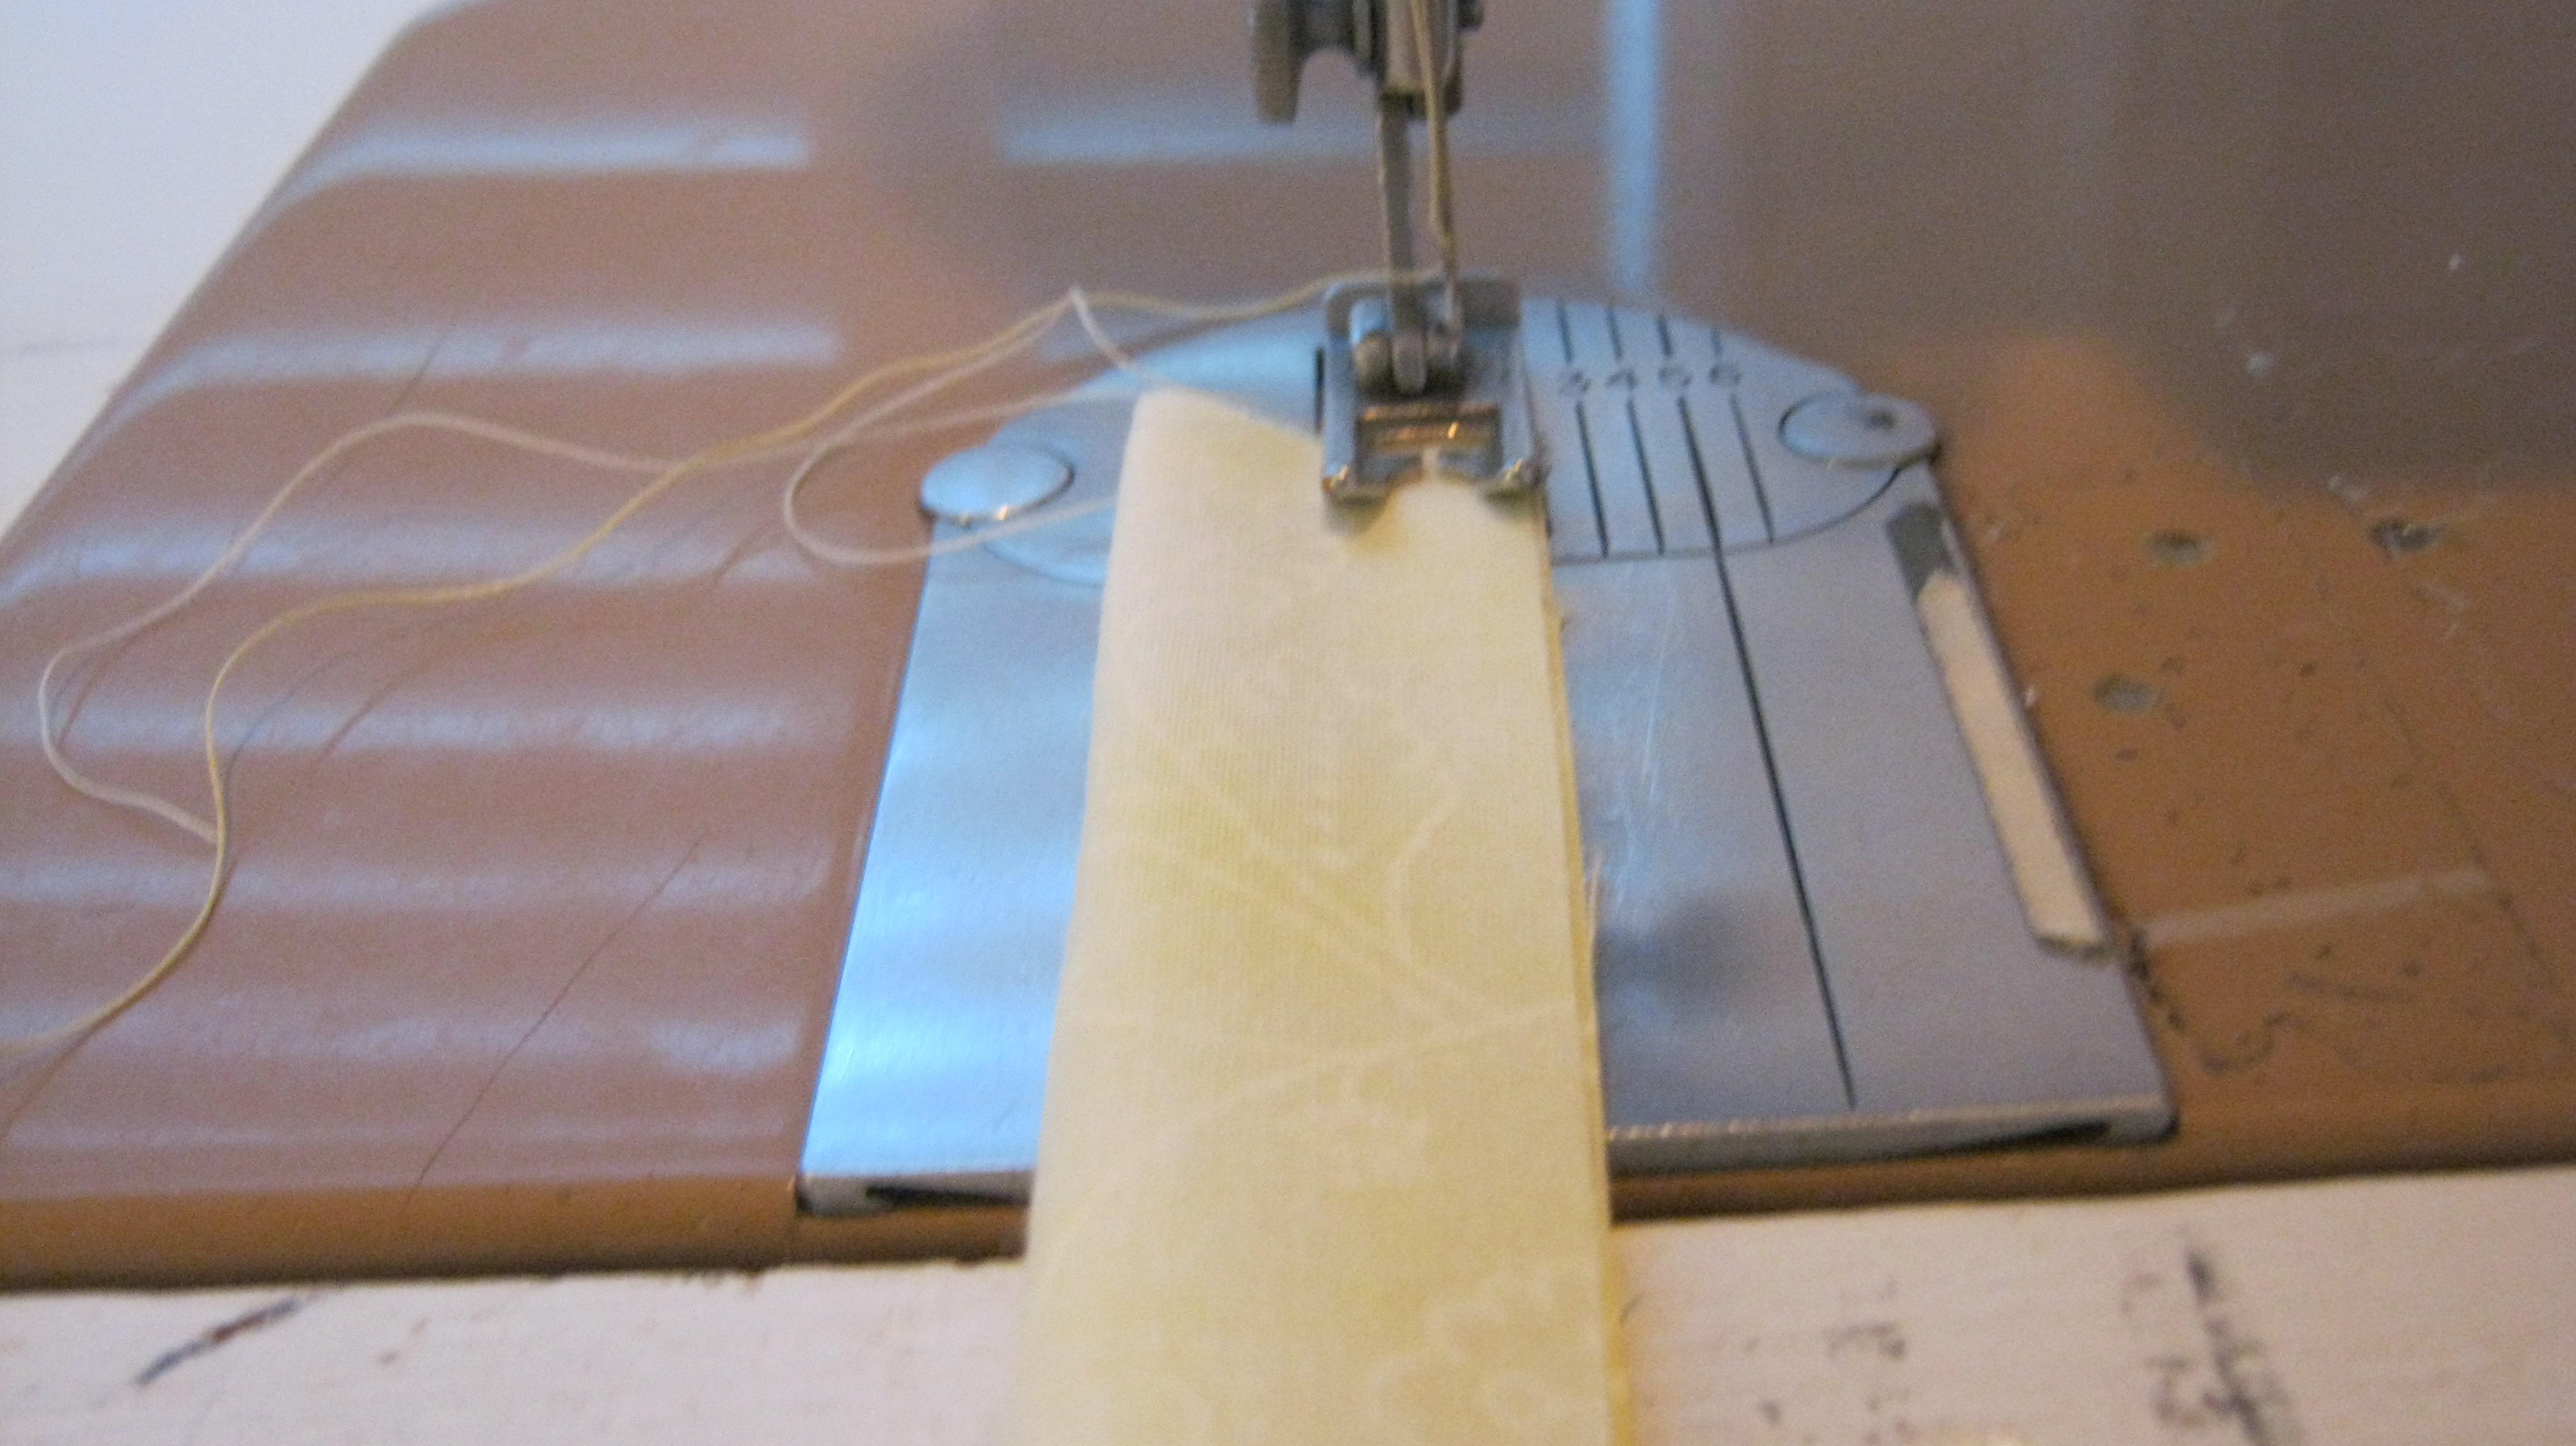
Turn piece over and sew 1/4 inch away from both sides
of the center seam, (as you can see, I first tried sewing
this from the other side.. but did not get a nice even
seam.. so I took it out and tried again on the out side
of the bag.)

Attach the main strap to the double ring slider.
Remember, mine has 2 center bars, but you can use a single center
bar as well. This I had to hand sew. Because of the nature
of the double ring, I could not lay it so that it would fit under the foot of my machine.
I used my adjustable bra strap as a guide for figuring out how to set up the strap.

First I fed the end through the O ring.

then feed it back through the slider ring, under
outside ring, then over to inner bars, and under out
side ring

.
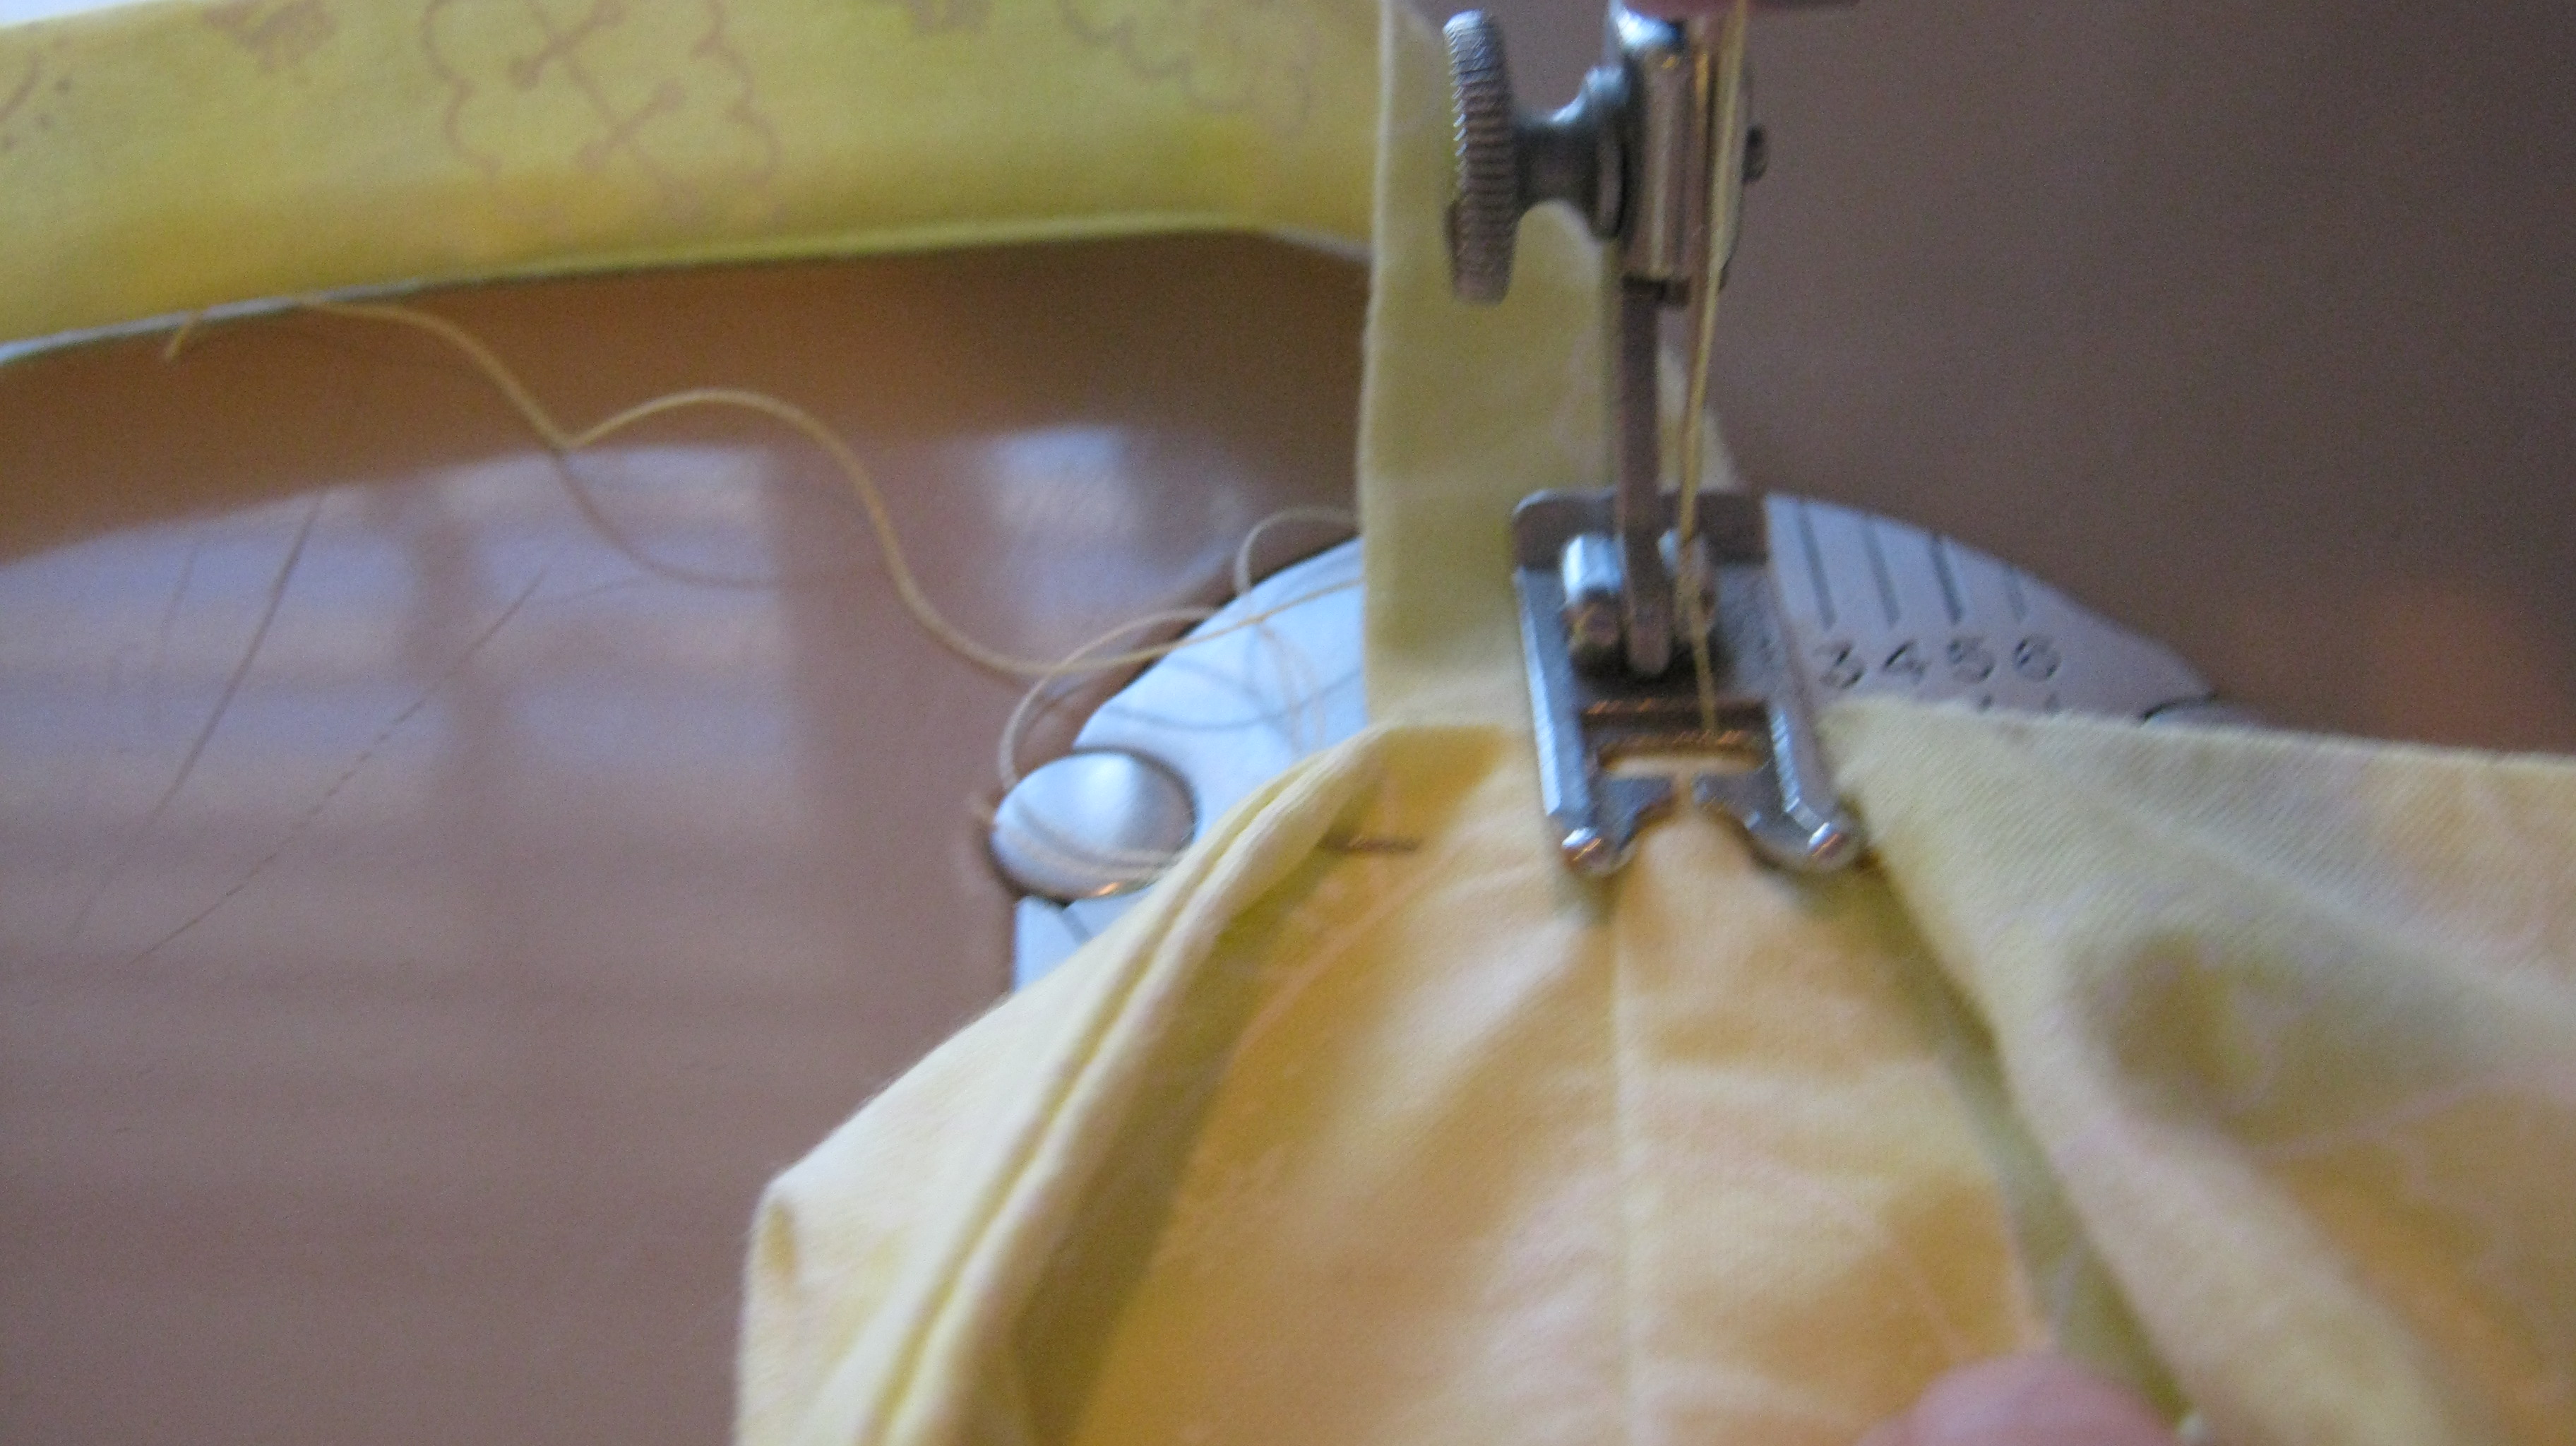
Sew the last side and attach free end of strap as shown,
pinning over the seam.


Turn it over and sew it 1/4 inch away from either
side of the center seam.


This gets a little tricky because you end up having to sew
inside the bag.

The last step is to reinforce the strap by sewing across
the top of the bag at the seam line. This is done at
both ends of the strap.
Fold the flap into place and mark where the hook Velcro should
be attached and hand sew into place.


 This bowl taught me the importance of
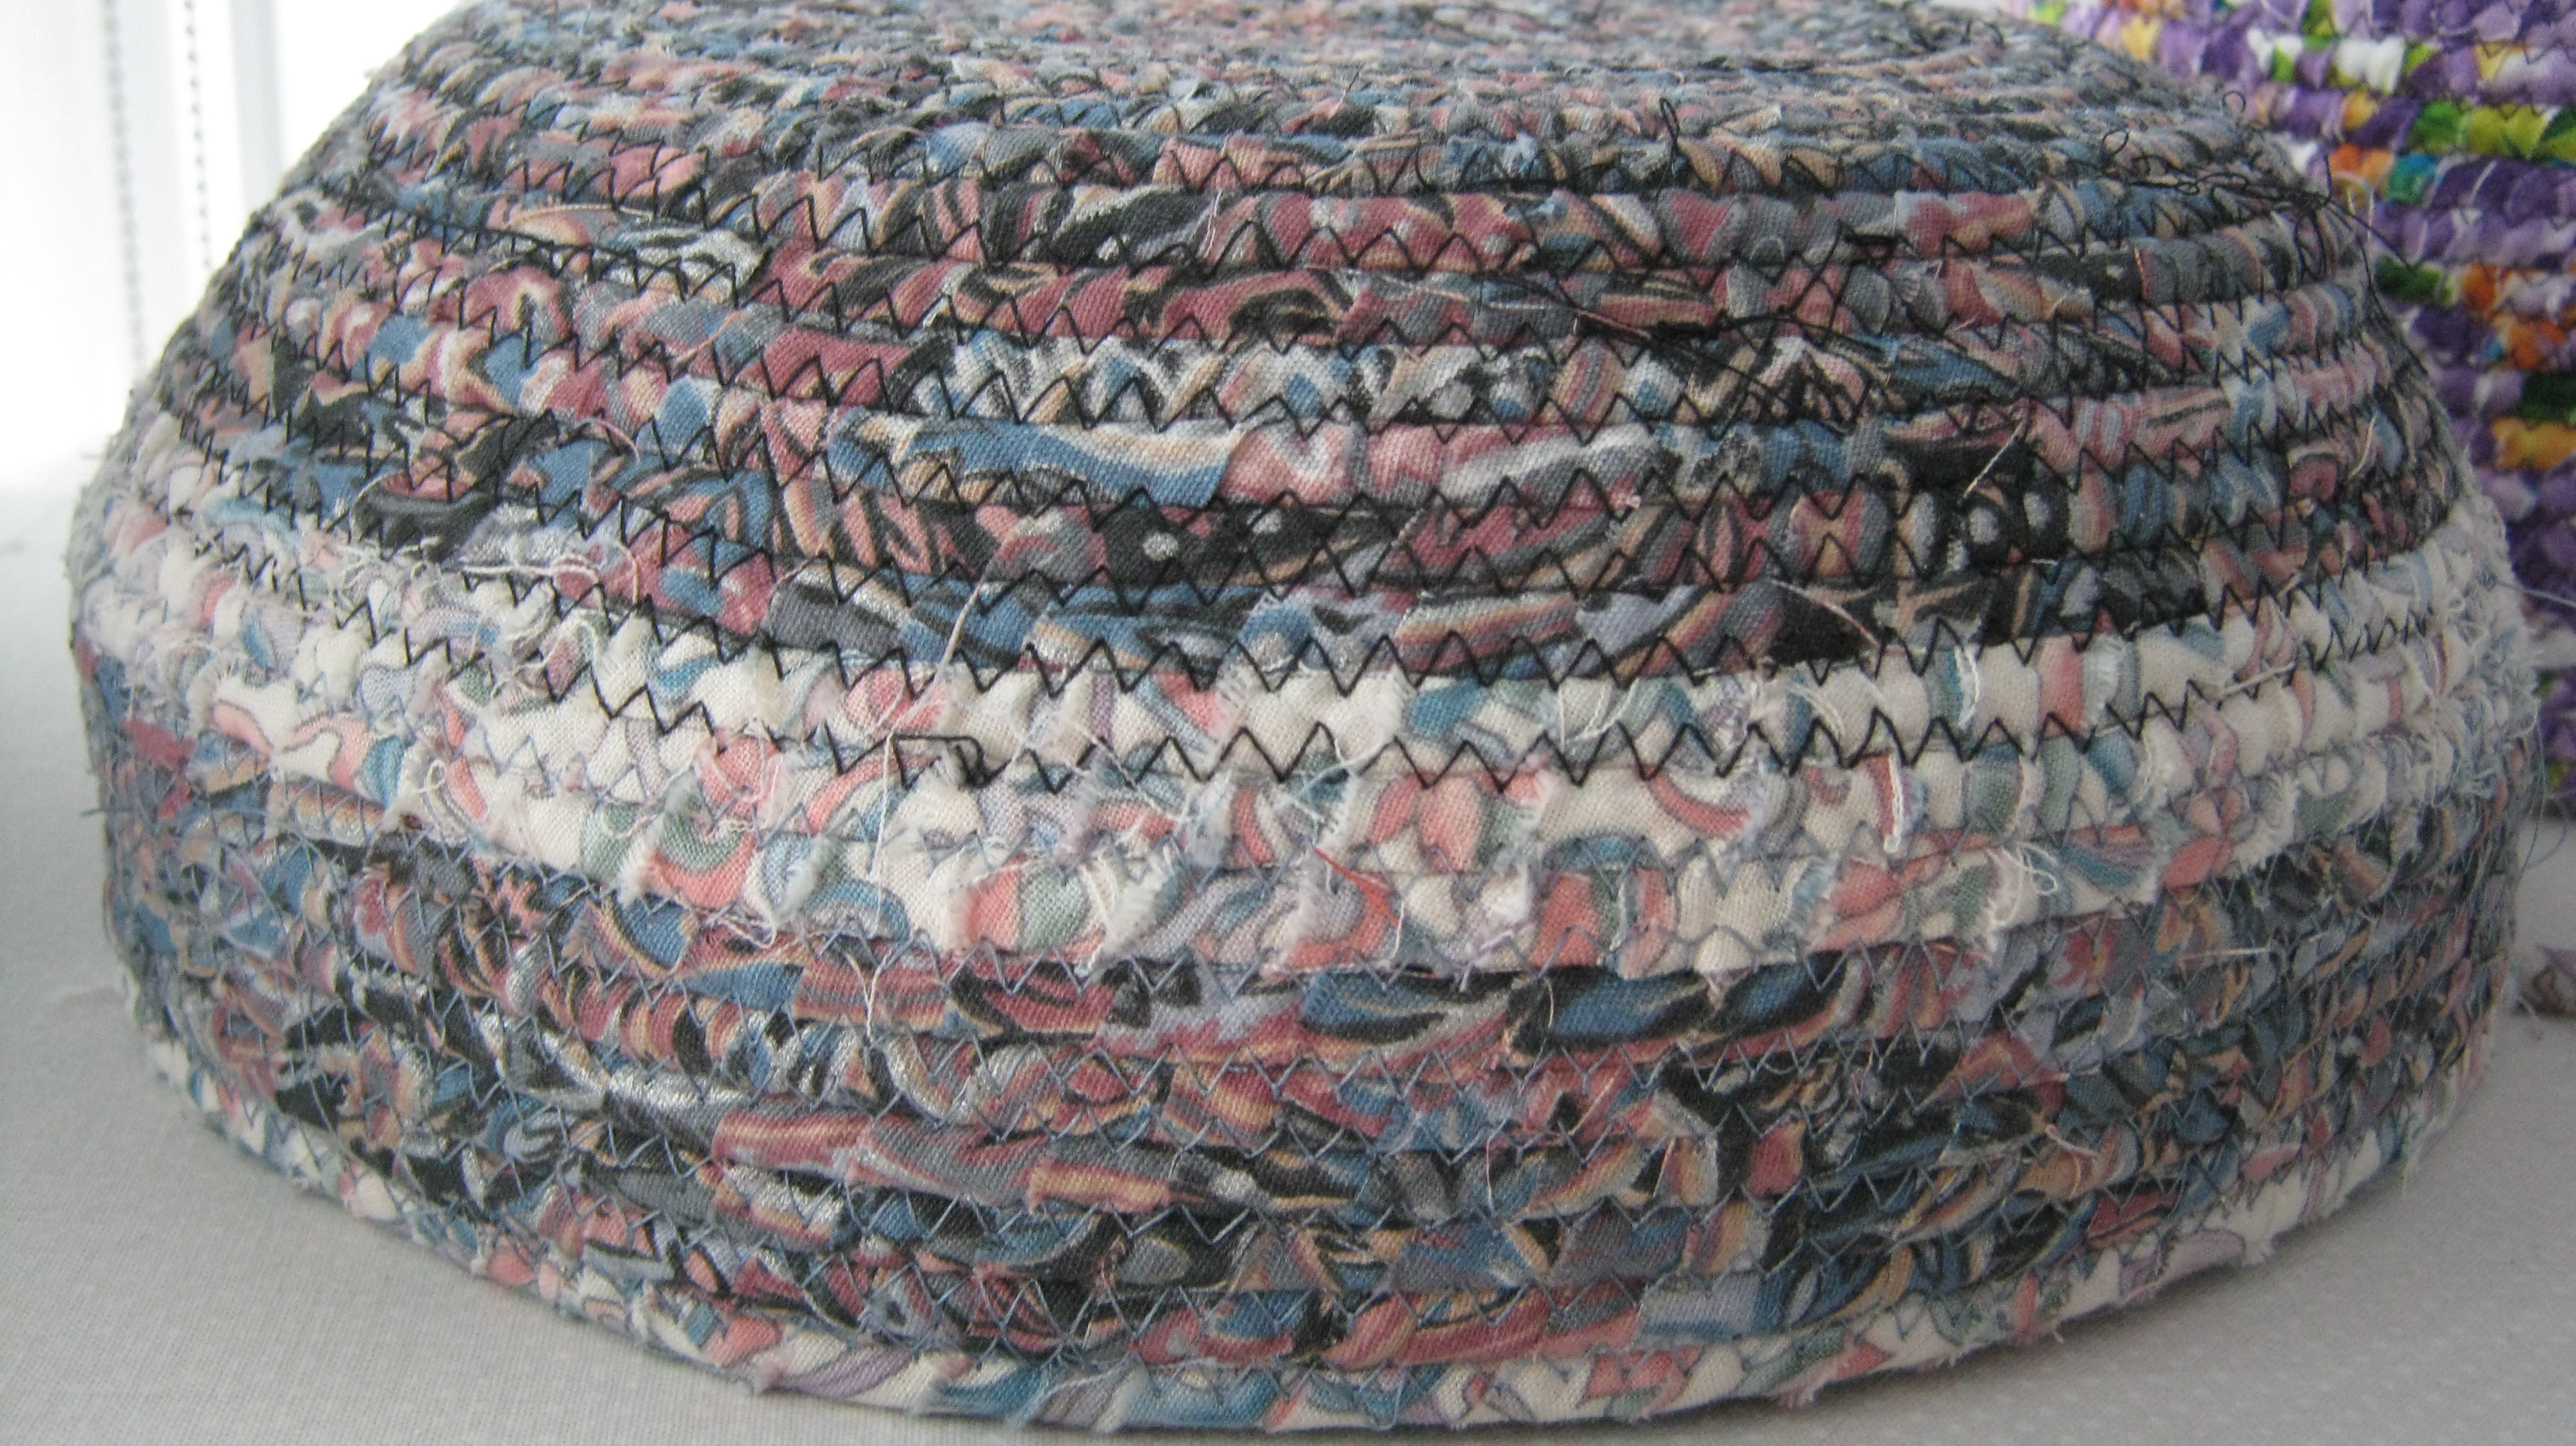


