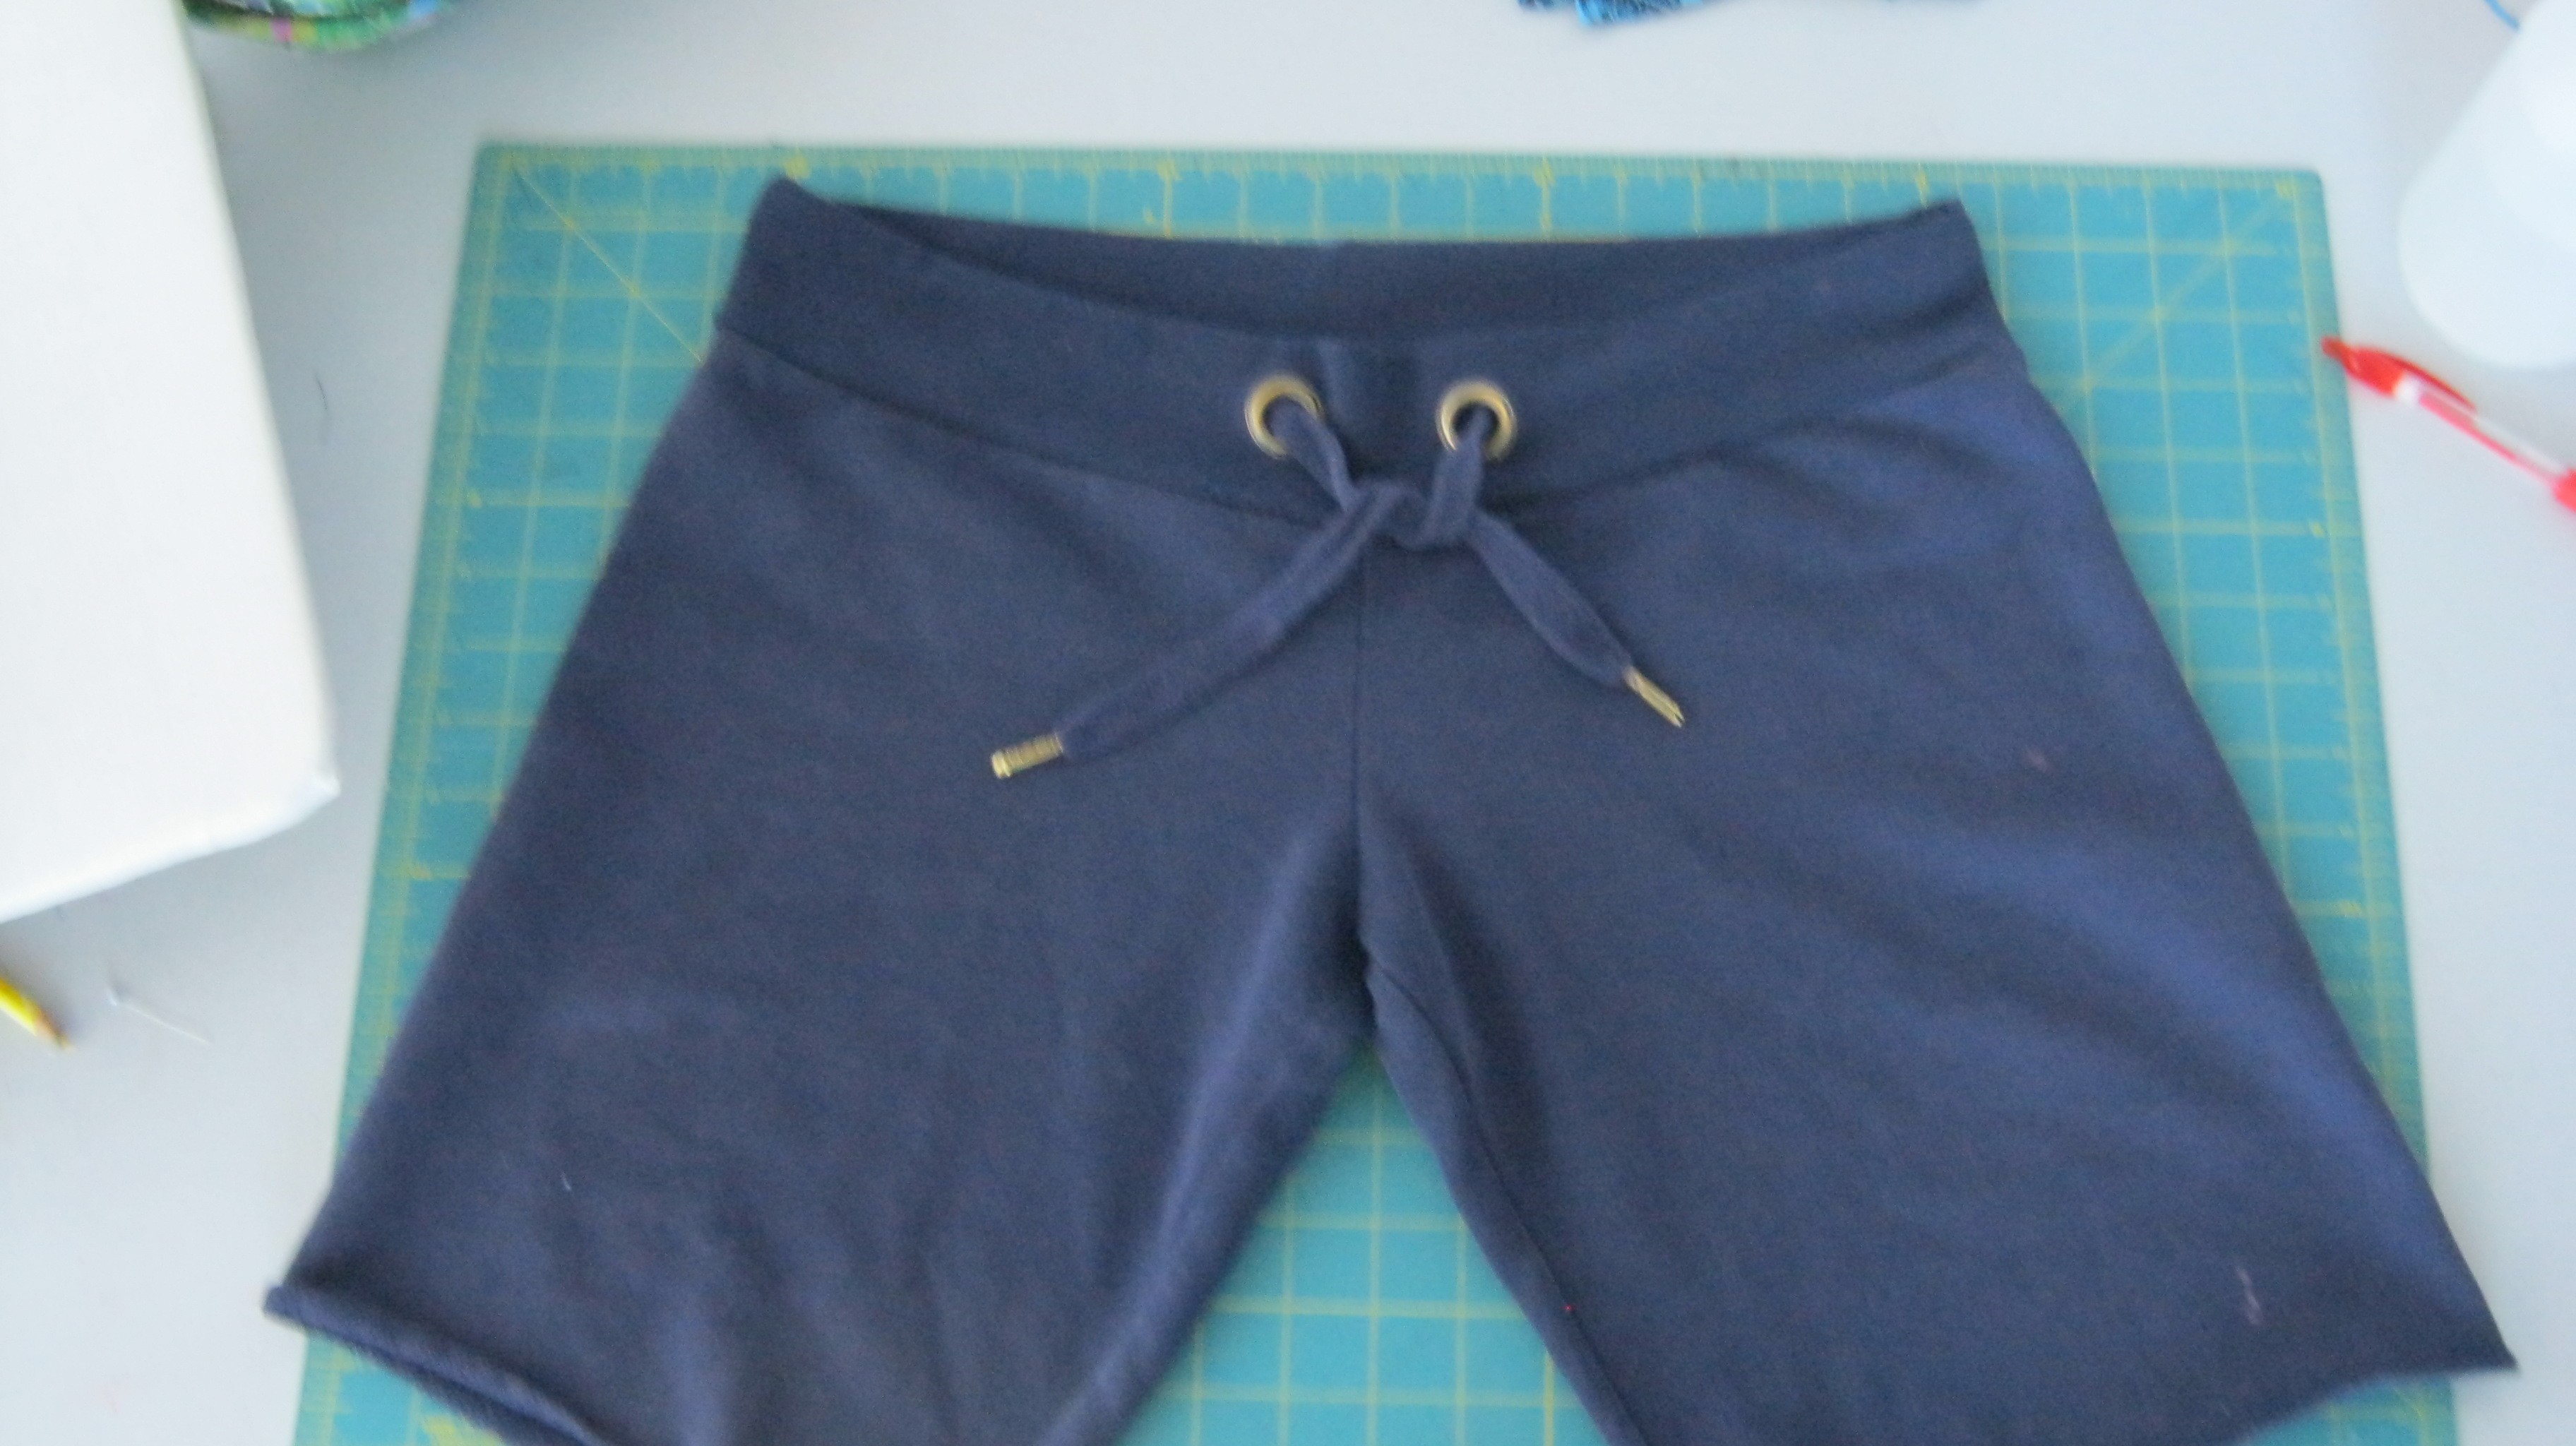
These are my favorite work out shorts. They are getting
a little shabby, so I figured I would make a new favorite
pair.
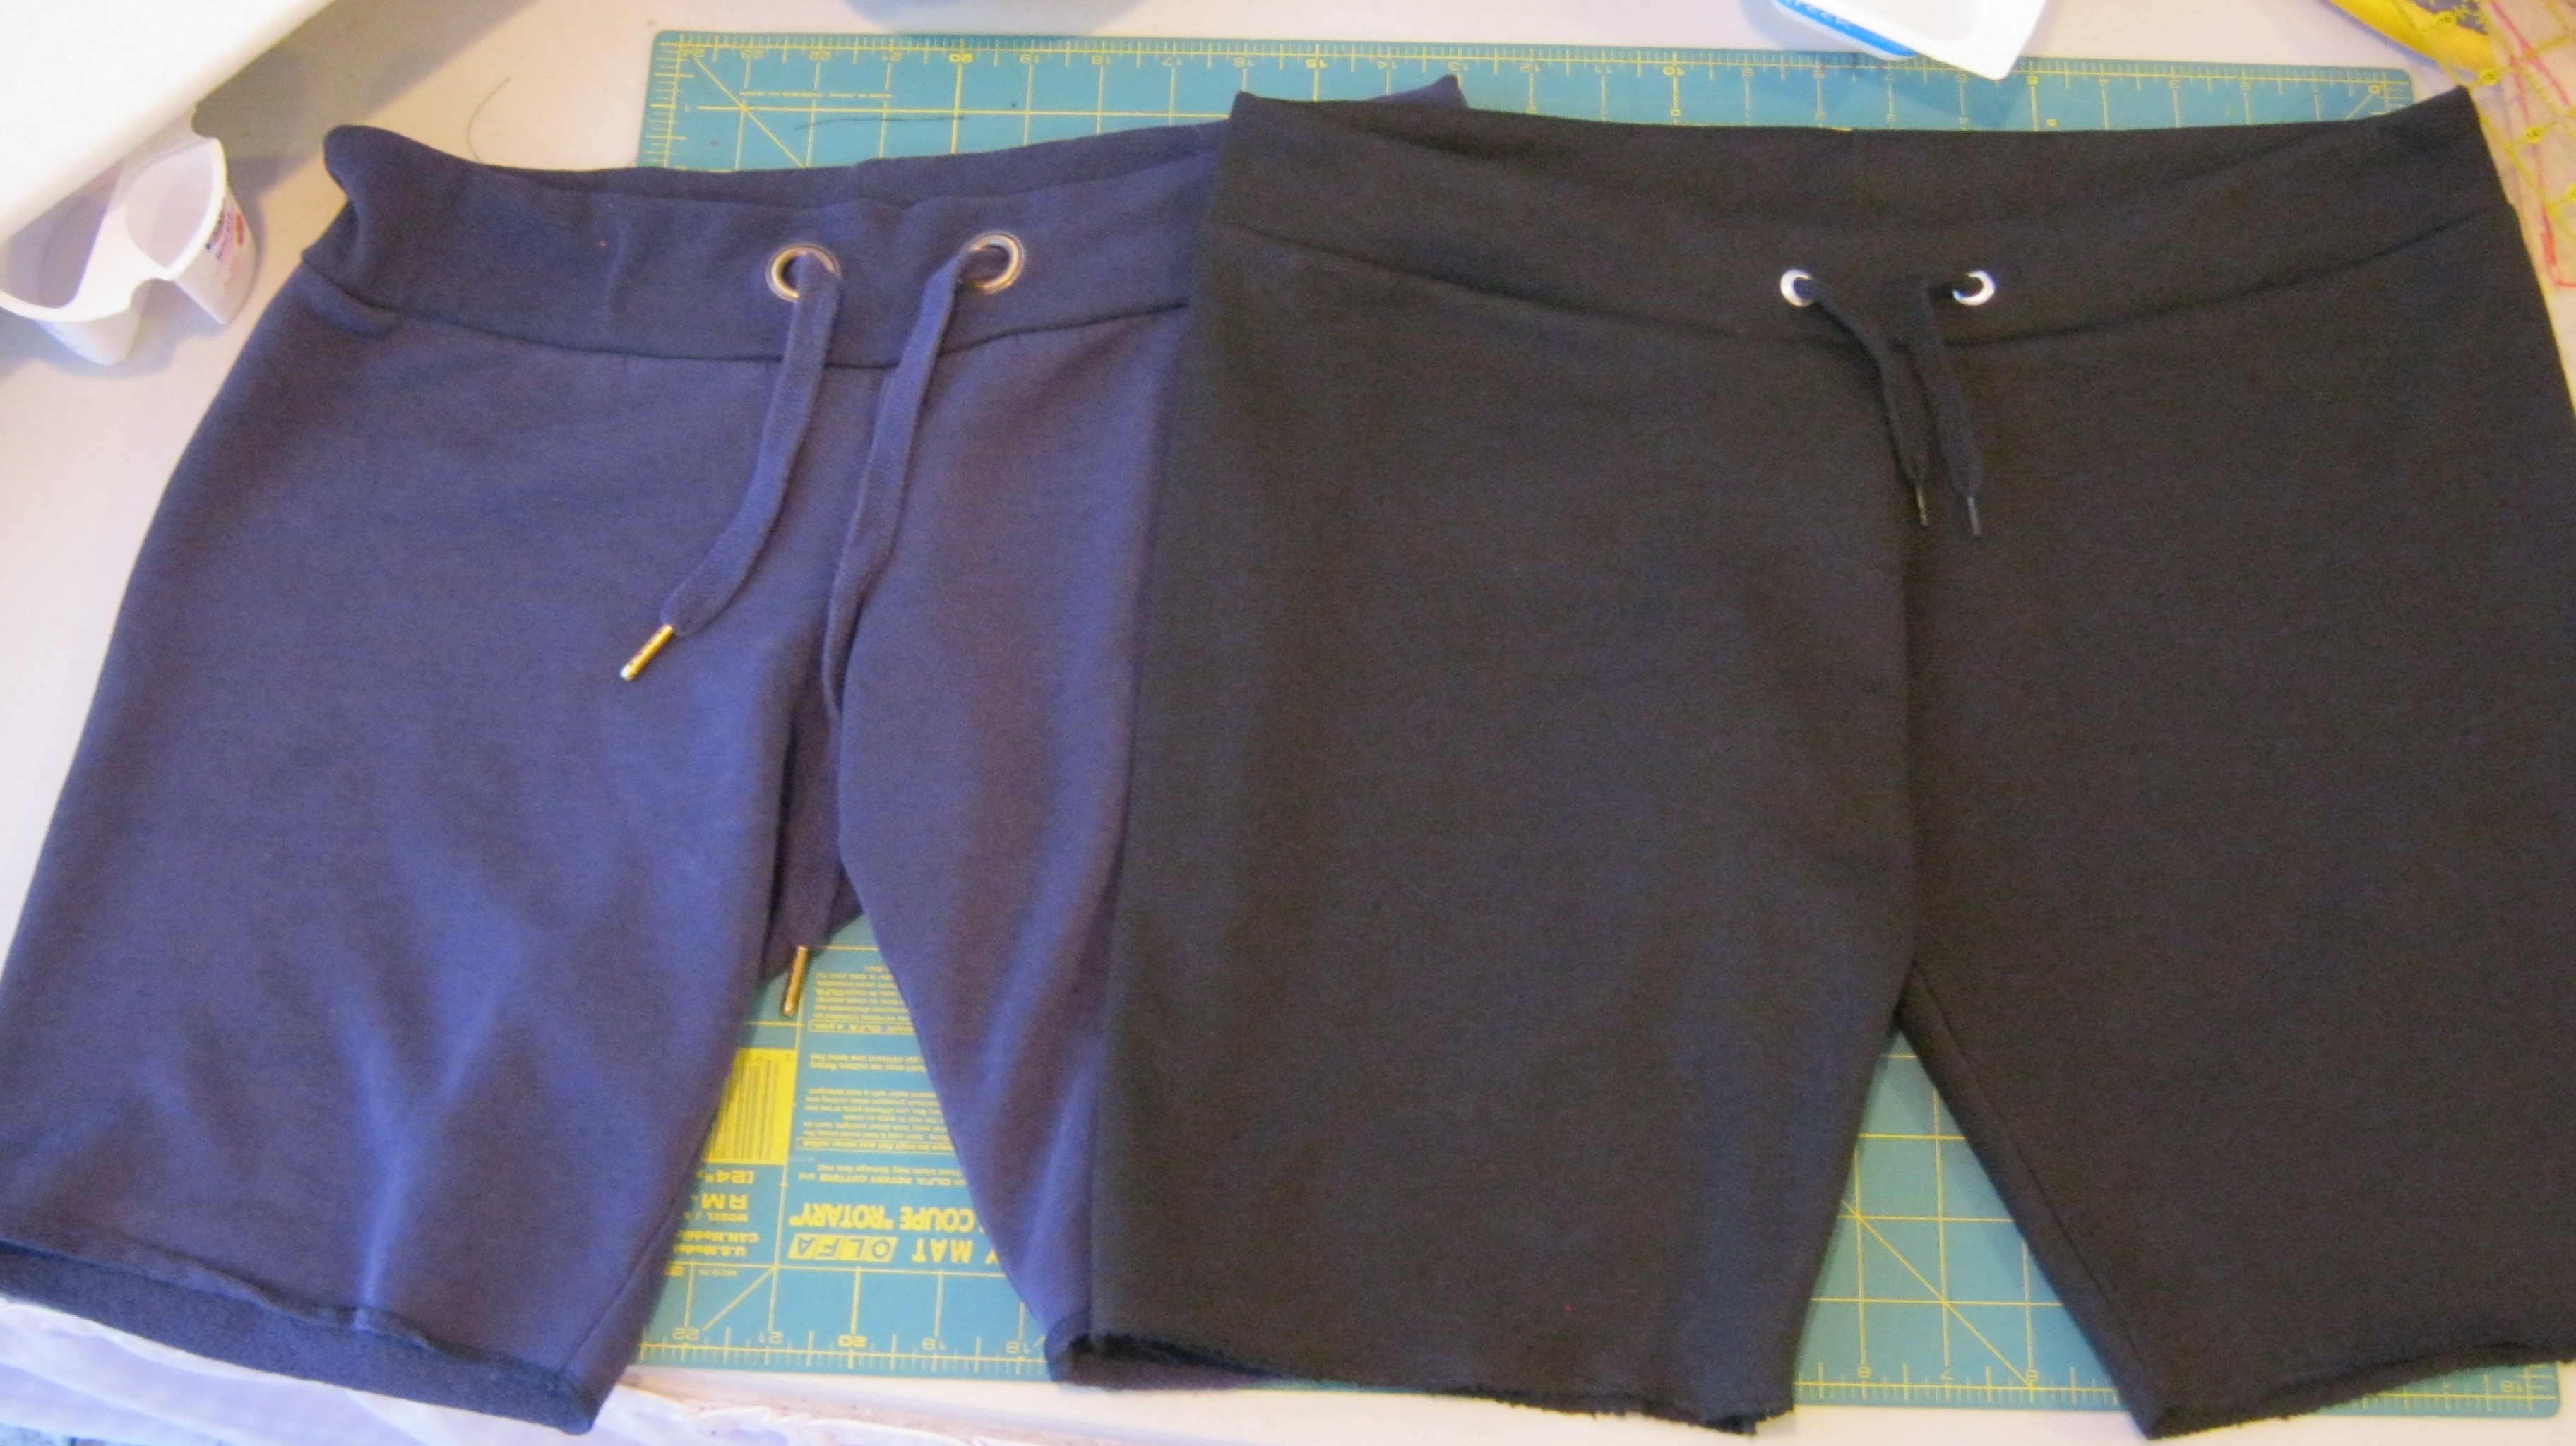
The black pair are it.

I had this heavy black jersey(sweat shirt
material) that I found on sale at Karen’s Kreations in
Northfield NJ. It would make great shorts, and then some.
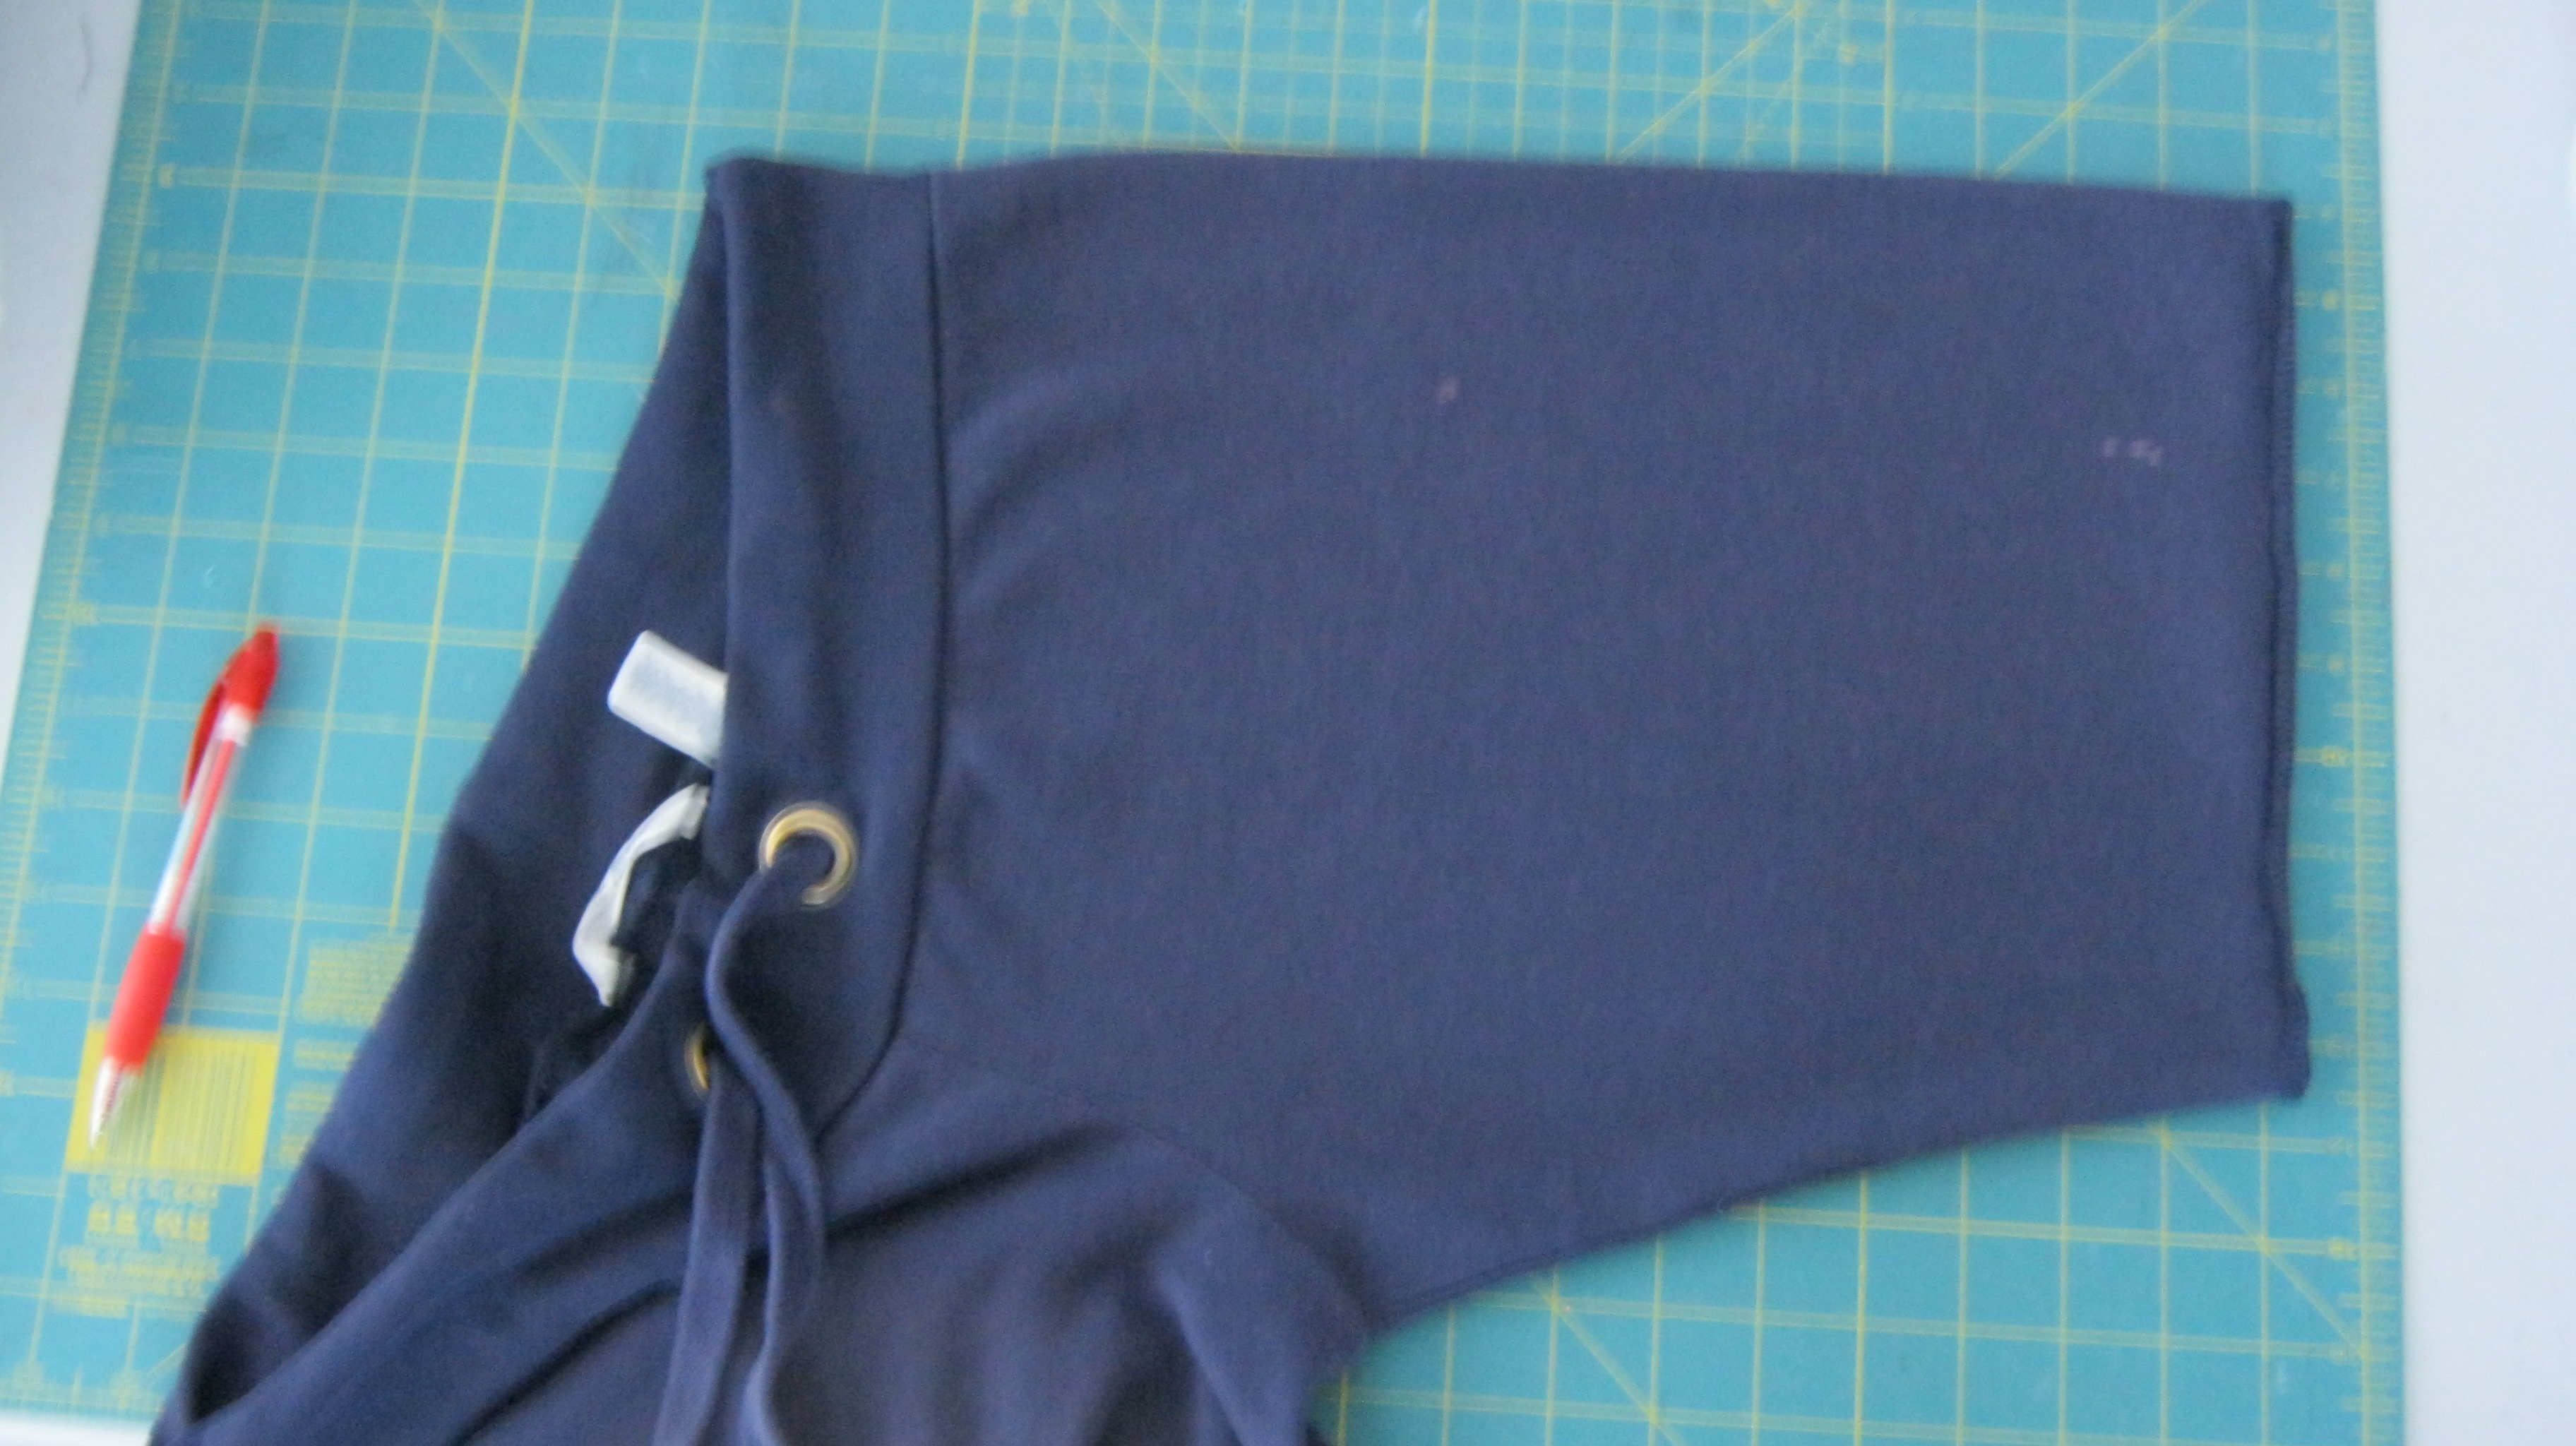
The plan was to open up all the seams
in order to make a pattern. But I was feeling
really lazy, and decided to trace a pattern with the shorts
as is. I layed out the shorts then placed a piece of pattern
paper, that I took from a curtain pattern, on
top. I traced the front of the shorts onto the paper,
adding about a 1/4 inch along the top and crotch for seam
allowance.

Then I did the same with the back.
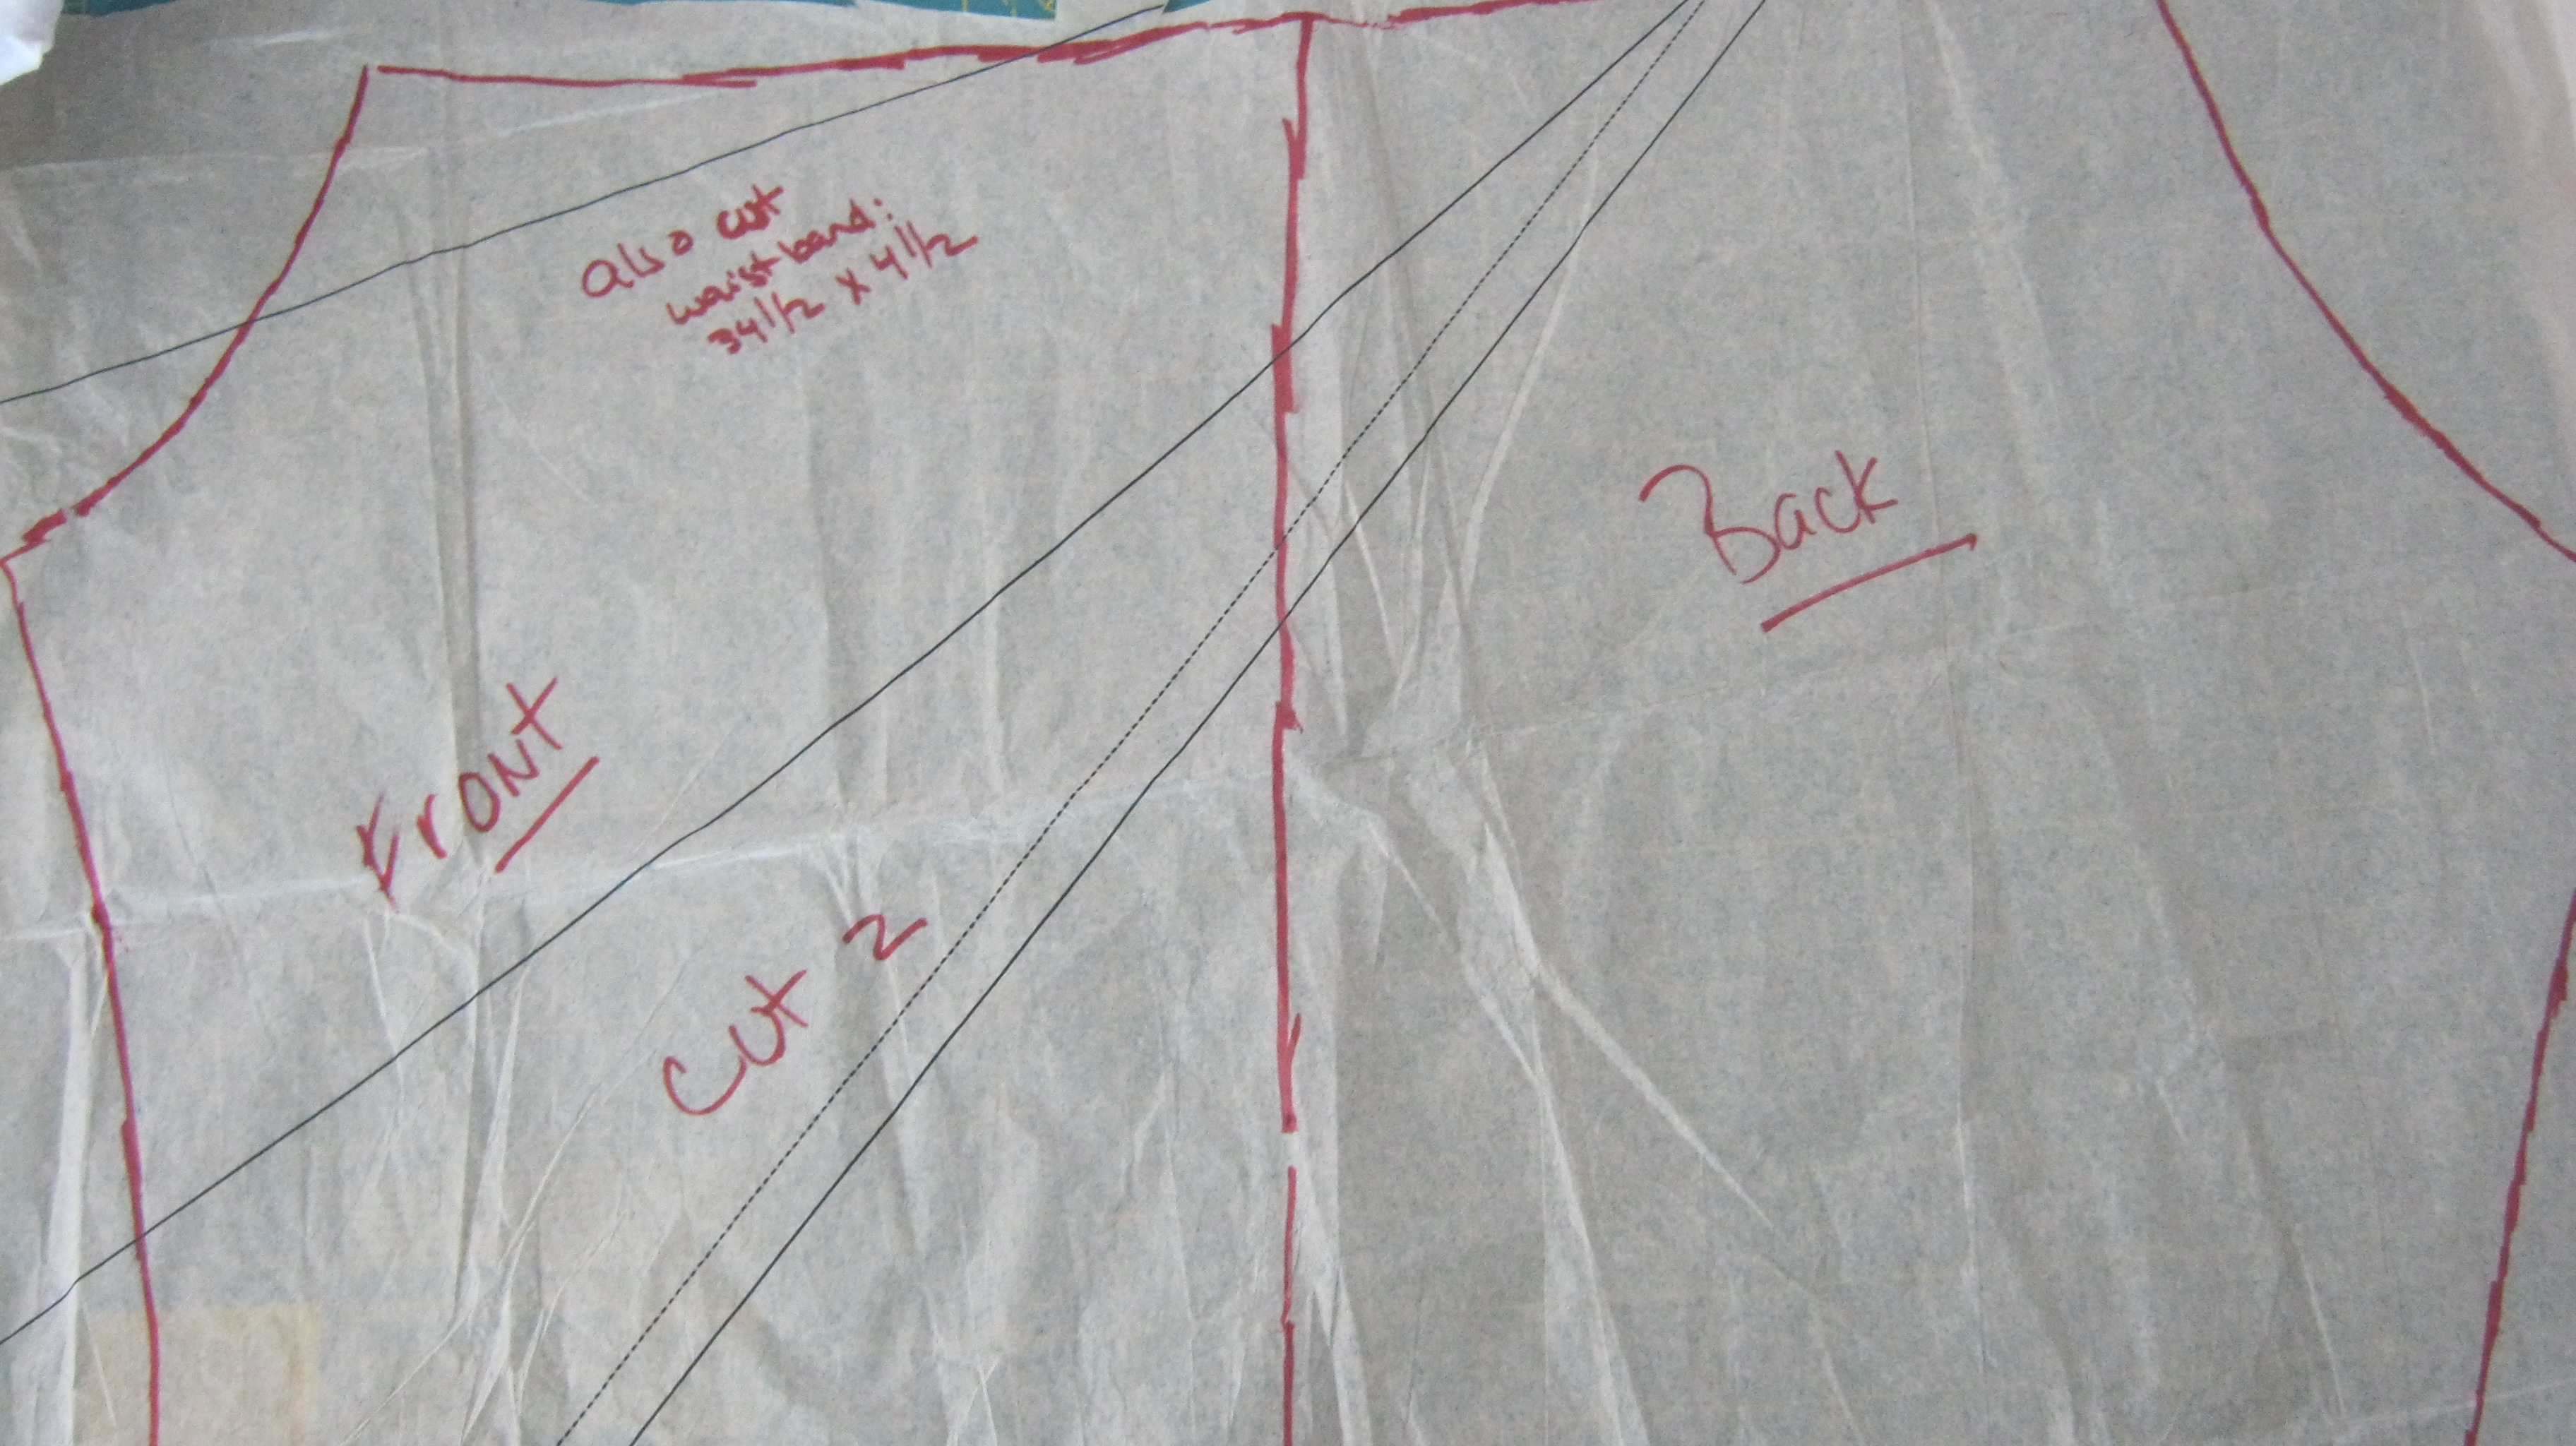
The this is how the pattern looked.

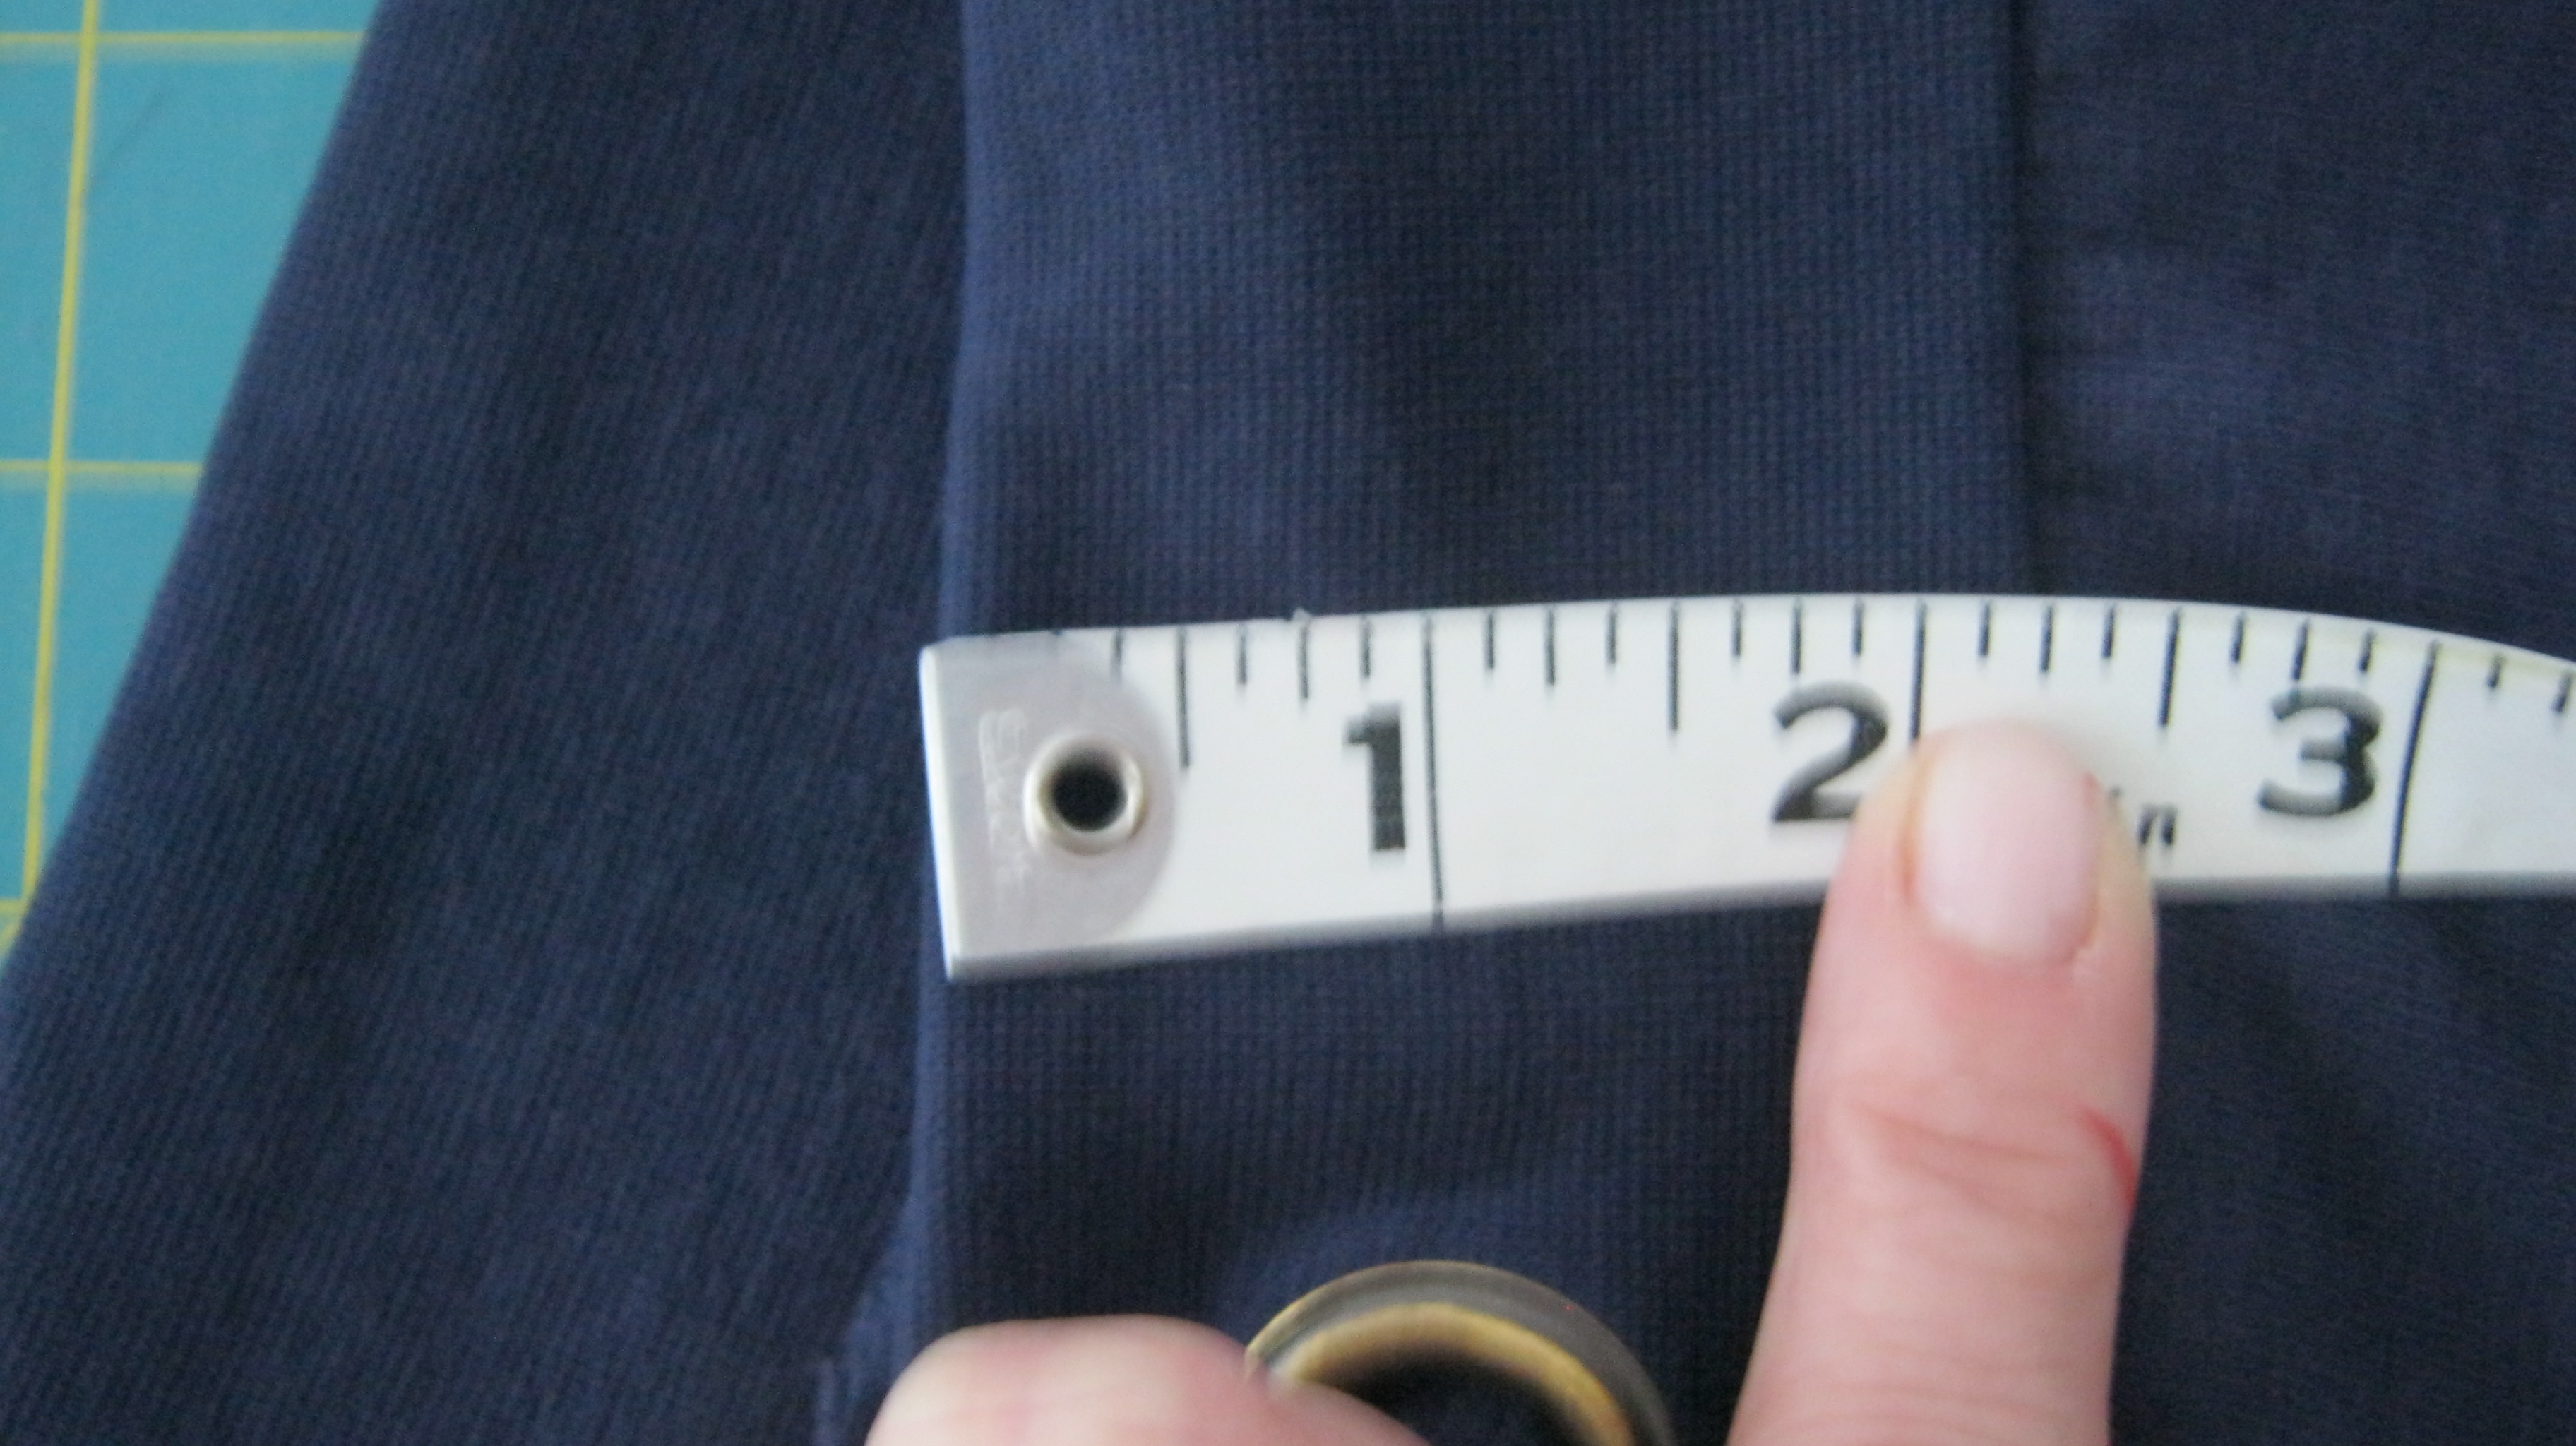

Then I measured the waist band, and figured I needed
to cut a piece of material 34 1/2 by 4 1/2.
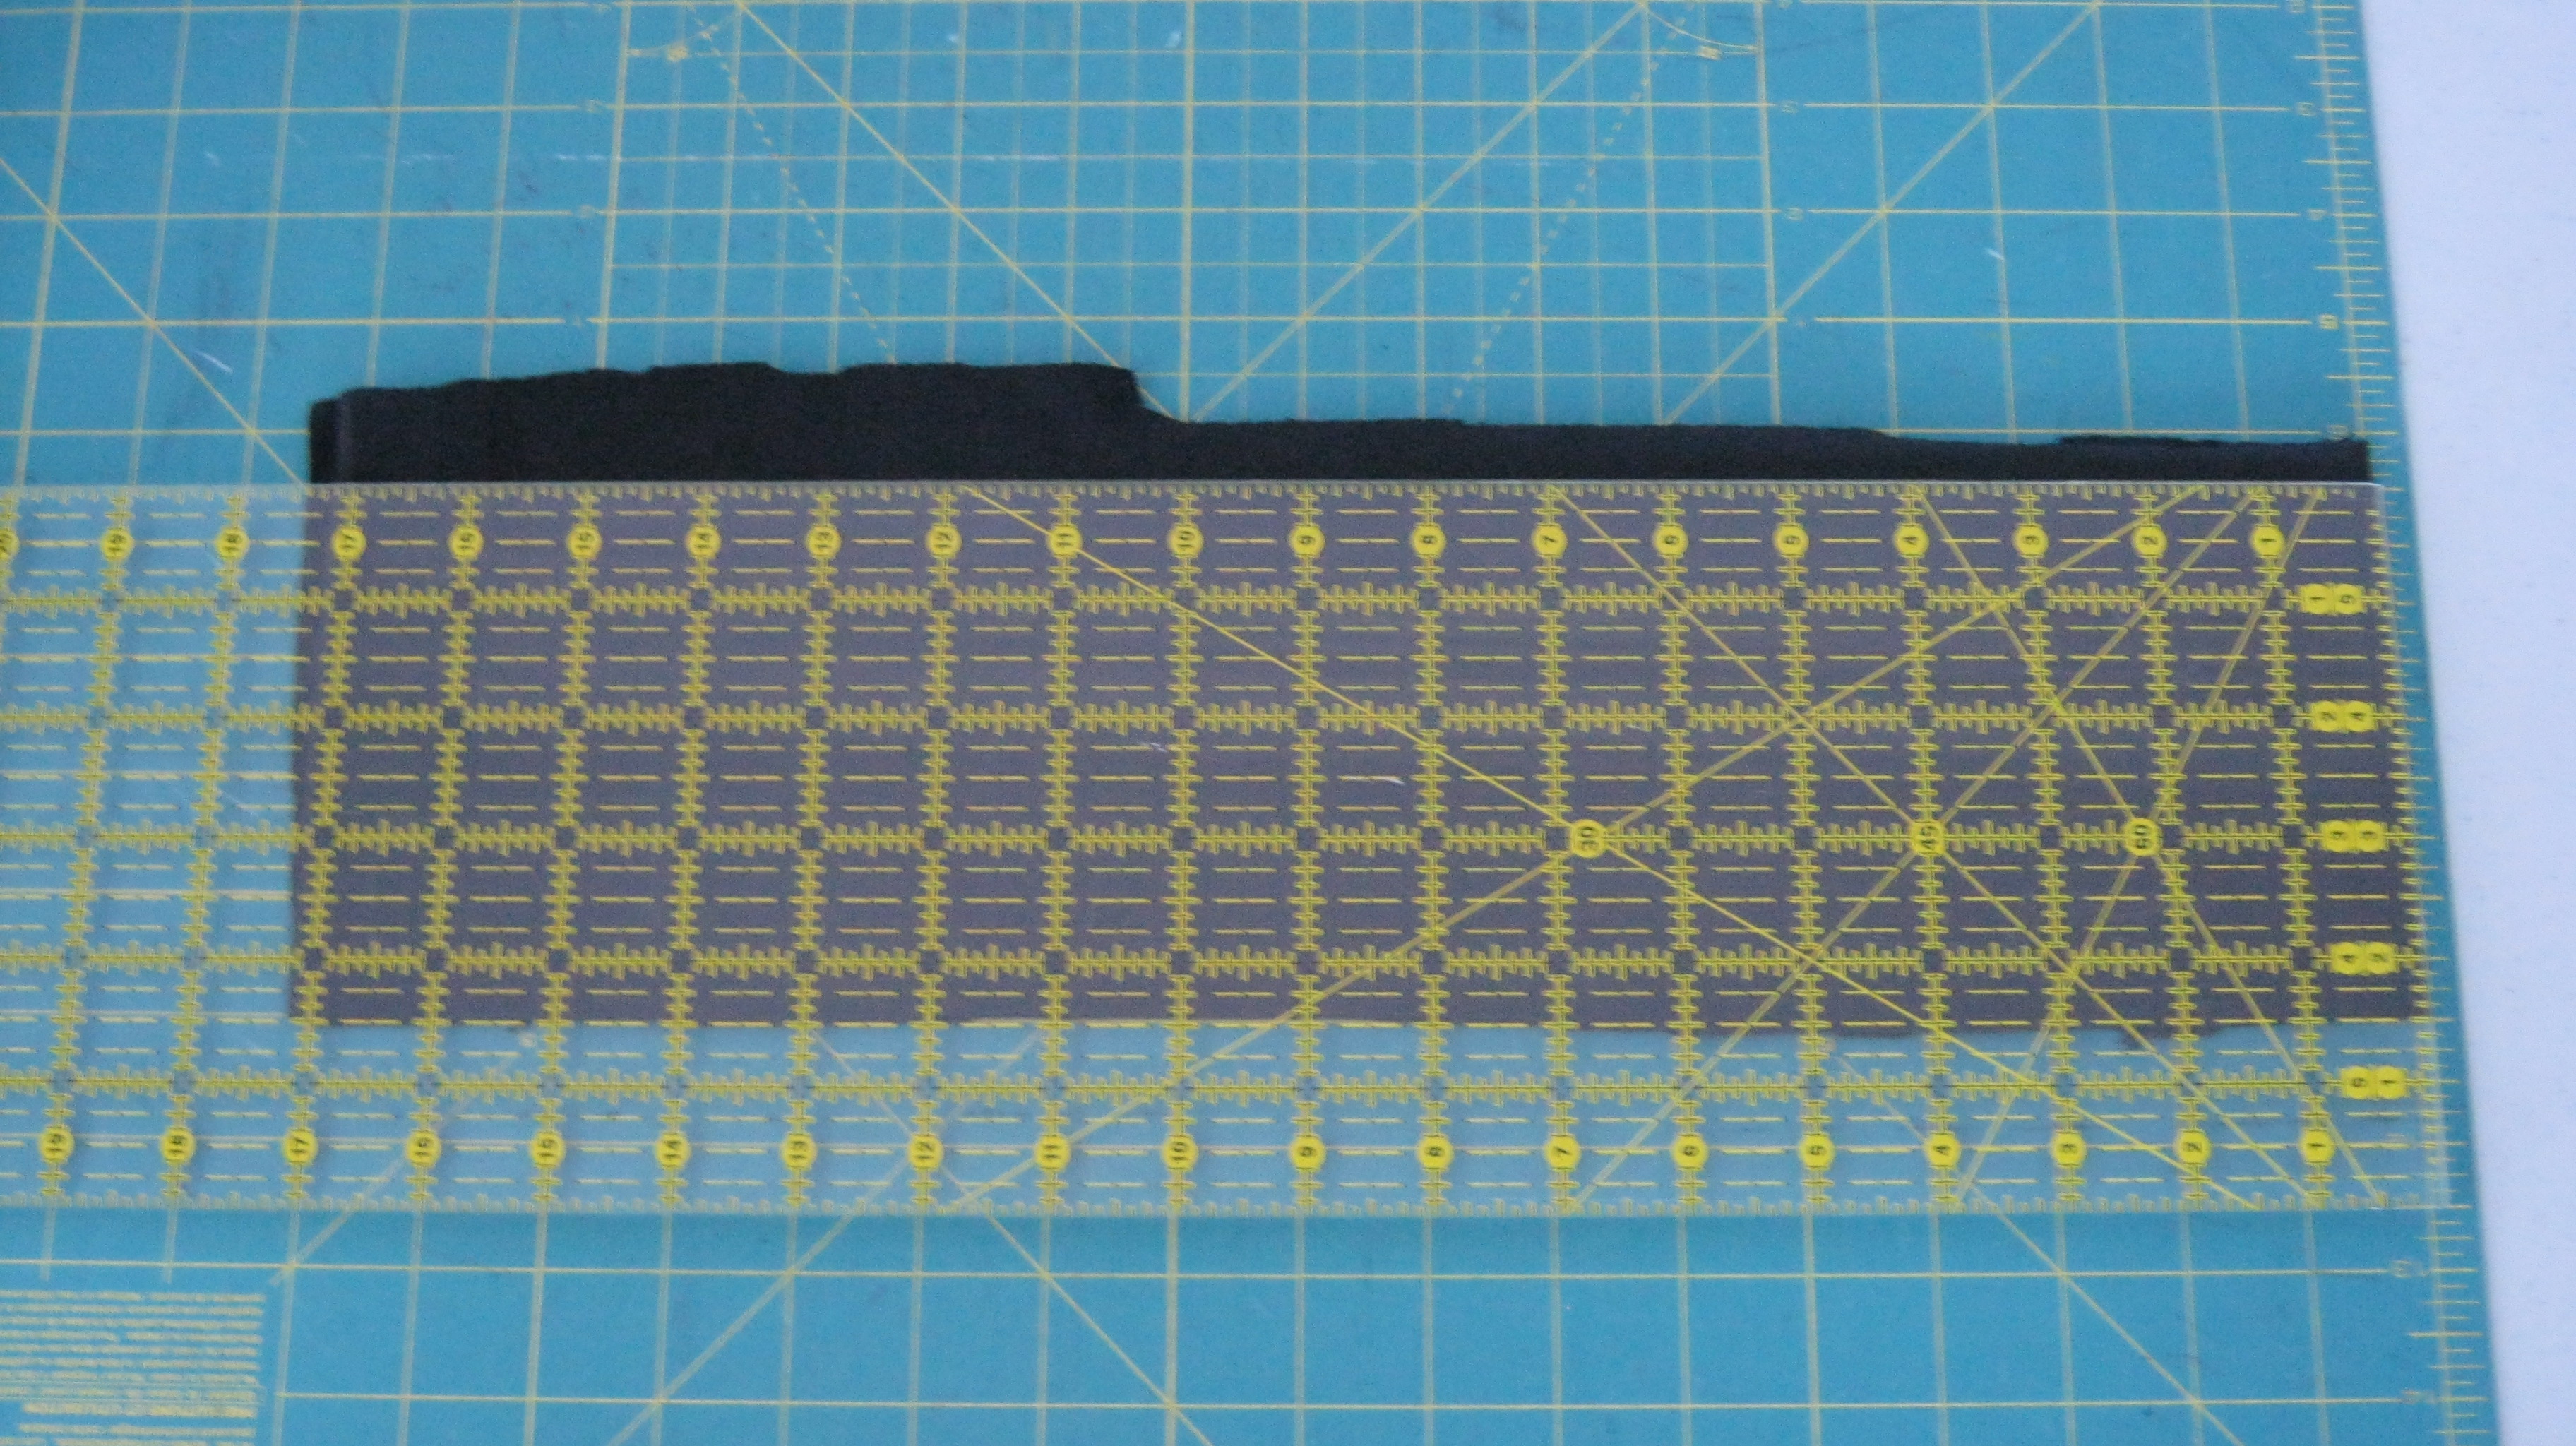
My quilting ruler made cutting out the waist
band quick and easy.
Now my favorite shorts has a draw string waist, with
eyelets to form the holes in which the drawstring passes.
I initially thought that I would just sew button
holes, however, I remembered that I picked
up a package of eyelets at a yard sale. (when I yard sale-I
look for sewing accessories. You never know what you
will find…)

I had never used eyelets before,
so figured this was a good time to try them out.
![IMG_0698[1]](https://pinstitches.com/wp-content/uploads/2013/07/img_06981.jpg)
The eyelets come in pairs, with a tool to help set
them.

there is a deep eyelet and a shallow eyelet in each pair.
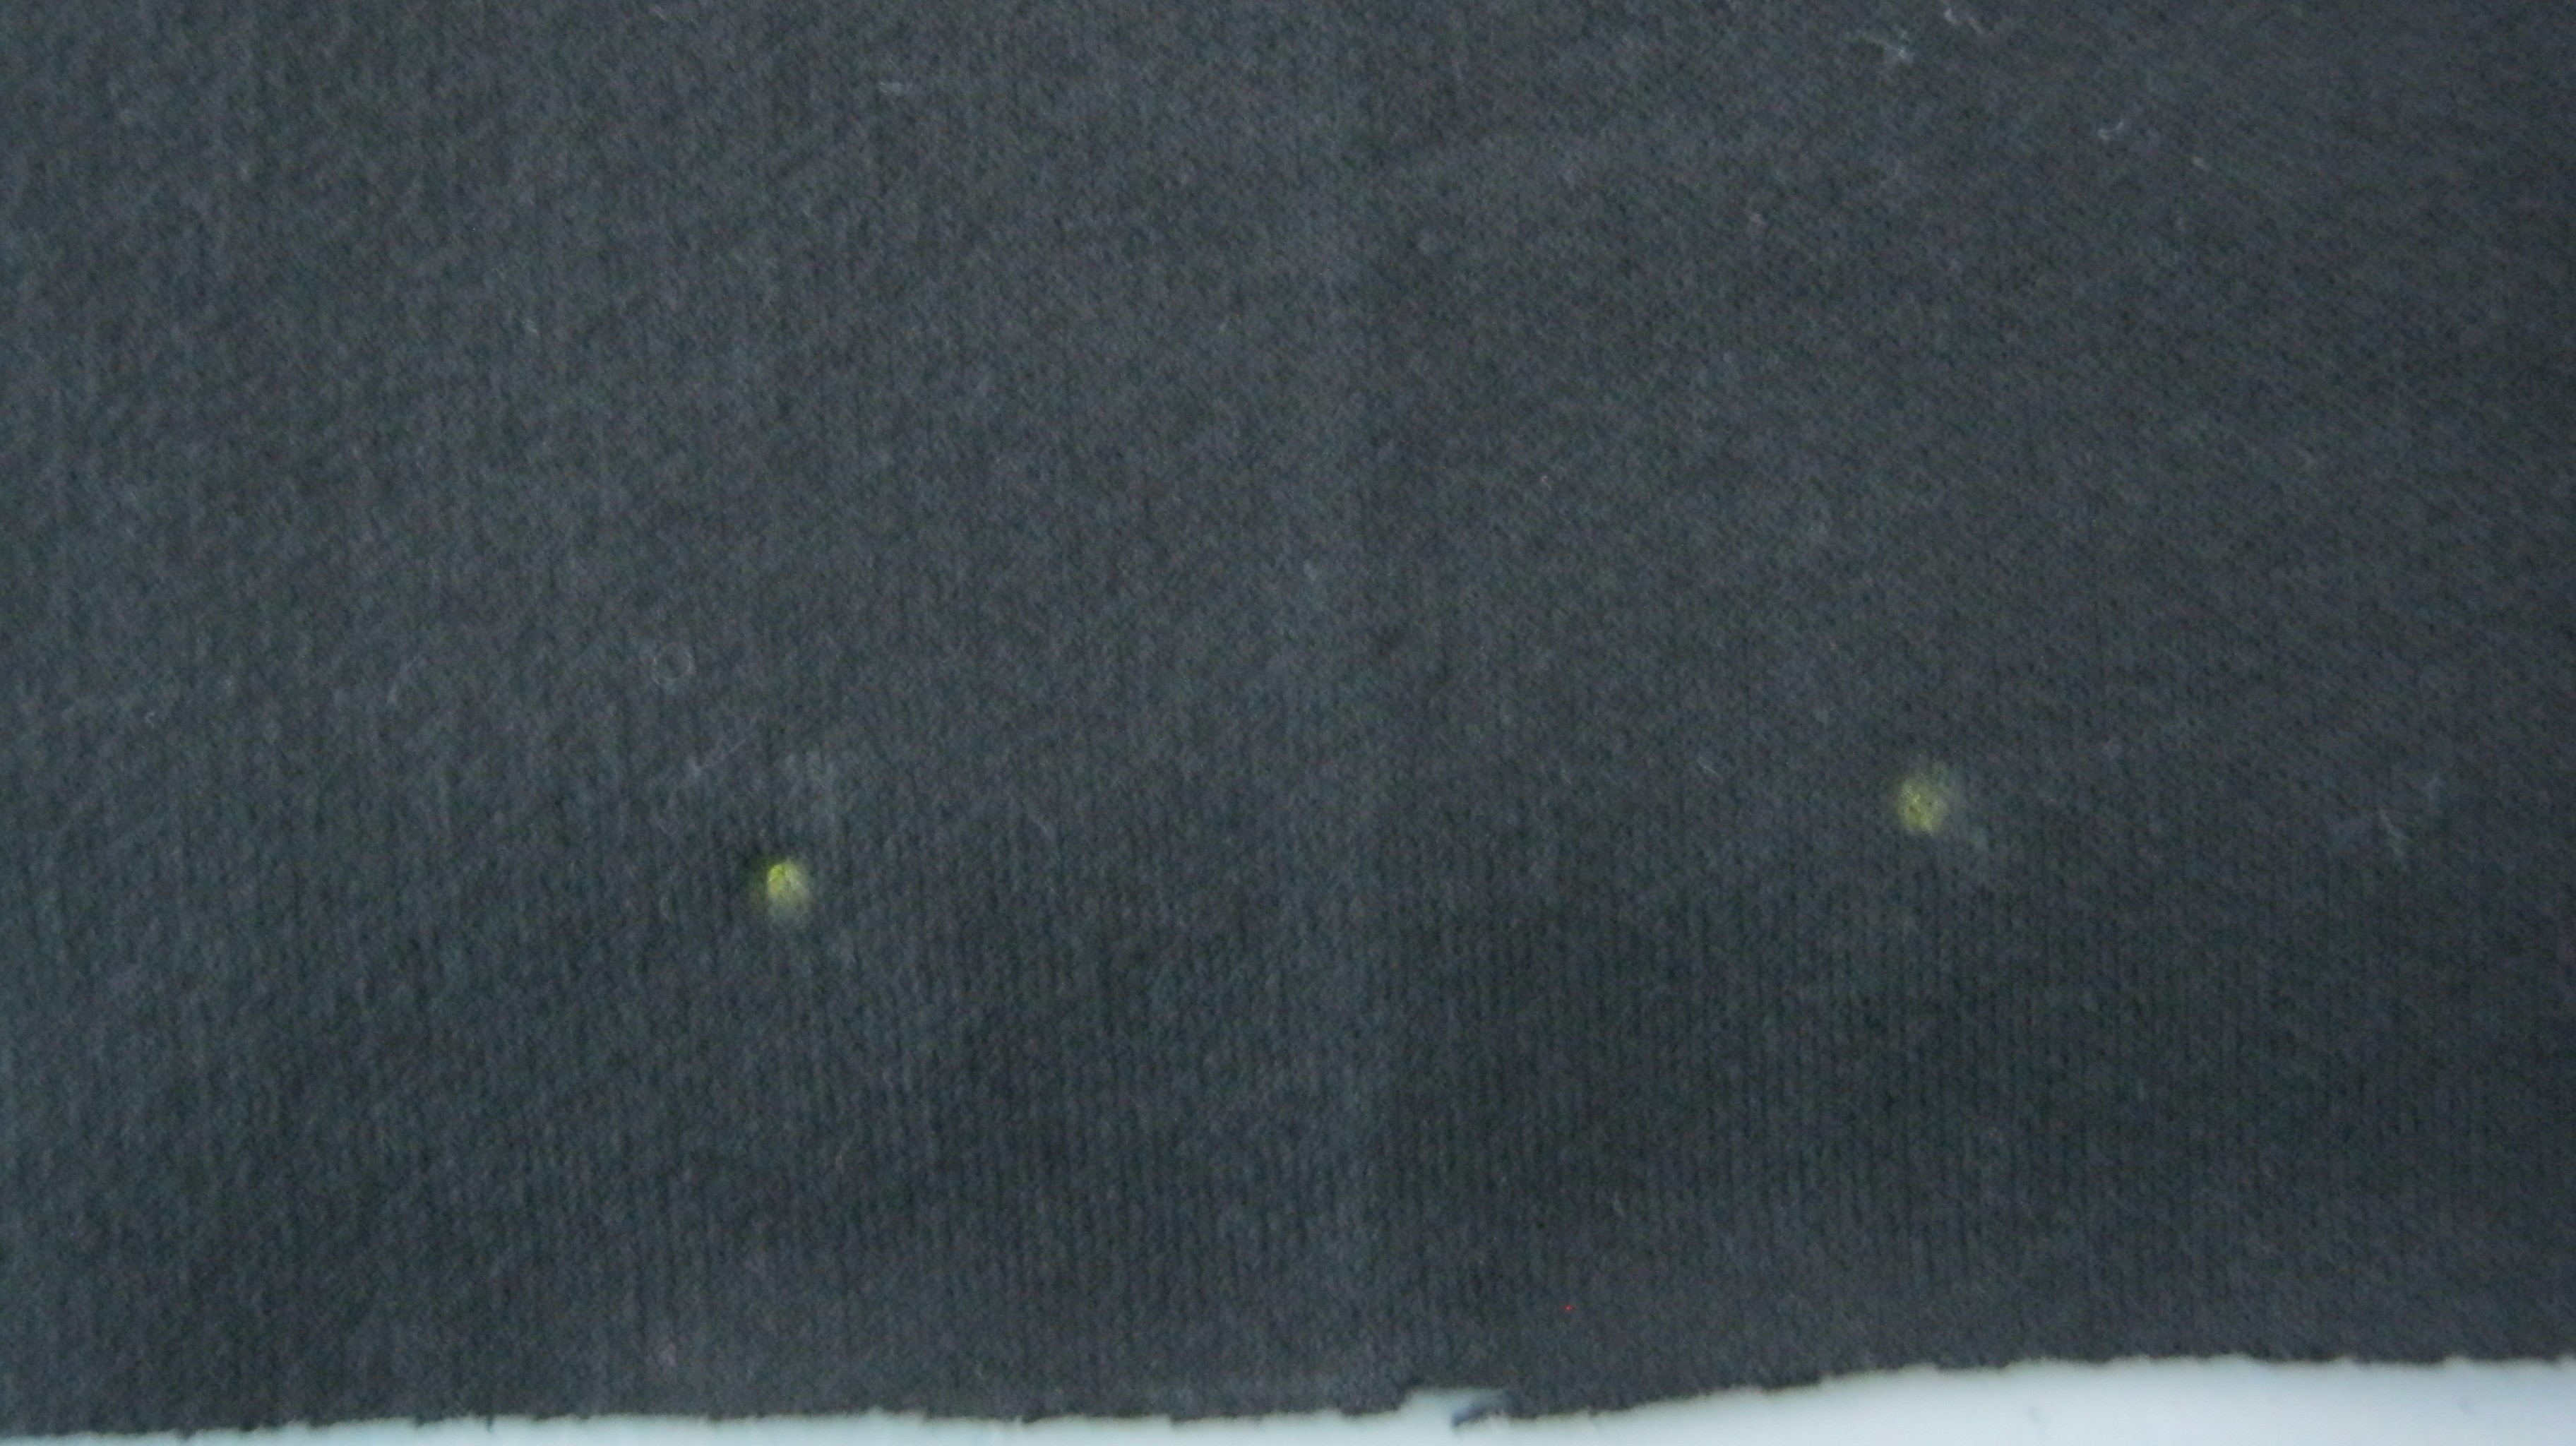
I marked the placements for the eyelets with a dress
marker, putting them 1 inch from the center, and 1 inch from
the edge of the waist band. (remembering that the
waist band will be folded in half length wise, this put the
holes in the center of the band)
 .
.
The directions call for placing the eyelet through a hole
all I had to make the hole was a paper hole punch.. but
it did the trick.

next you push the deep eyelet through the hole from the
right side of the fabric.

then the shallow eyelet goes on top.
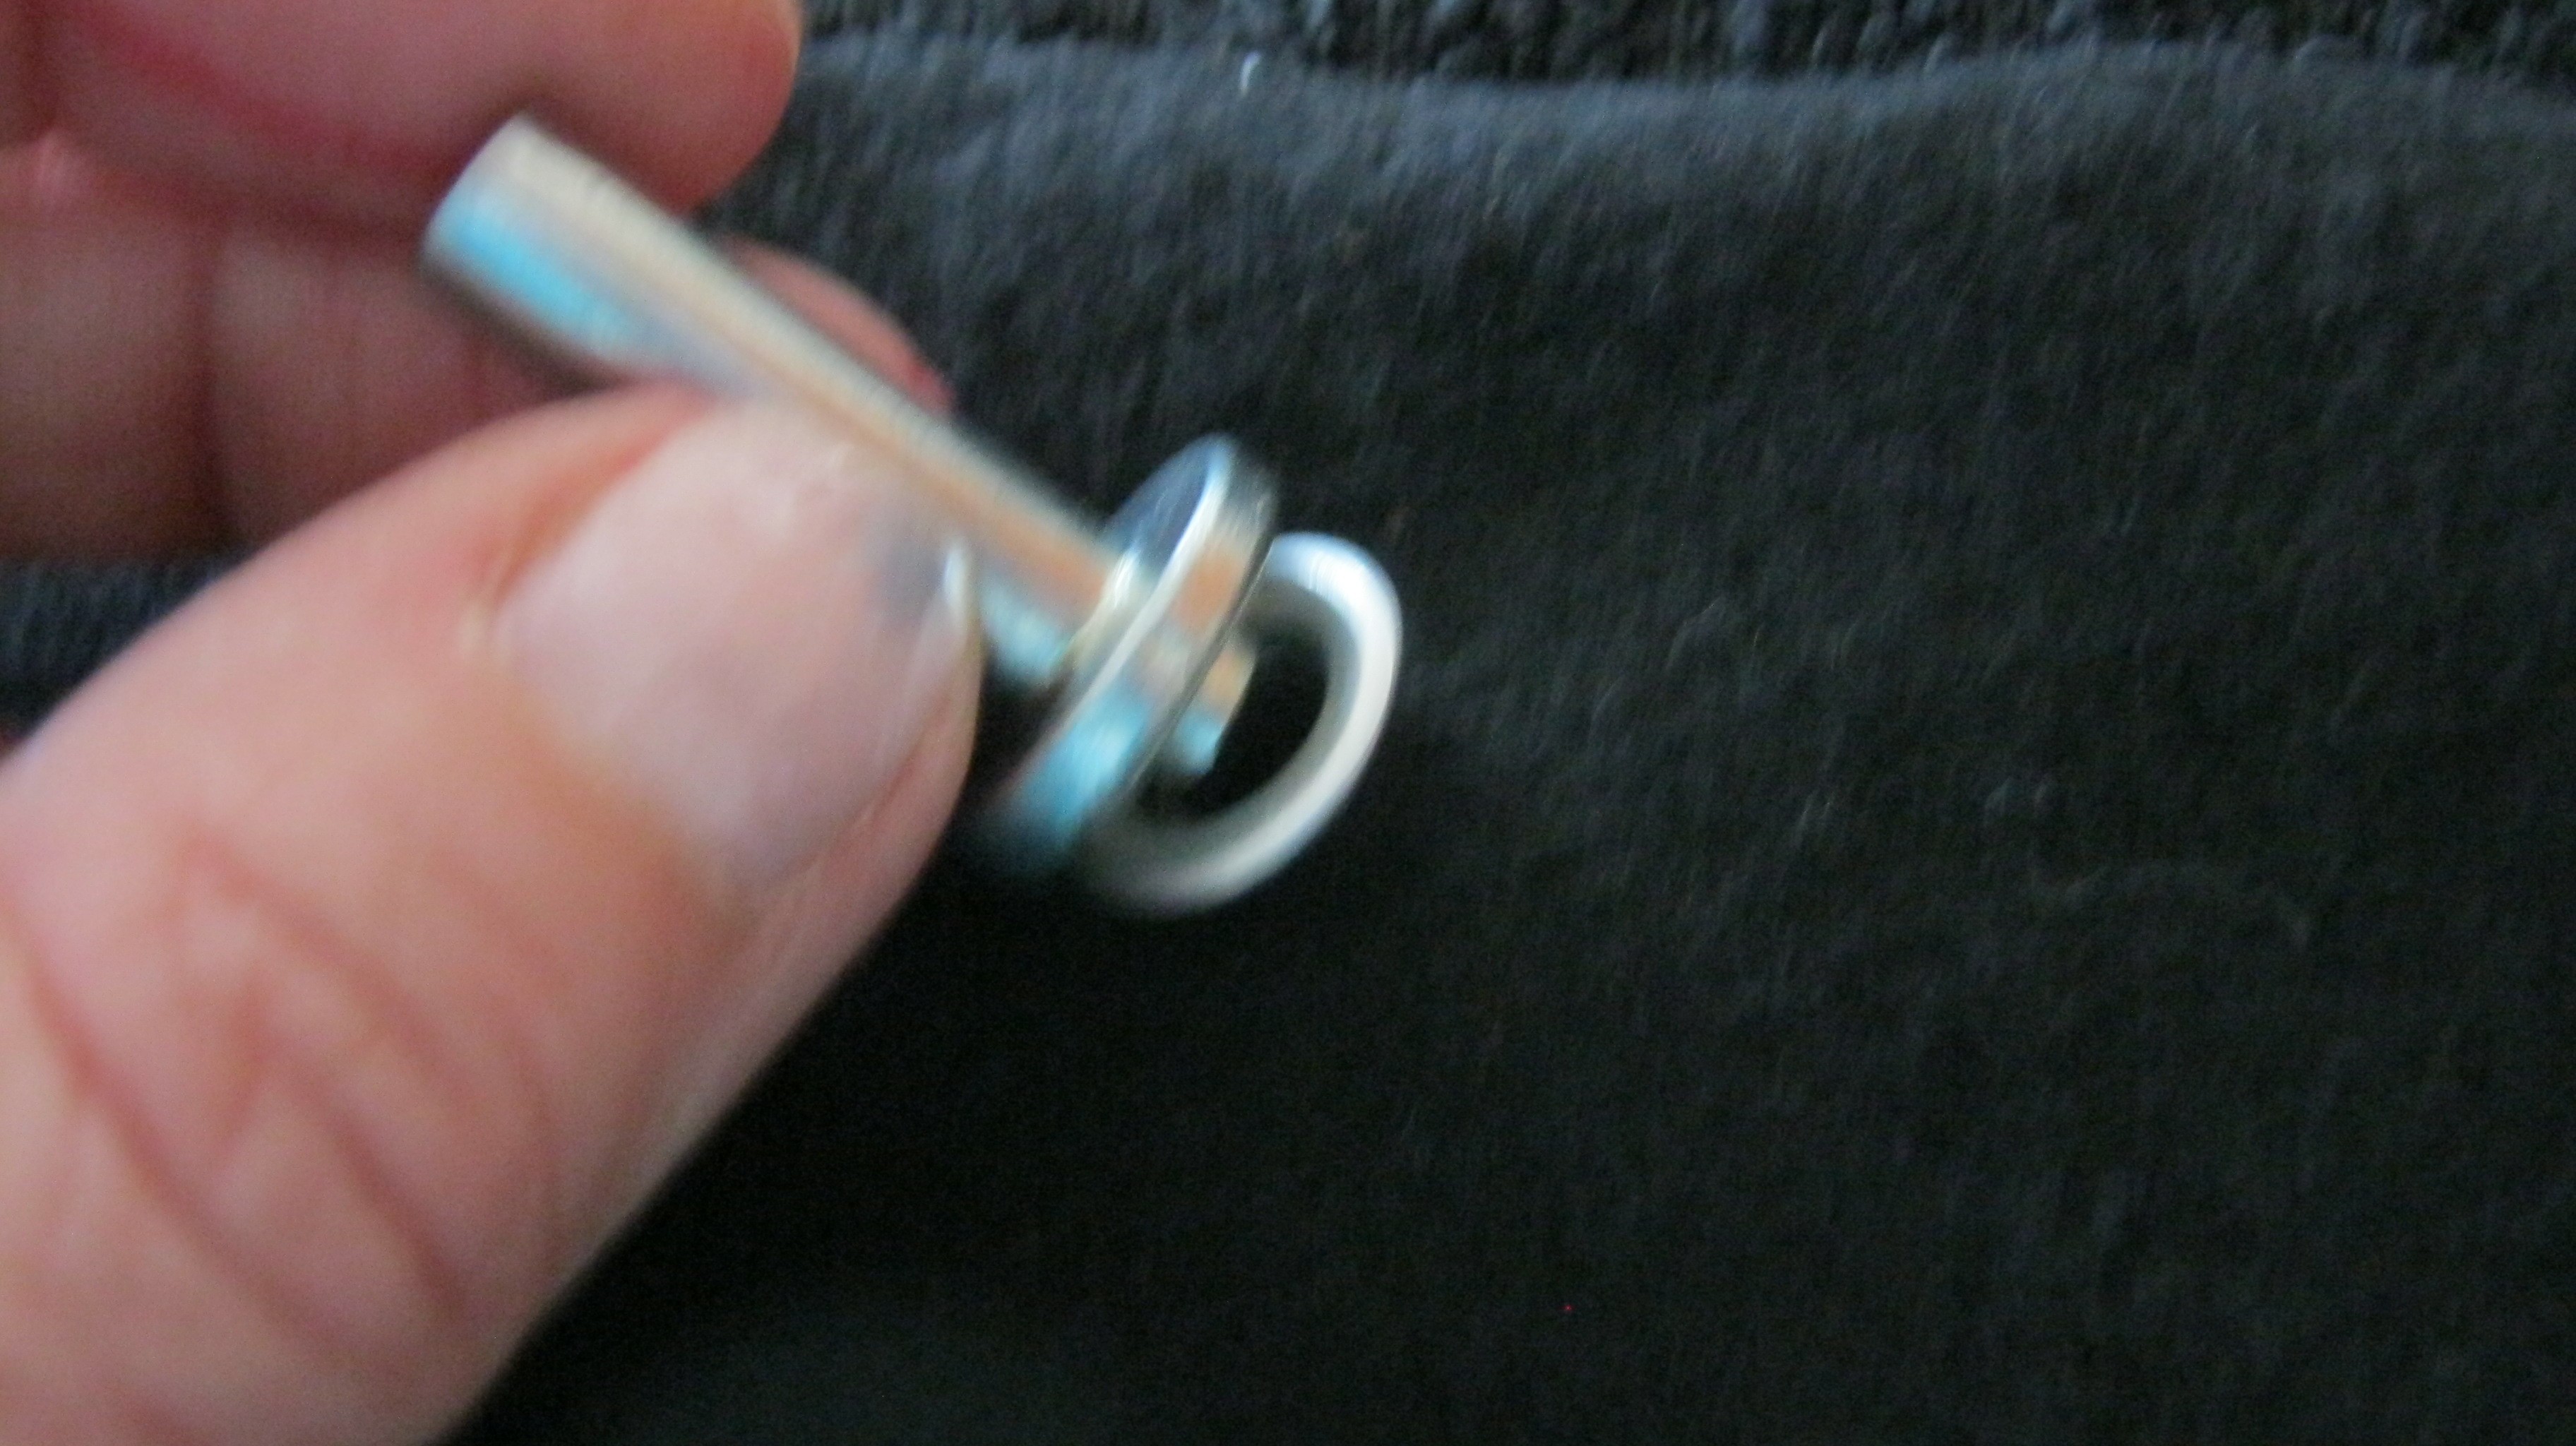
The tool is set in the middle

then use a hammer to set the two eyelets together.
My son helped with the hammering…..

He did a great job! the back of the eyelet after the 2
sides have been set together.

The front side, not the prettiest, but not bad for
my first try!

the next step was to put the shorts together, first sewing the
legs.

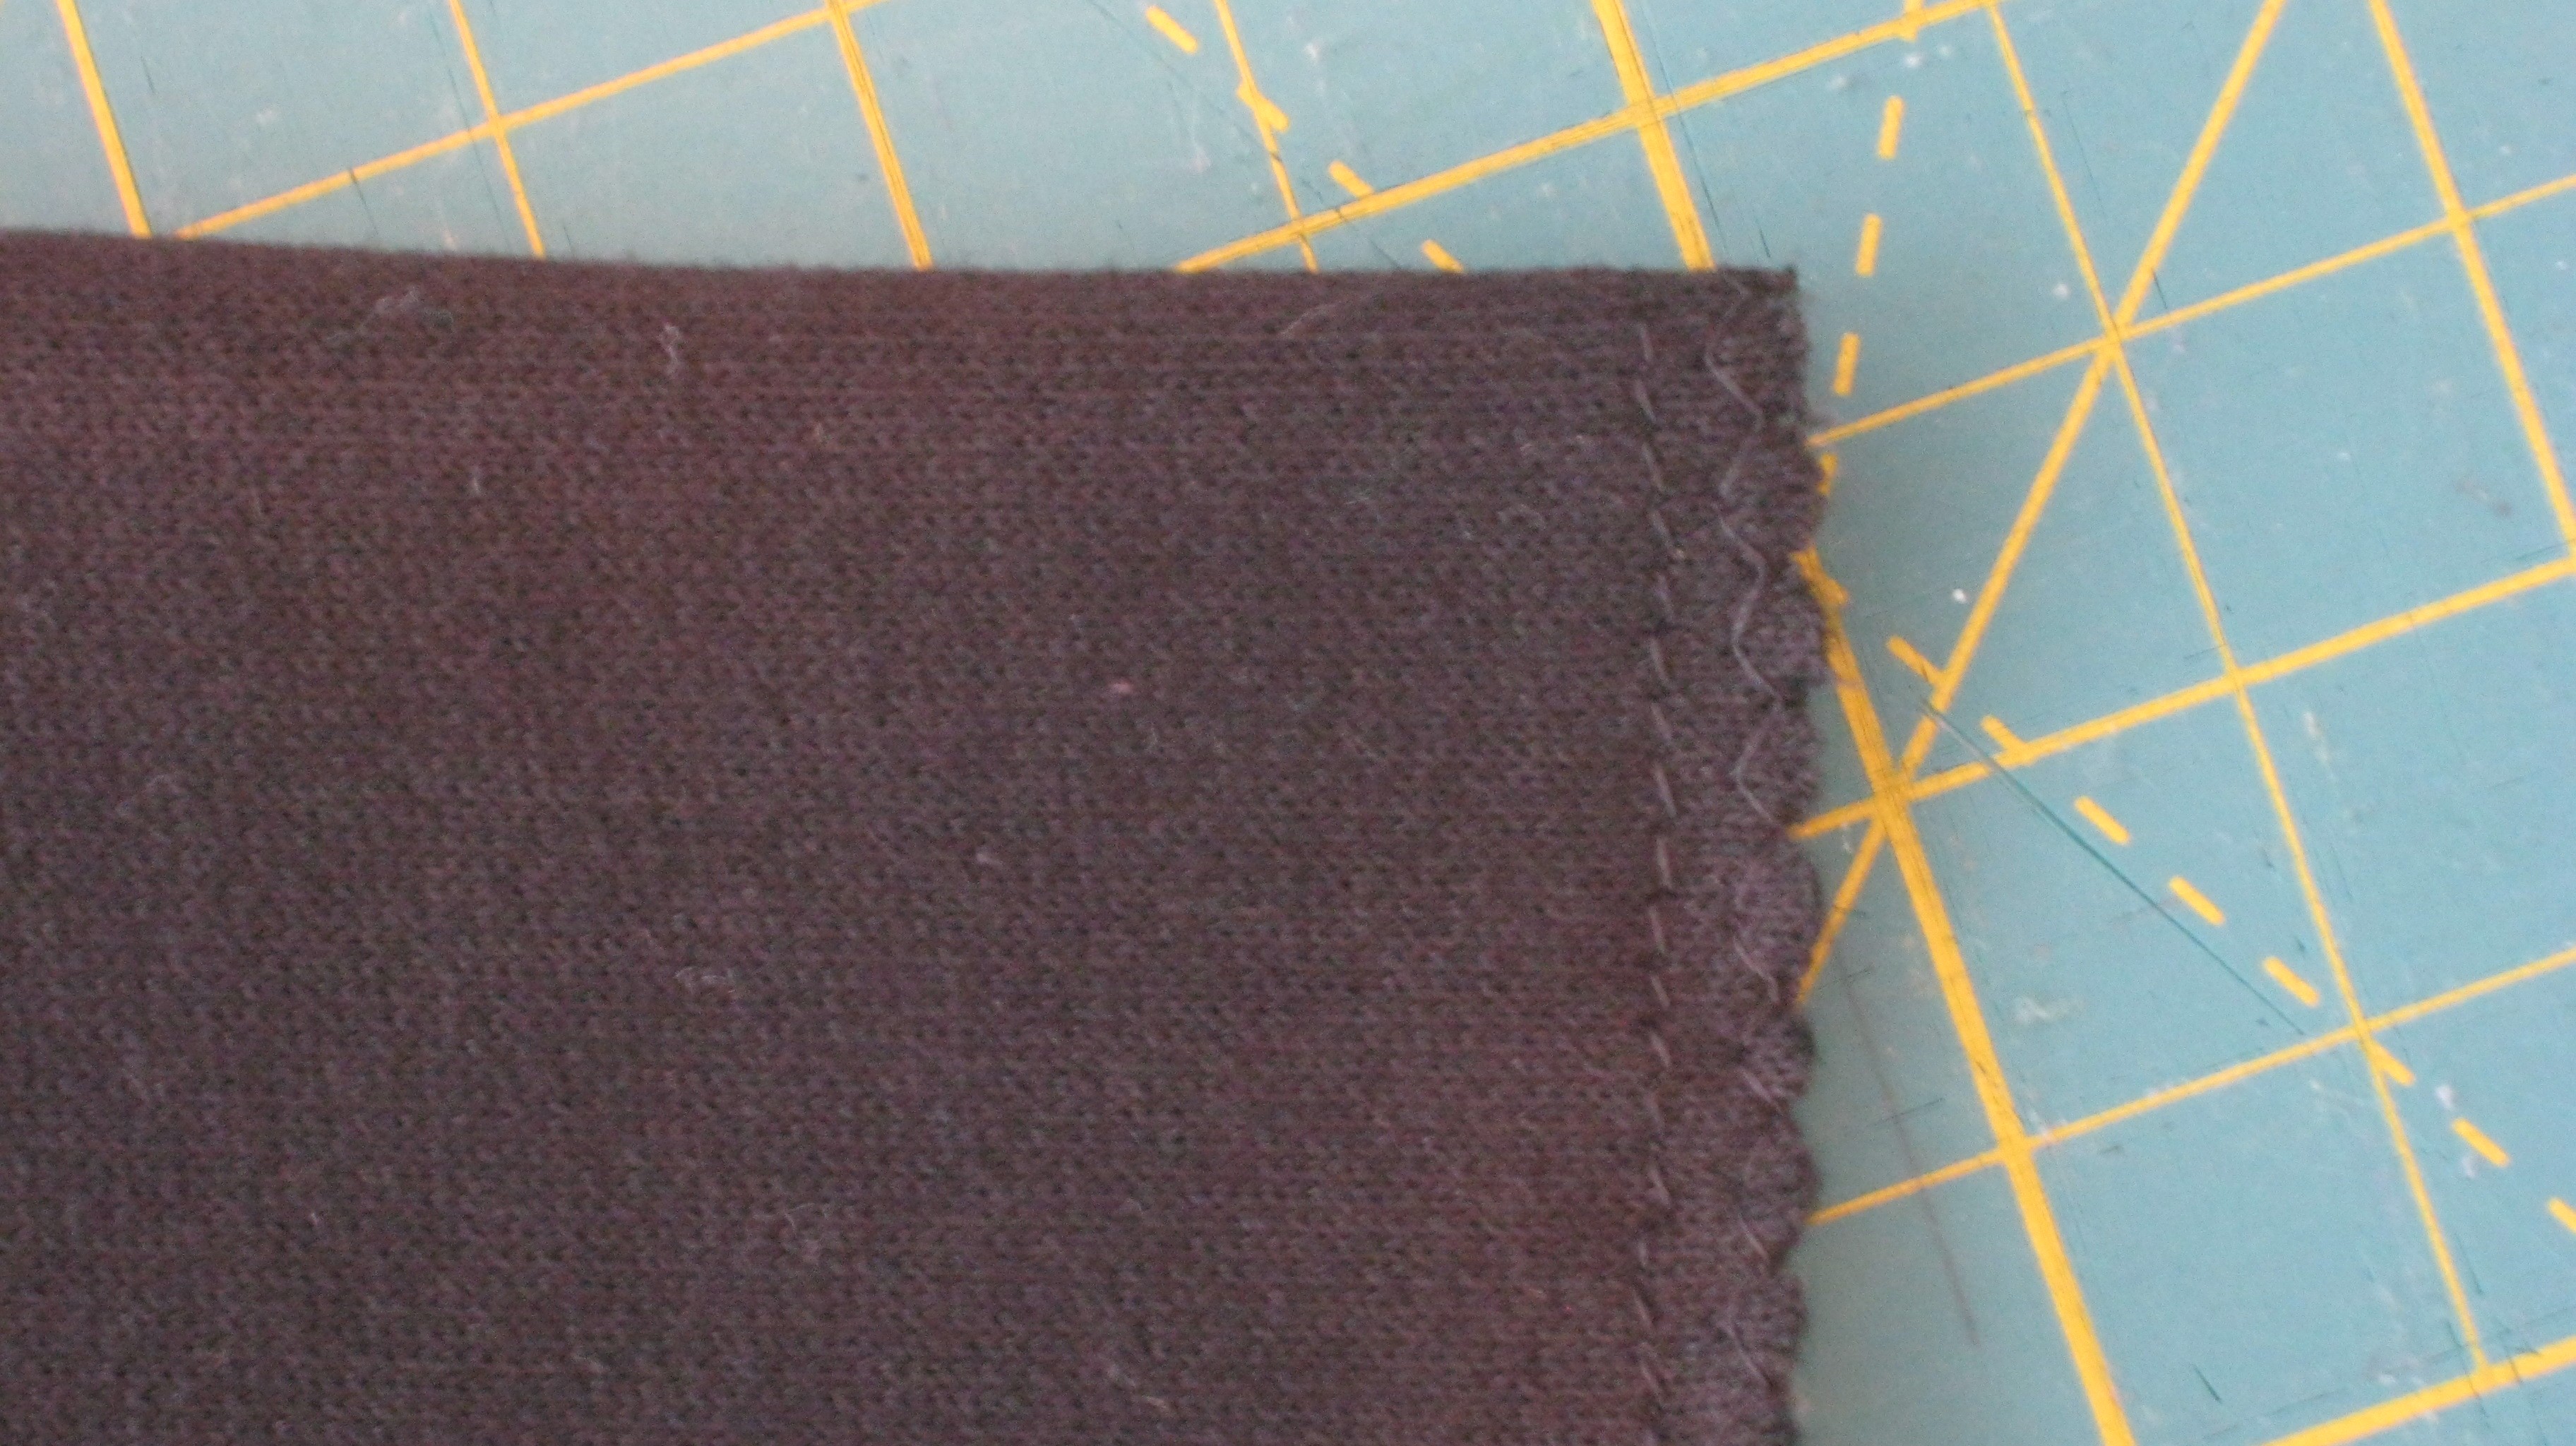
I don’t have a serger, but a zig zag stitch along edge
of the material gave the seams a sergered look.
next is to sew the crotch area. I did this by placing one
leg inside the other, with right sides facing, back
matched up with back, front matched up with front.

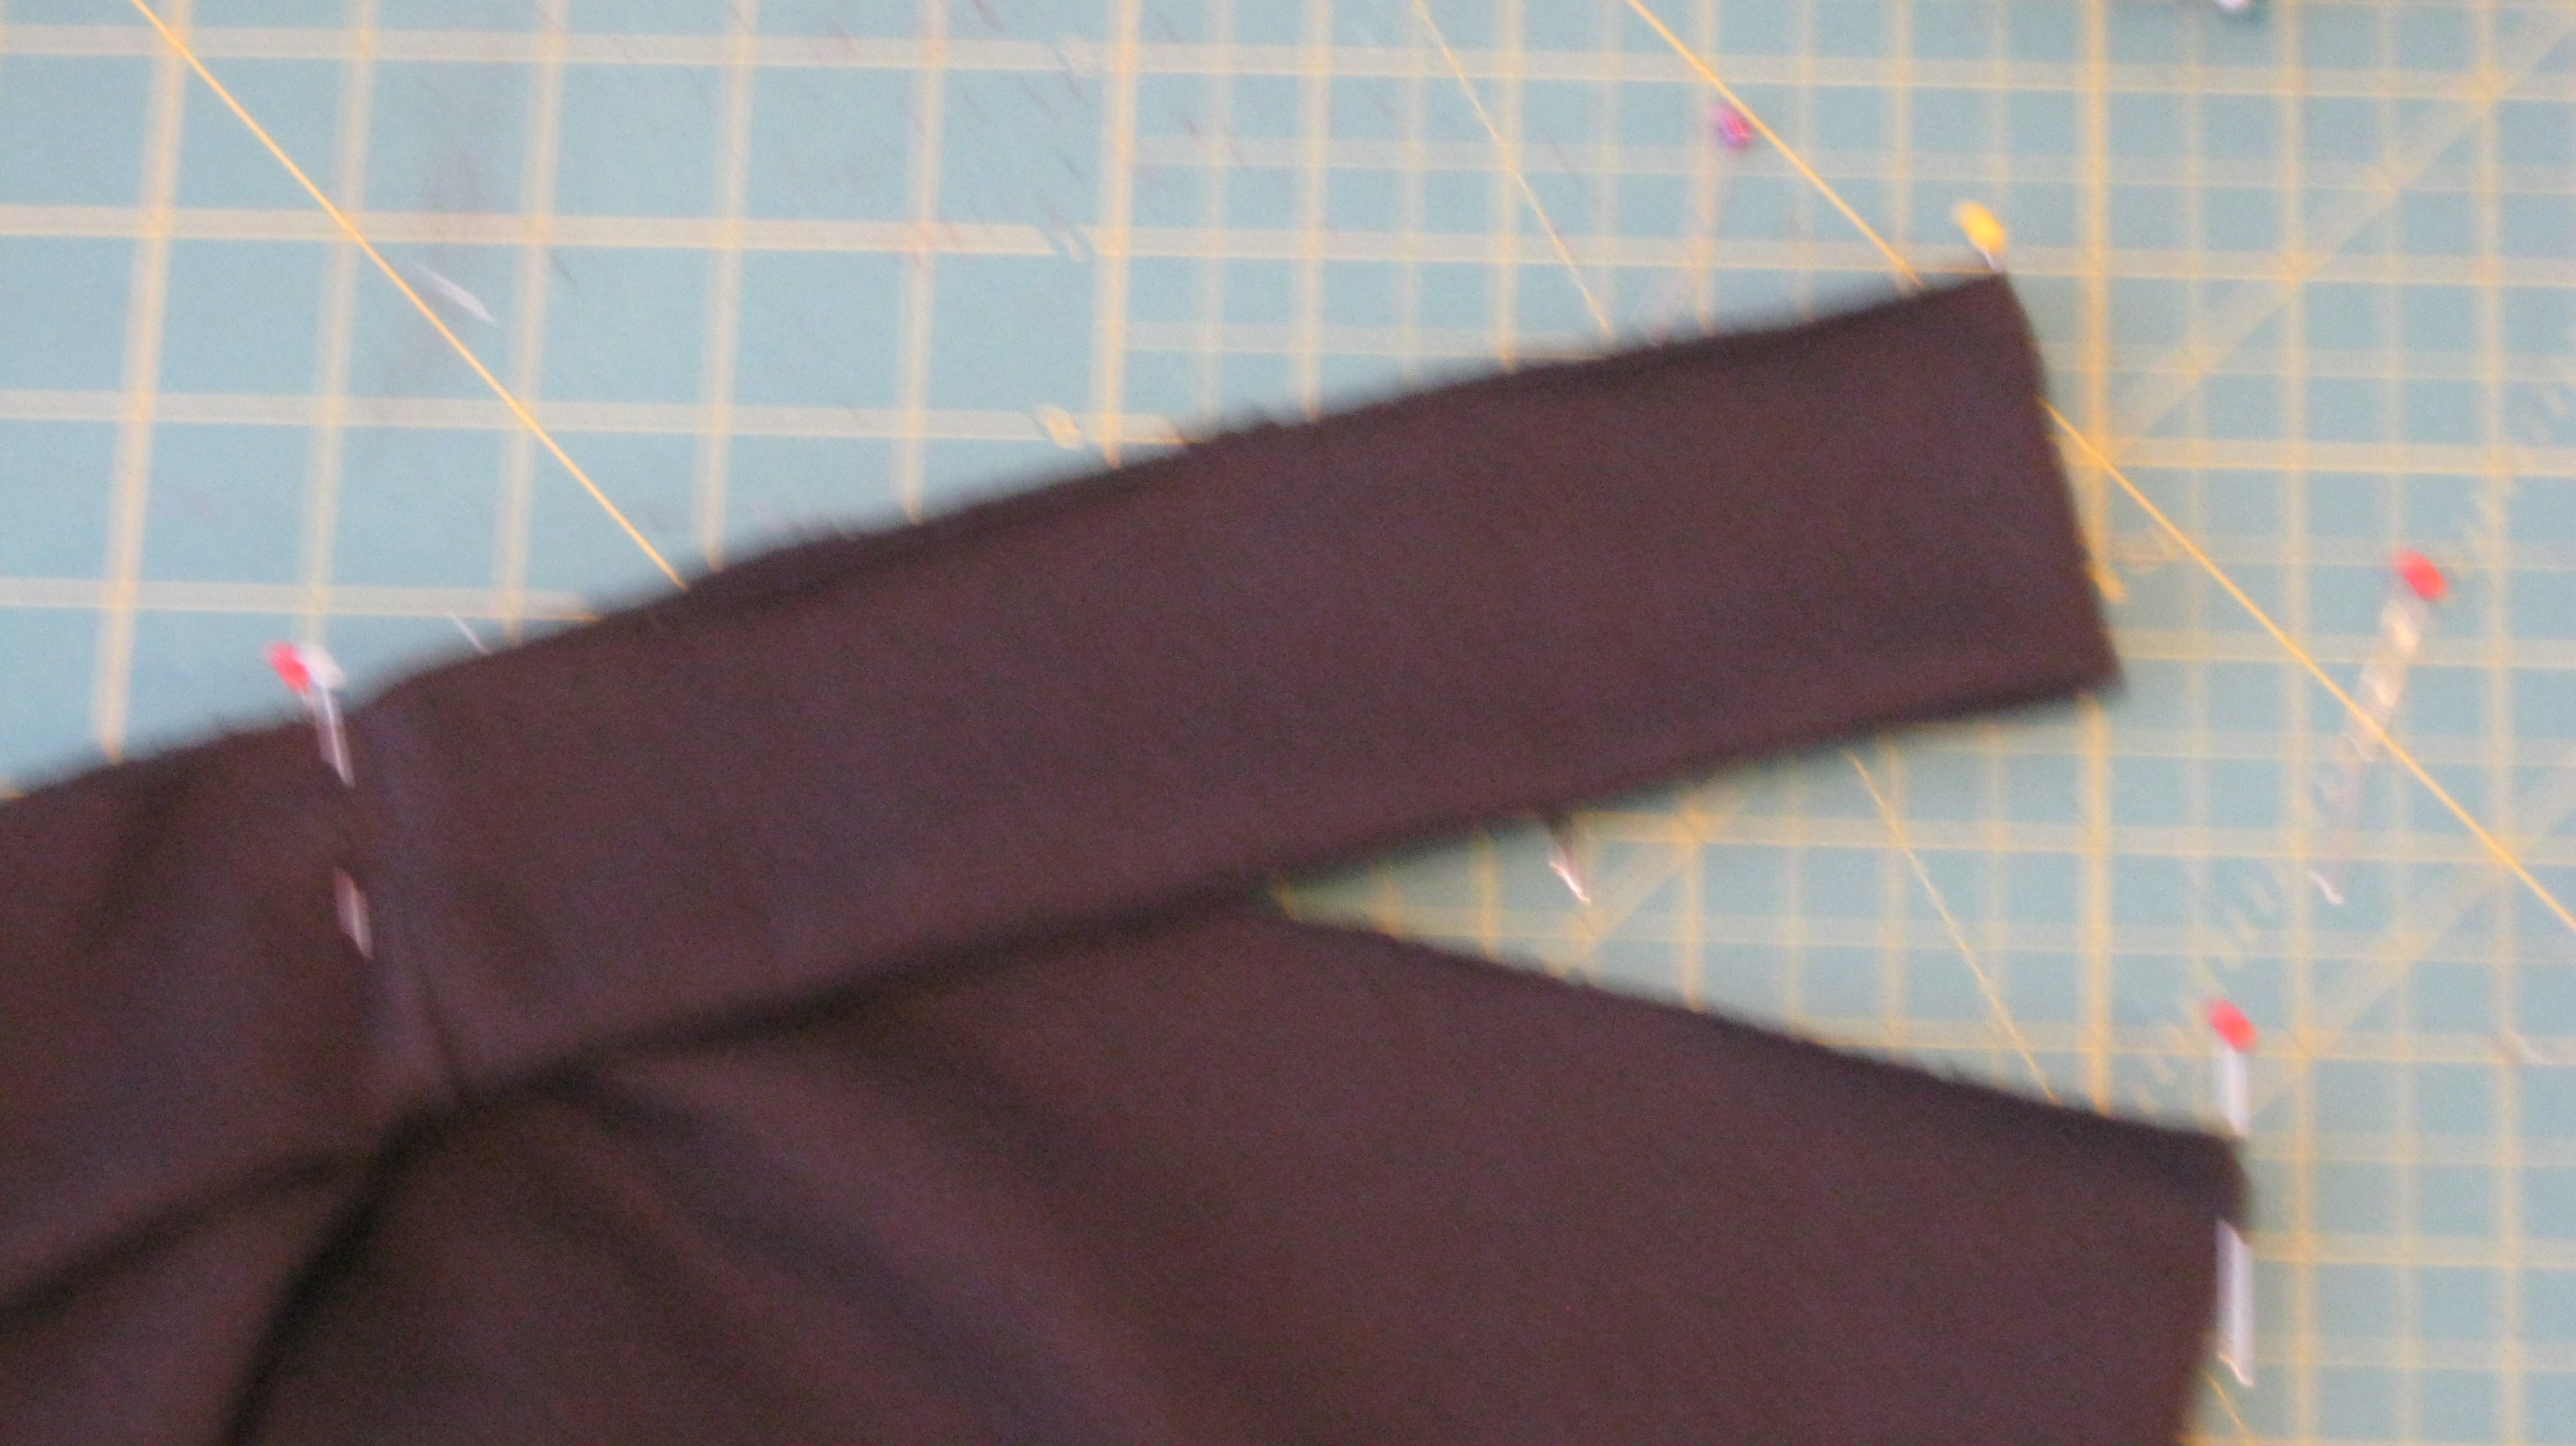
with right sides together, sew the ends of the
waist band together, zigzag the edge of the seam to serge.
fold the waist band so that wrong sides are folded in.

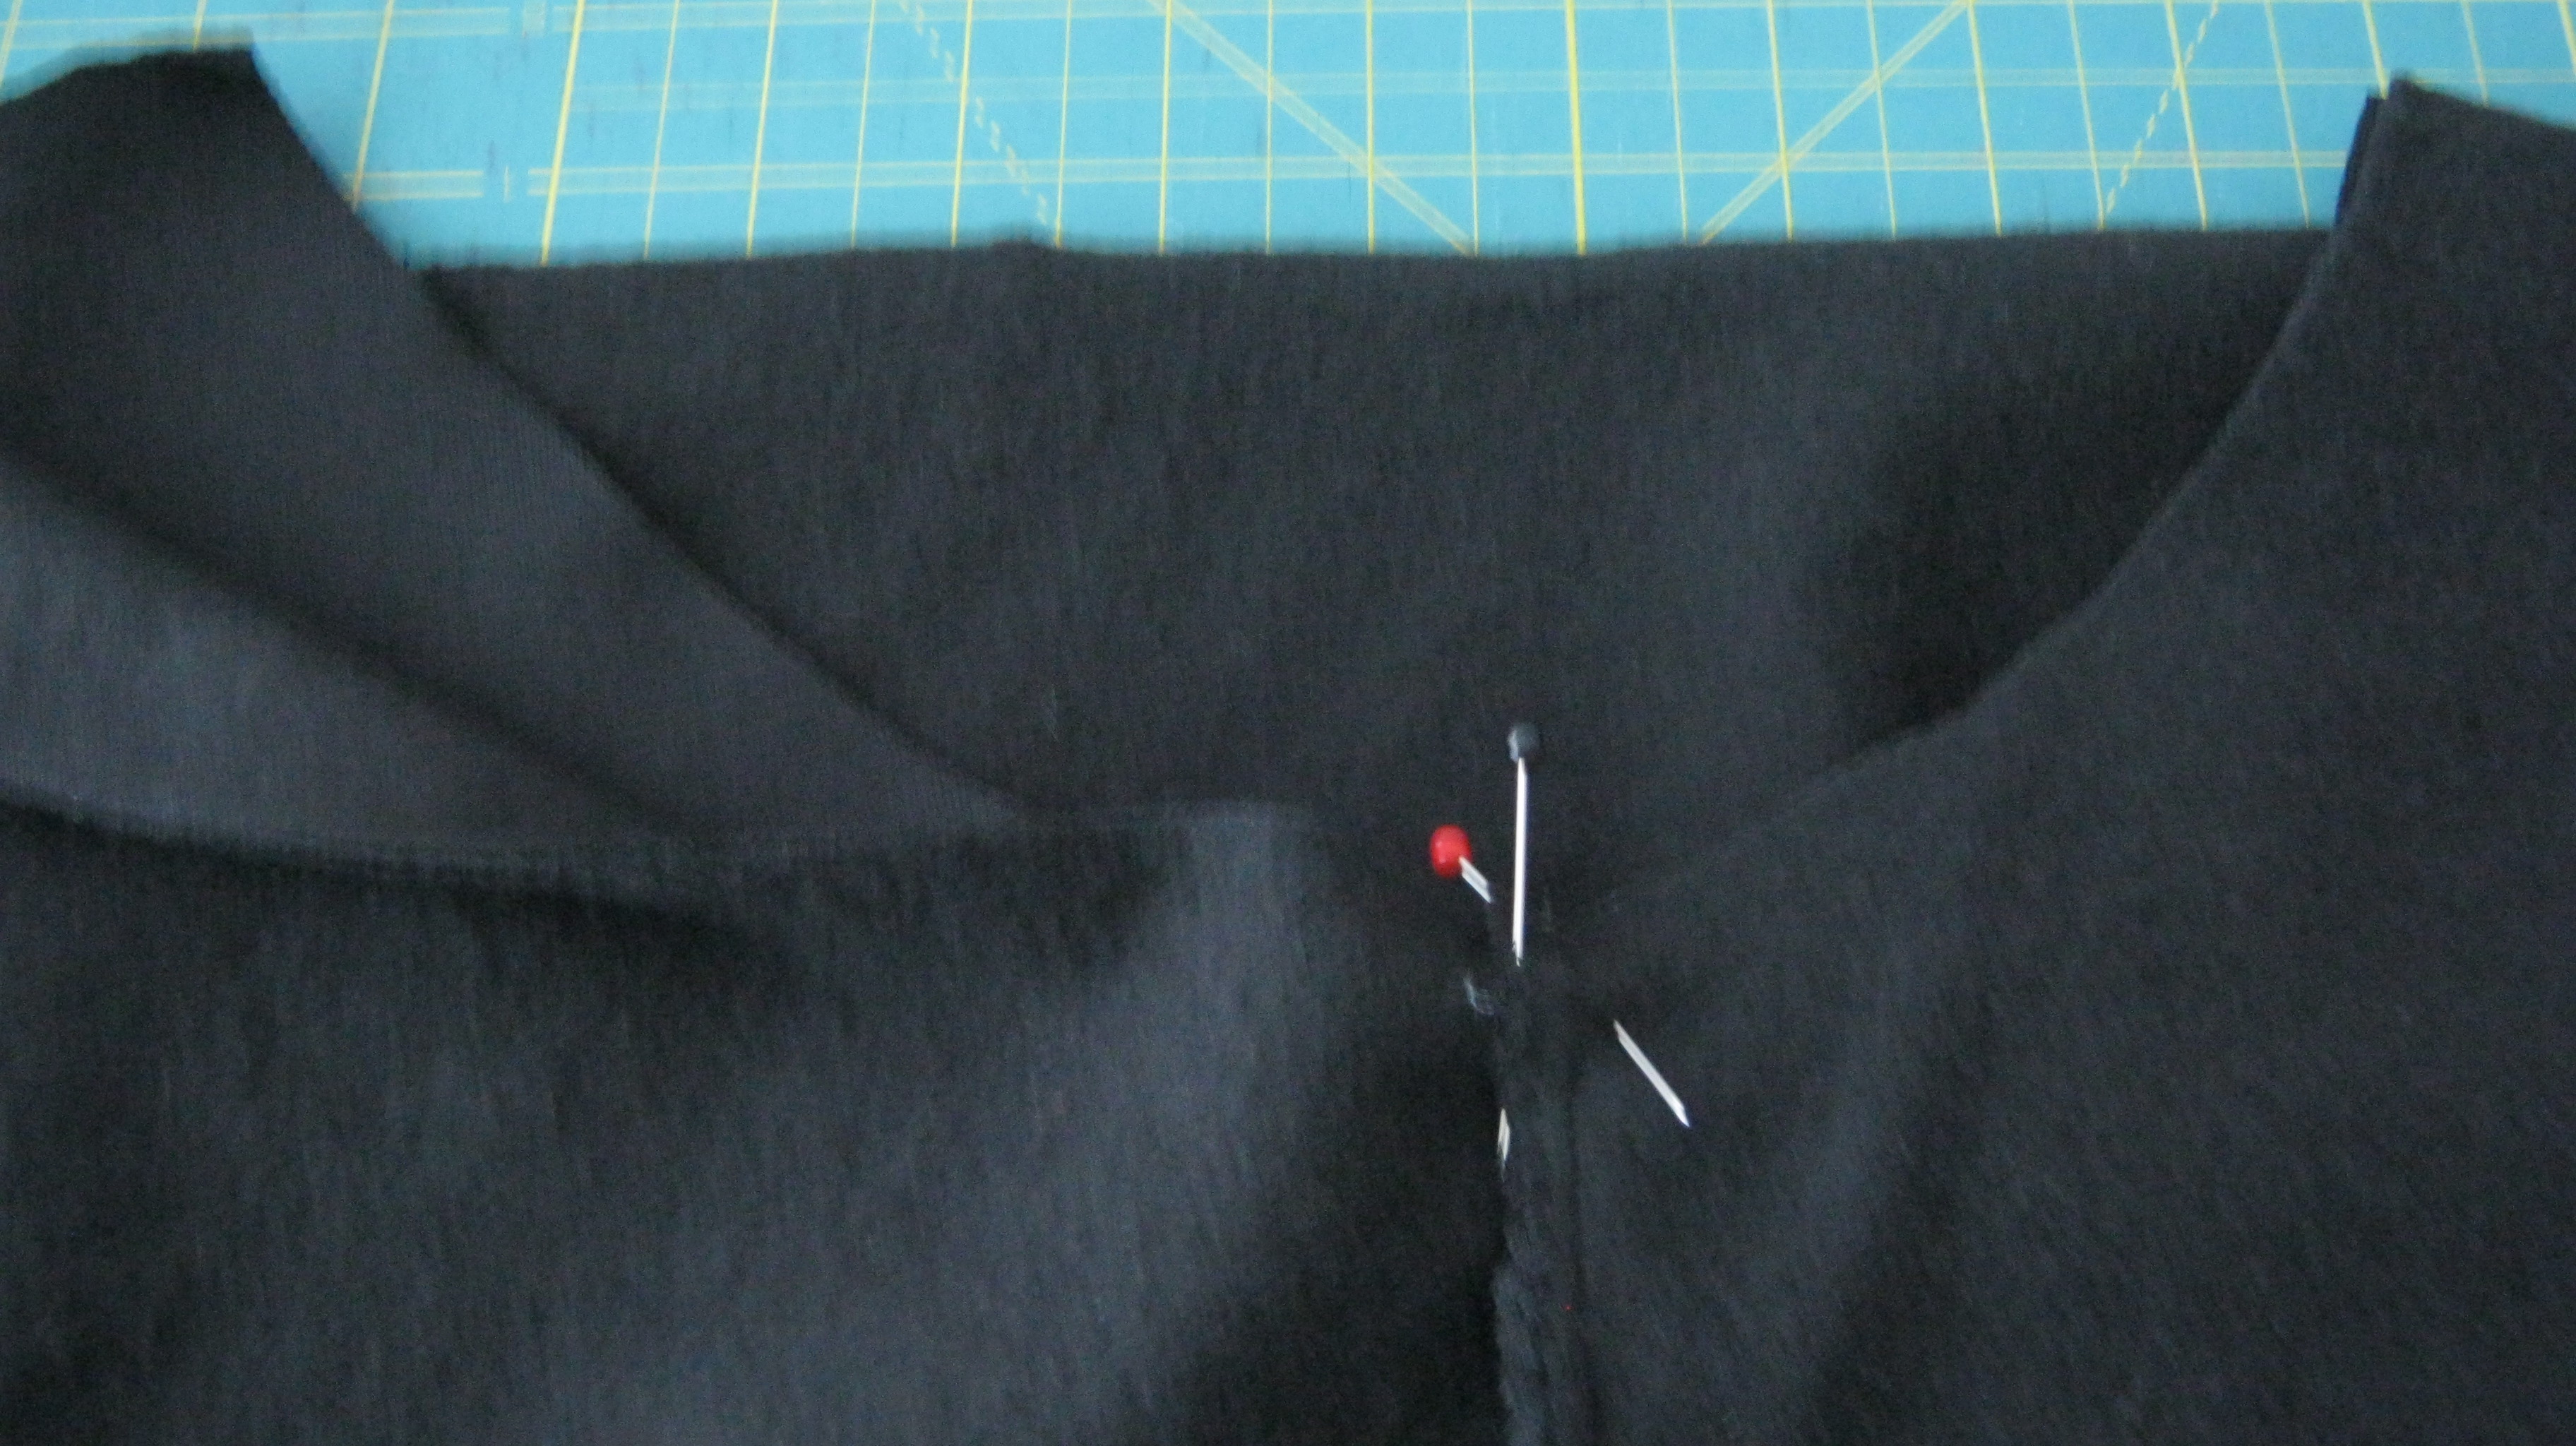
find the middle of the front, between the eyelets,
and match this to the center front of the shorts.

The eyelets should be facing in. Line up the back seam
of the waist band with back seam of the shorts.
find the center of the sides of both waist band and
shorts…..
.
……and pin them
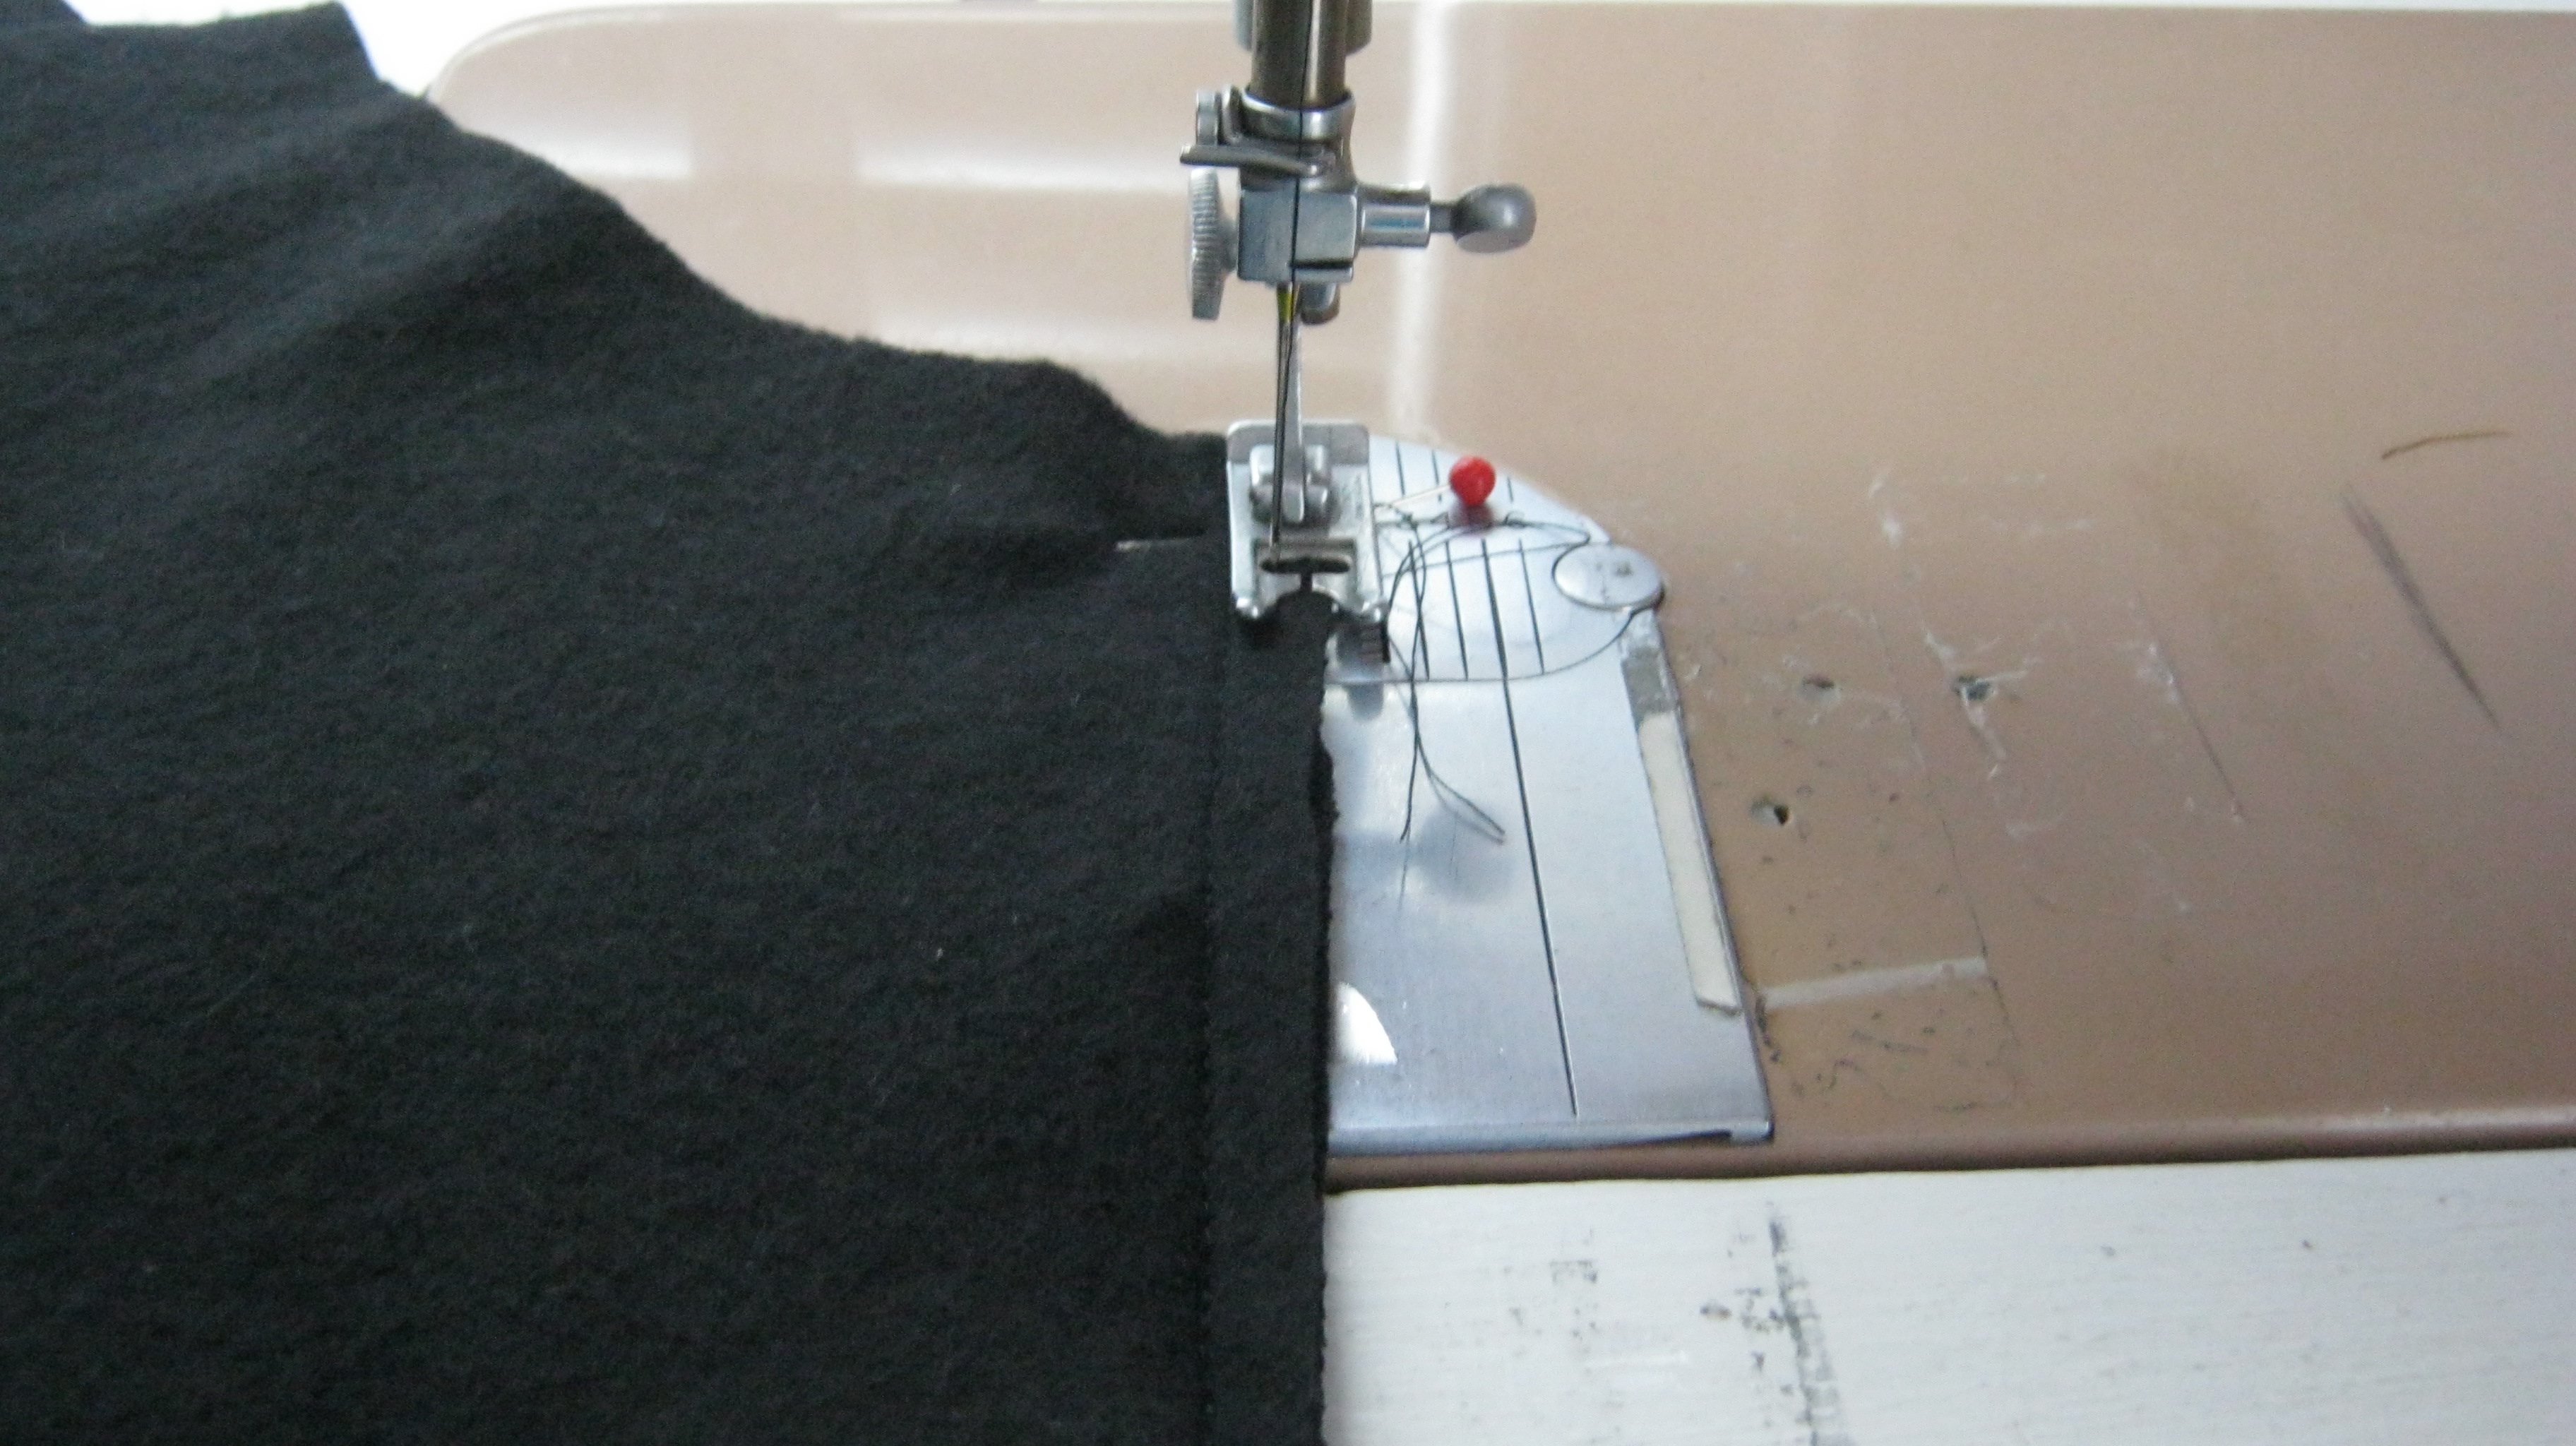
sew waist band into place, using 1/4 inch seam, finish
seam with zig zag stitch.
I did not want a formal hem, as my original shorts
had a serged edge, that curled a little.
Without turning the bottom of the leg under,
I sewed around the bottom of the leg, about 1/8 of an inch
from the edge. Then went back and zig zagged the edge.
I like the way the hem of my old shorts curled up on the edge.
I’m hoping that my new shorts will do the same after
I wash them once.
I used a shoe lace as my draw string and fed it
through the eyelets in the waist band.

my old favorite shorts…
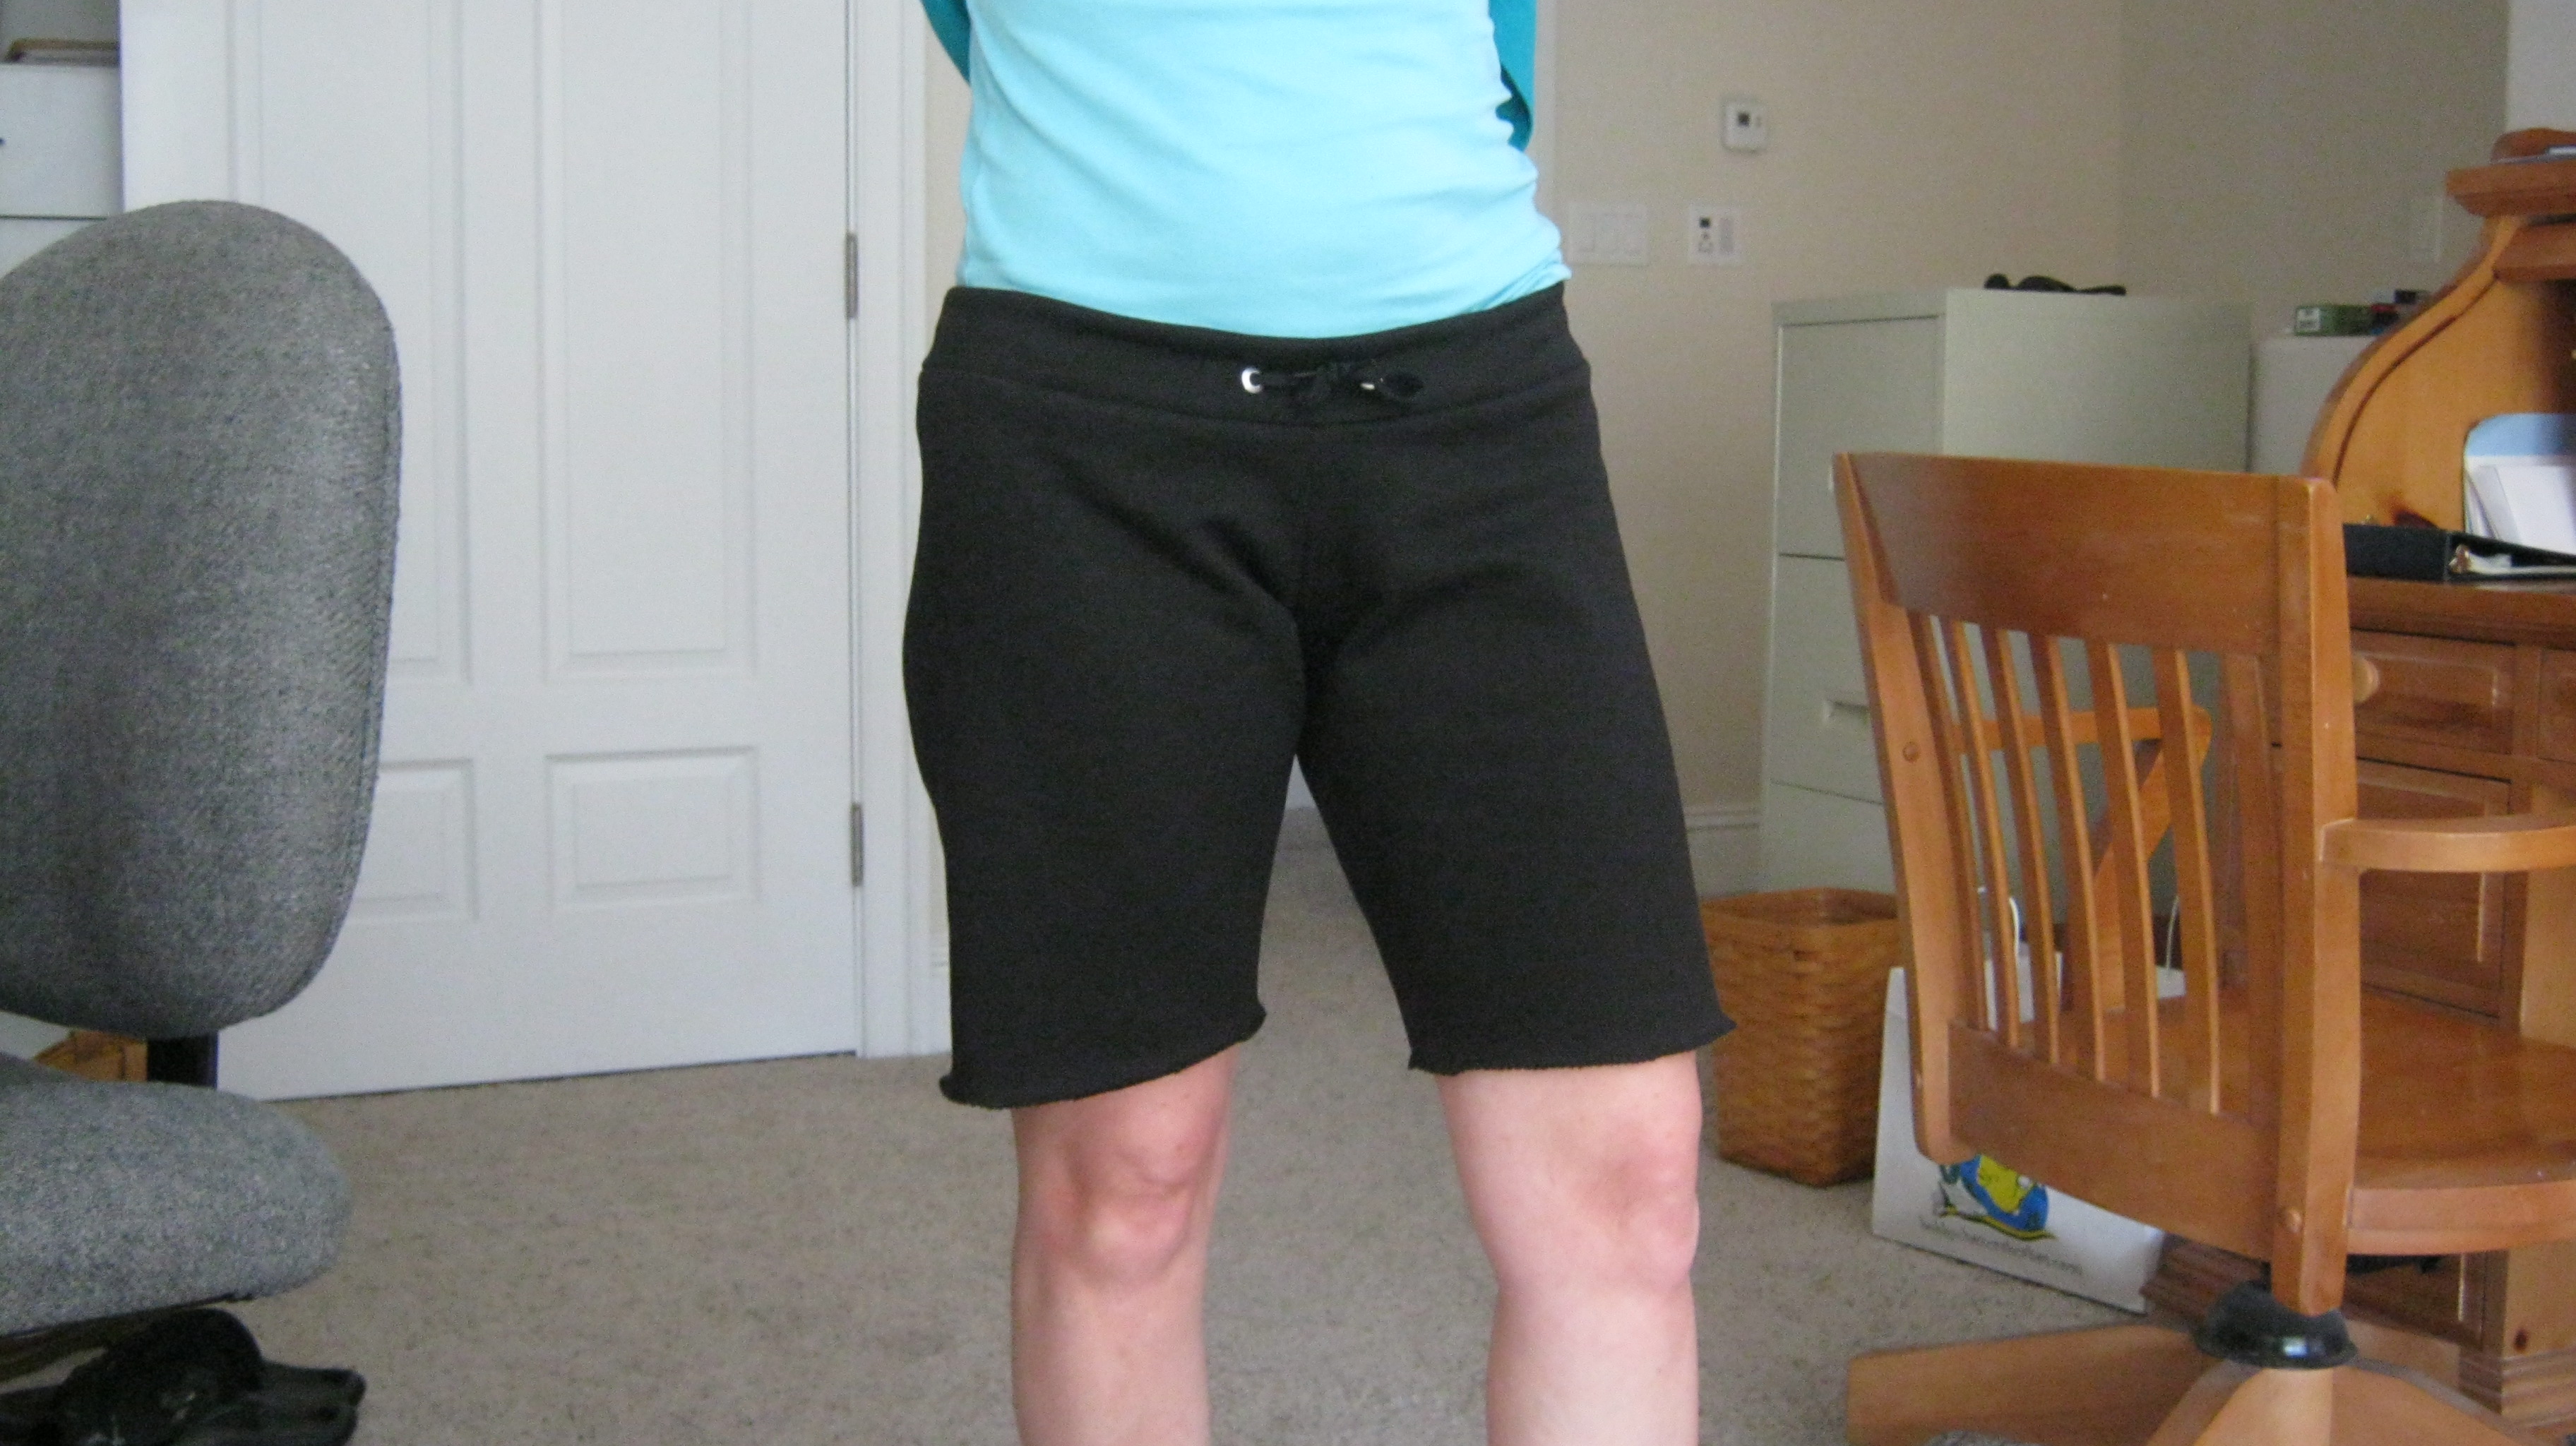
My new favorite shorts!!
As I am writing this I realized I made one major
goof and one minor one….The major goof is that I did not
preshrink the material before I sewed it…a basic rule one
should follow, especially when sewing cottons! I hope it does not shrink
too much when I wash it.. or else my daughter will have a
new pair of shorts…… The minor goof.. the waist band should have
been a little wider, on the next pair I will cut it 5 1/2 inches wide instead
of 4 1/2.
On a brighter note.. I learned that eyelets are very easy to use.. much
easier than a button hole…sewww, I will definitely be using
them more often!!!
