Hydrangea Penny Rug/Candle Mat

I have three dear friends who share my passion for crafting. We try to get
together on a regular basis to create. At one of our sessions, Tanya
introduced us to the art of Penny Rugs. We made the cutest Easter penny
rug designed by Barbie Jo Paquin, and I was hooked. I have made several
of my own designs since. The Hydrangea Penny is my latest effort. I am
including the directions in case you want to give it a try.
To make this you will need :
1/2 yard of black wool felt
1/2 yard of green wool felt
1/8 yard, or 1/2 of a fat quarter of tye dyed blue wool felt, and matching thread
embroidery floss: green to match or slightly contrast the green felt and black
you will also need blue seed beads that match the blue felt
Freezer paper
Poster board- at least 2 pieces
Click here for printable pattern pieces. penny rug hydrangea pattern
Prior to starting, you will want to decide on the texture of your wool felt. You can leave as you bought it, or you can felt it so that it has a bumpier/textured look to it. You can see the difference if you click on the tab at the top of this page labeled ” FELTING WOOL FELT”. You will also find directions for” felting” as well.
I gave you the pattern for the leaves, flowers, a small circle that will help give the hydrangea depth, and a Template for the scalloped edging around out side of middle and bottom layers of the rug. You will need to cut out 12 leaves, 72 flowers, and 4 of the ‘pillow” circles. You will need to make a circle pattern with a 14 inch diameter (out of the poster board). I used tye dyed blue wool felt for the flowers, cutting about 1/2 of them from the darker section of felt and 1/2 from the lighter section. This gave the finished hydrangeas their variegated color. To cut out the flowers, leaves and small pillow circles start by taking the freezer paper, place it shiney side down on the wool felt and secure by pressing it into place with an iron. Trace the pattern pieces onto the appropriate color of wool felt, and cut out.
 .
.
Freezer paper ironed to wool felt and
flowers traced on to it.
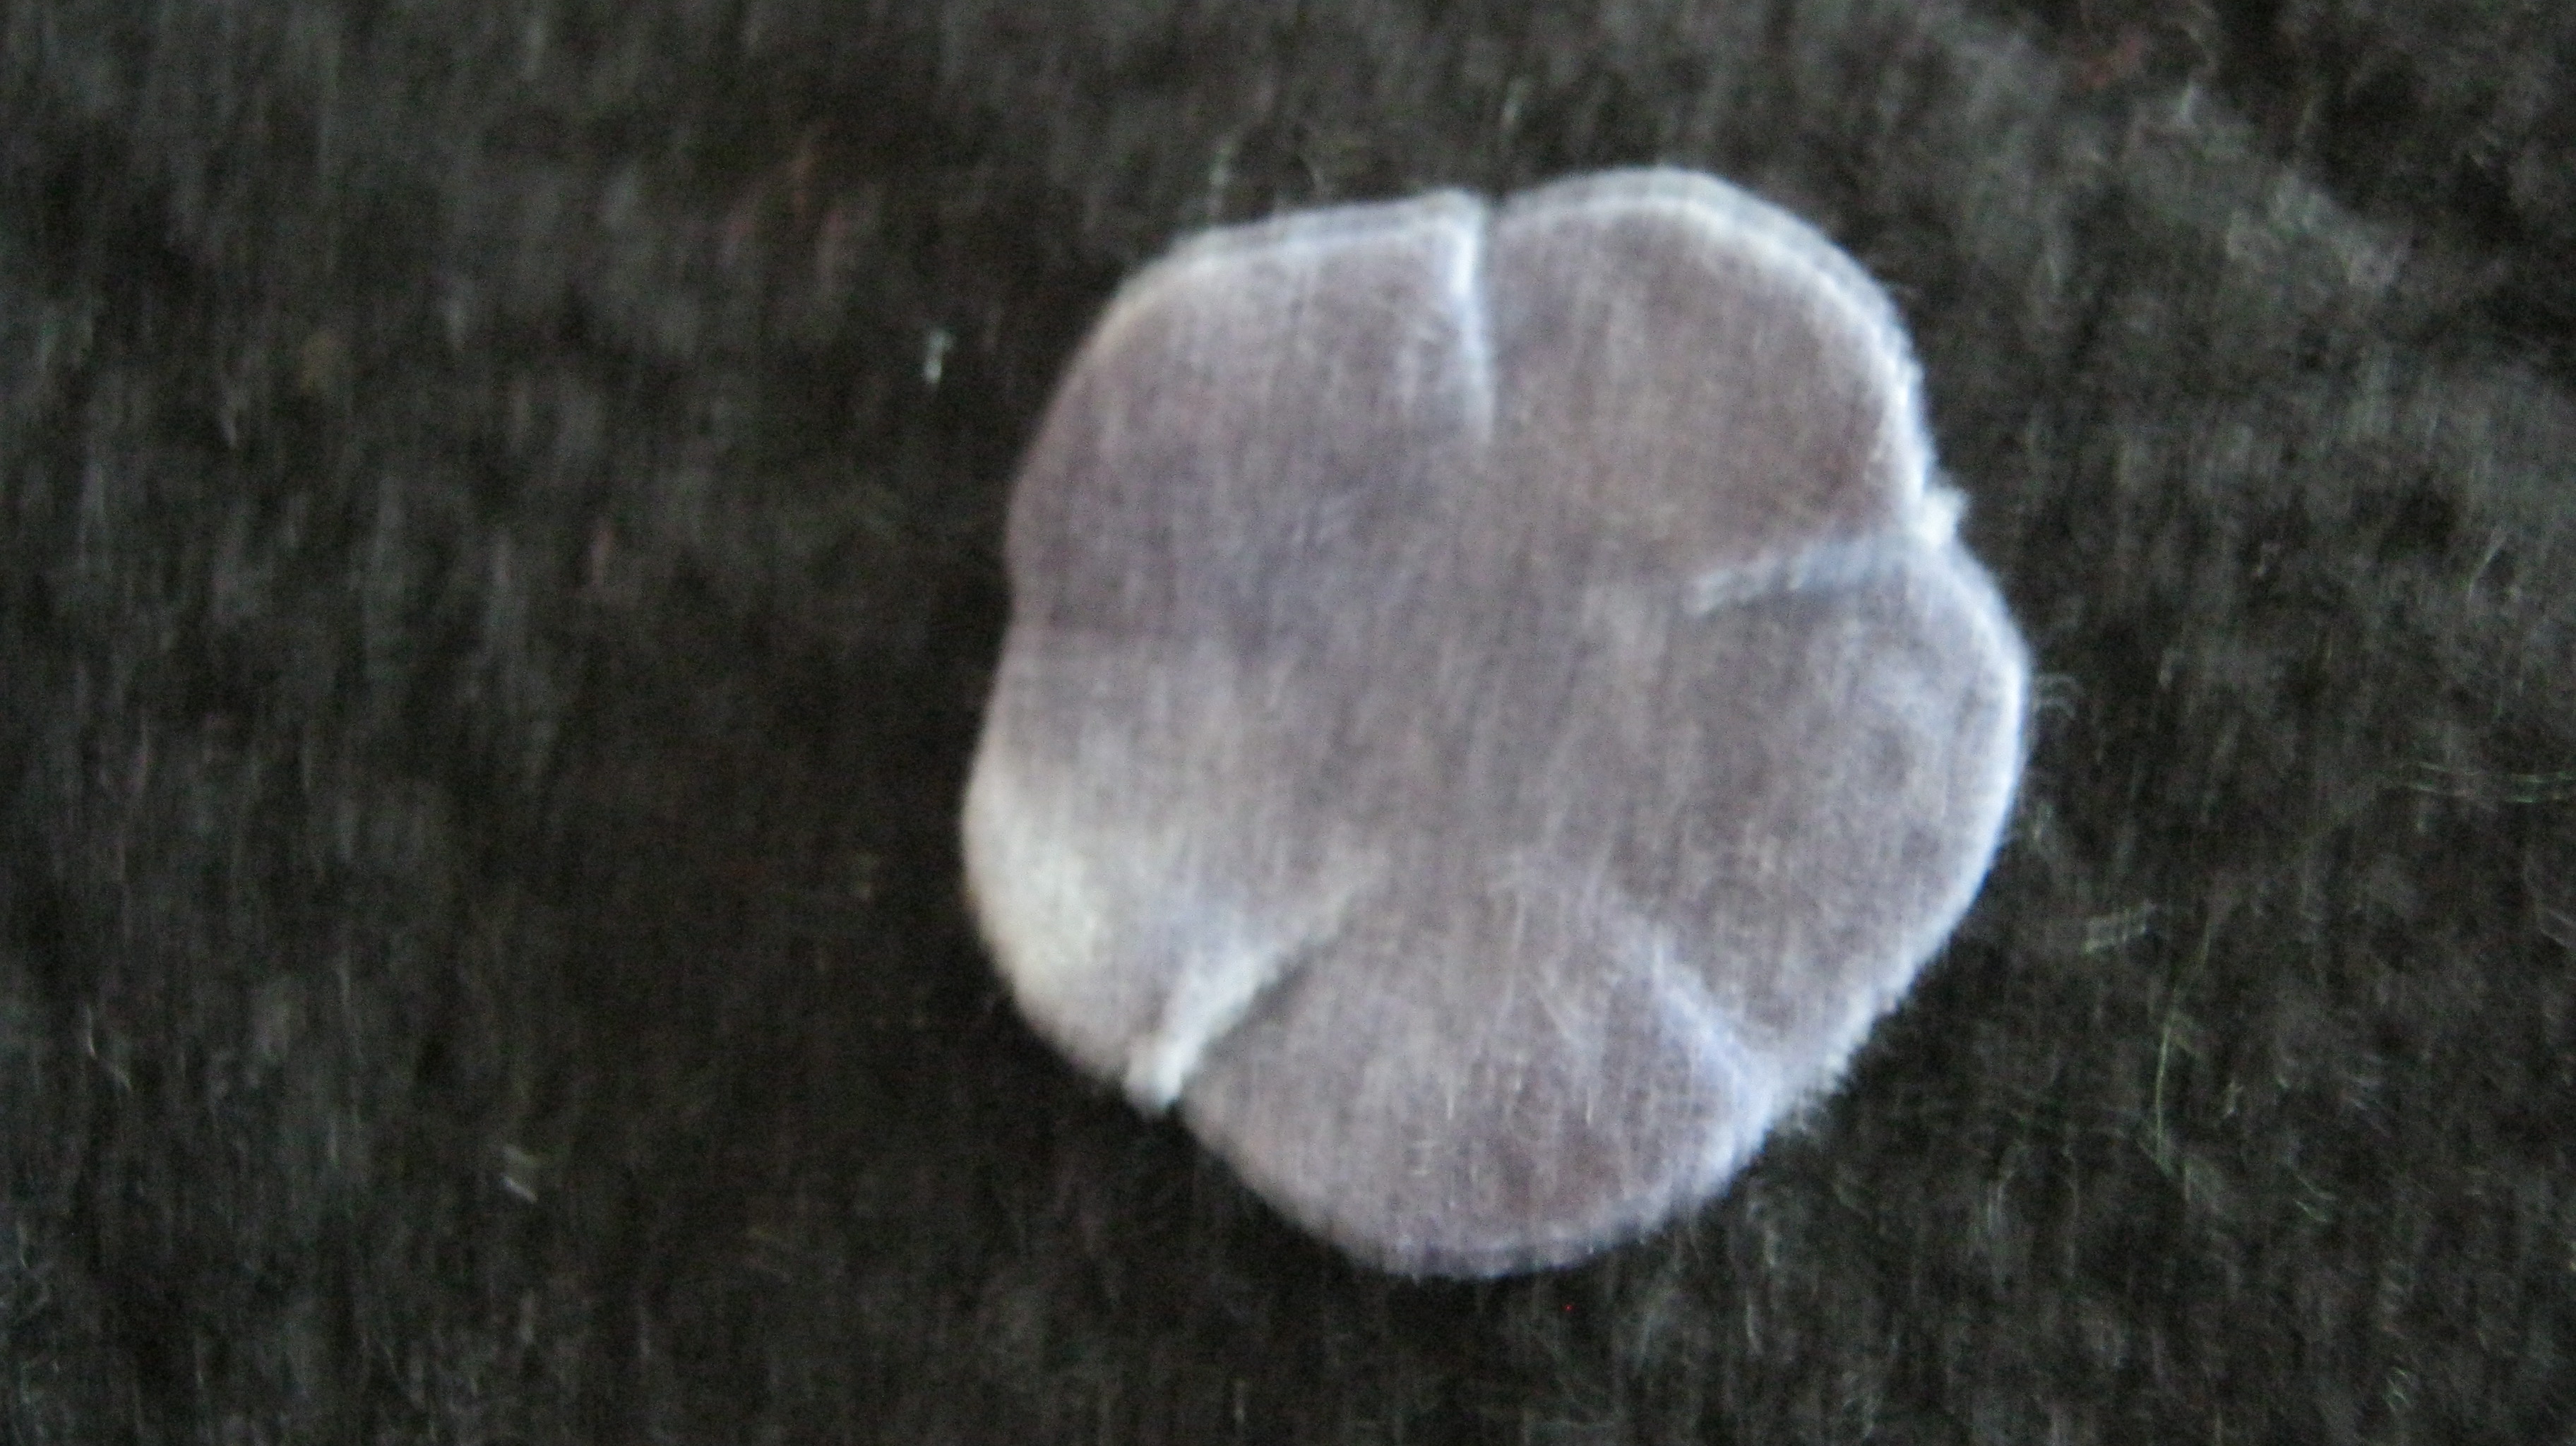
Prep for the flowers, by cutting them out, then
snipping them to create petals as above

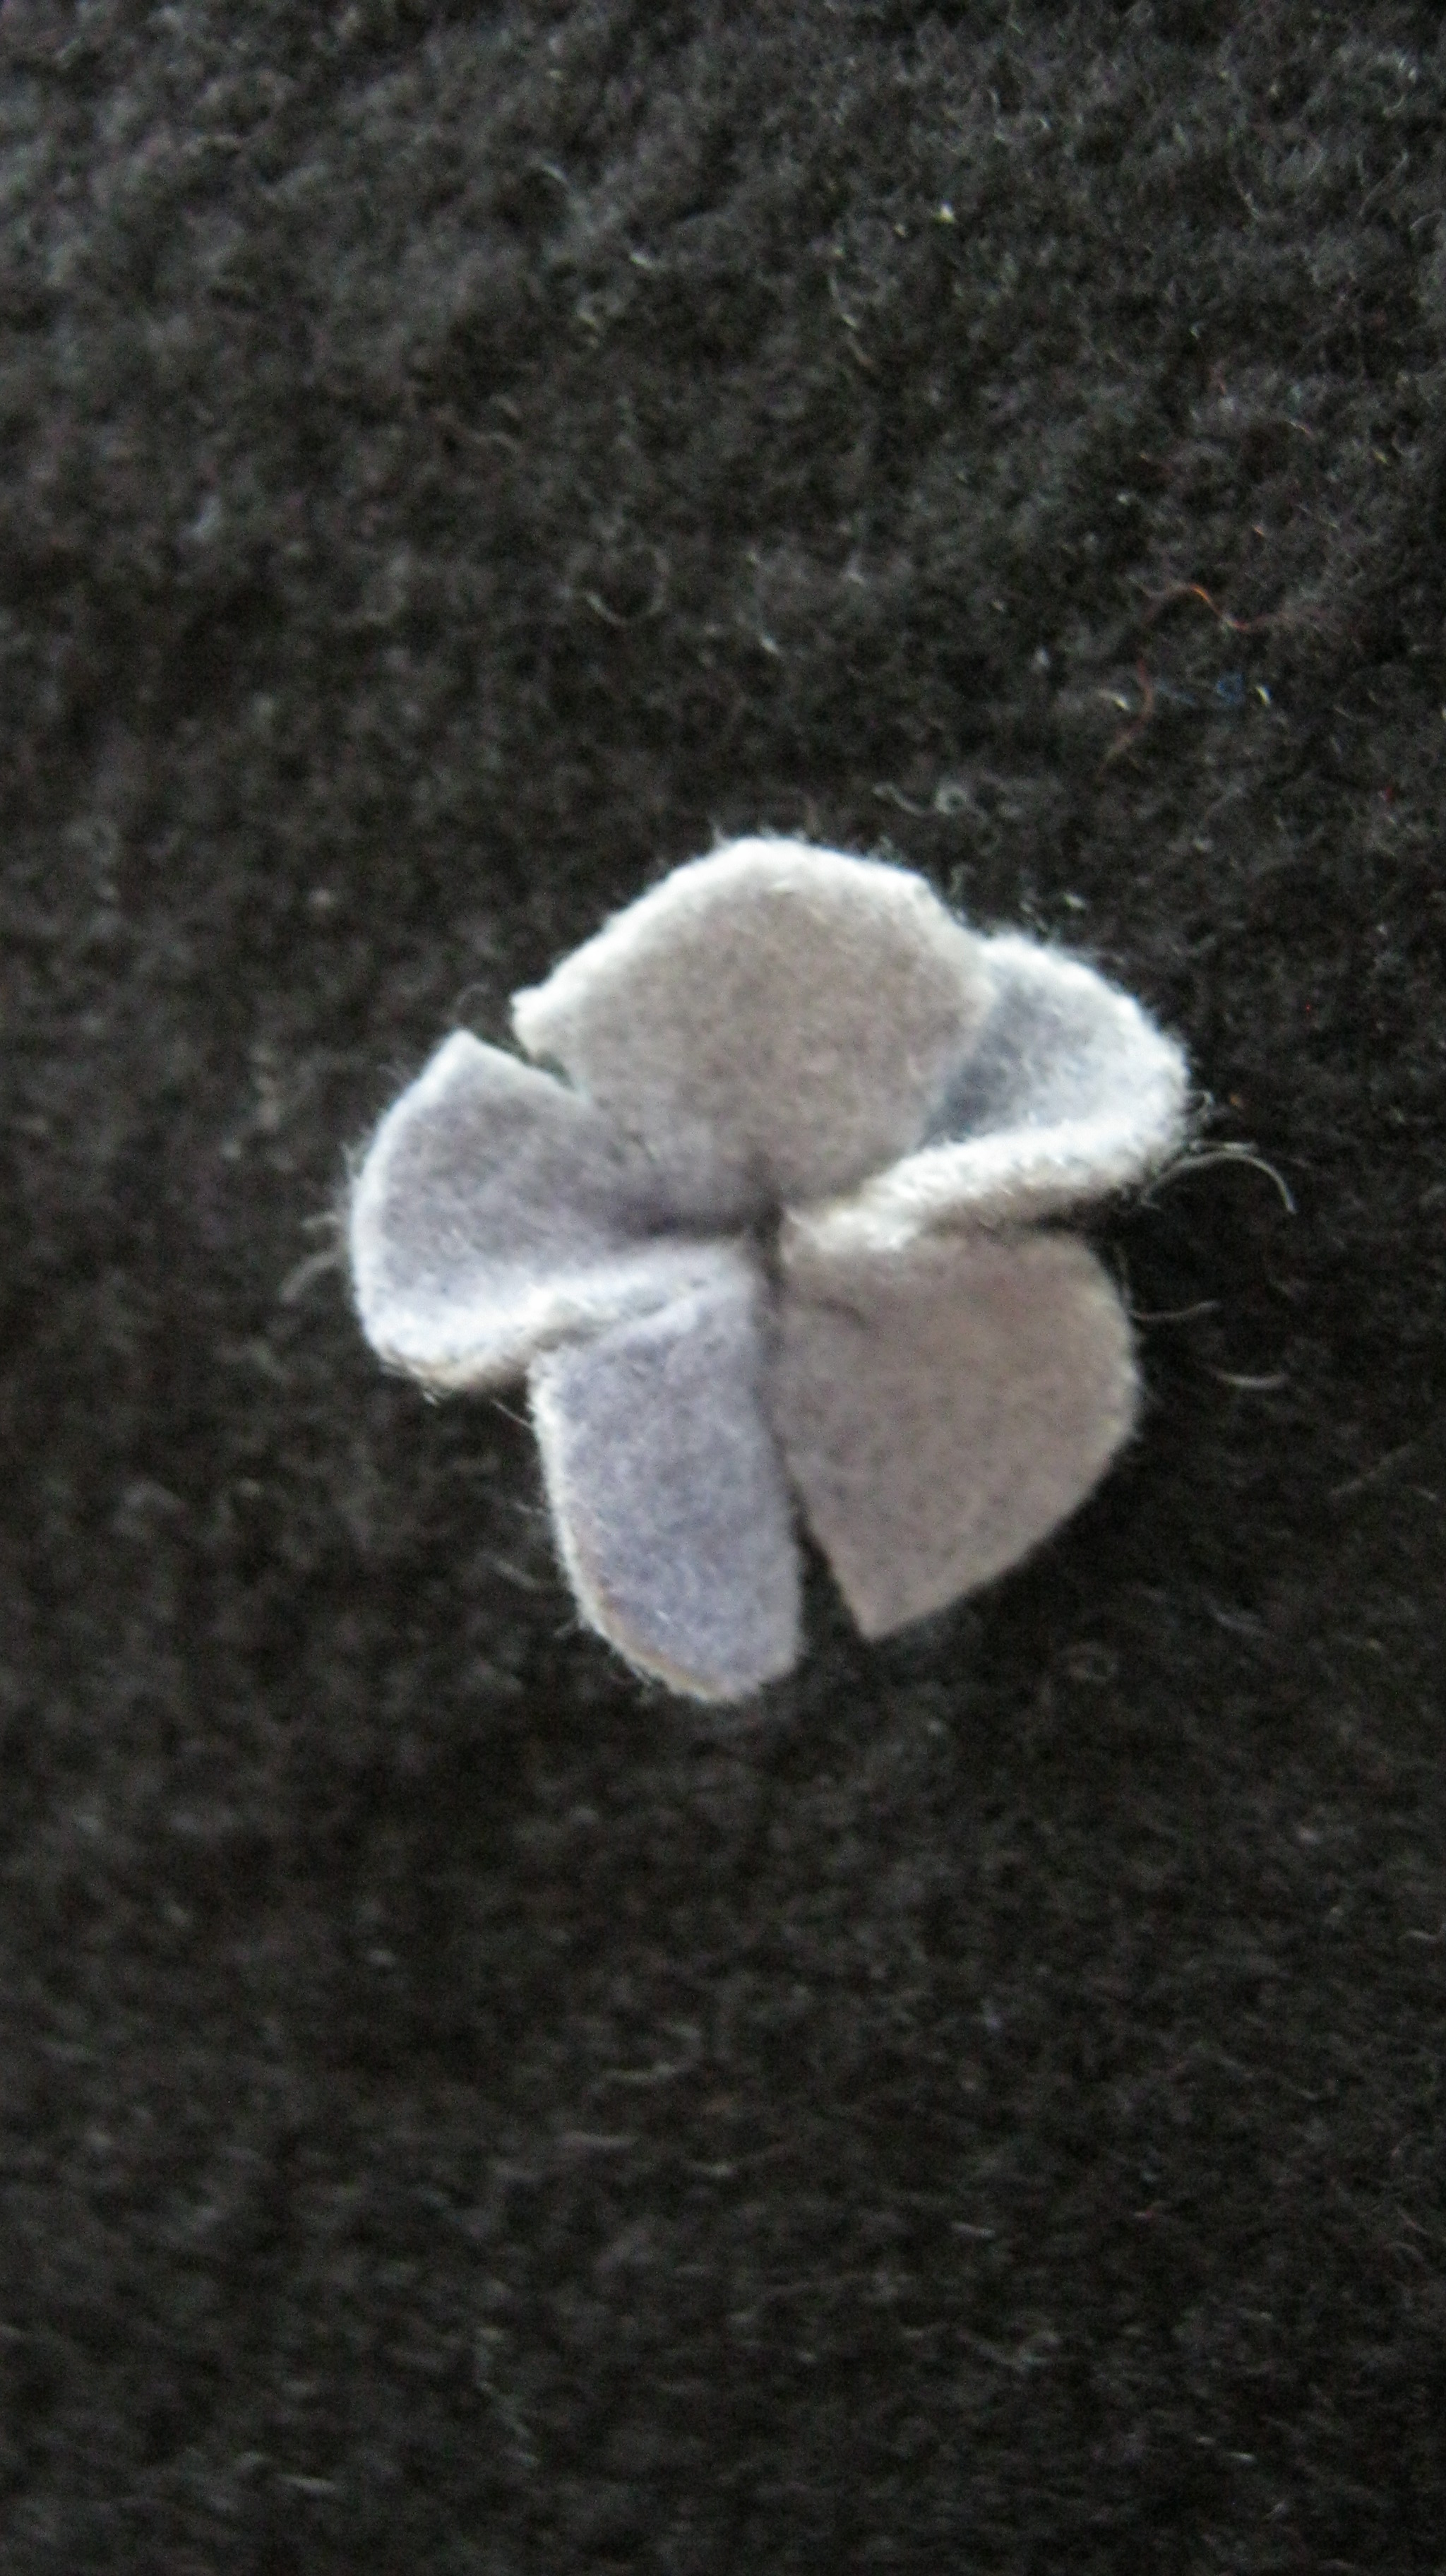
shape the petals by trimming off the corners.

to form flower

stitch around inside, but don’t knot off.
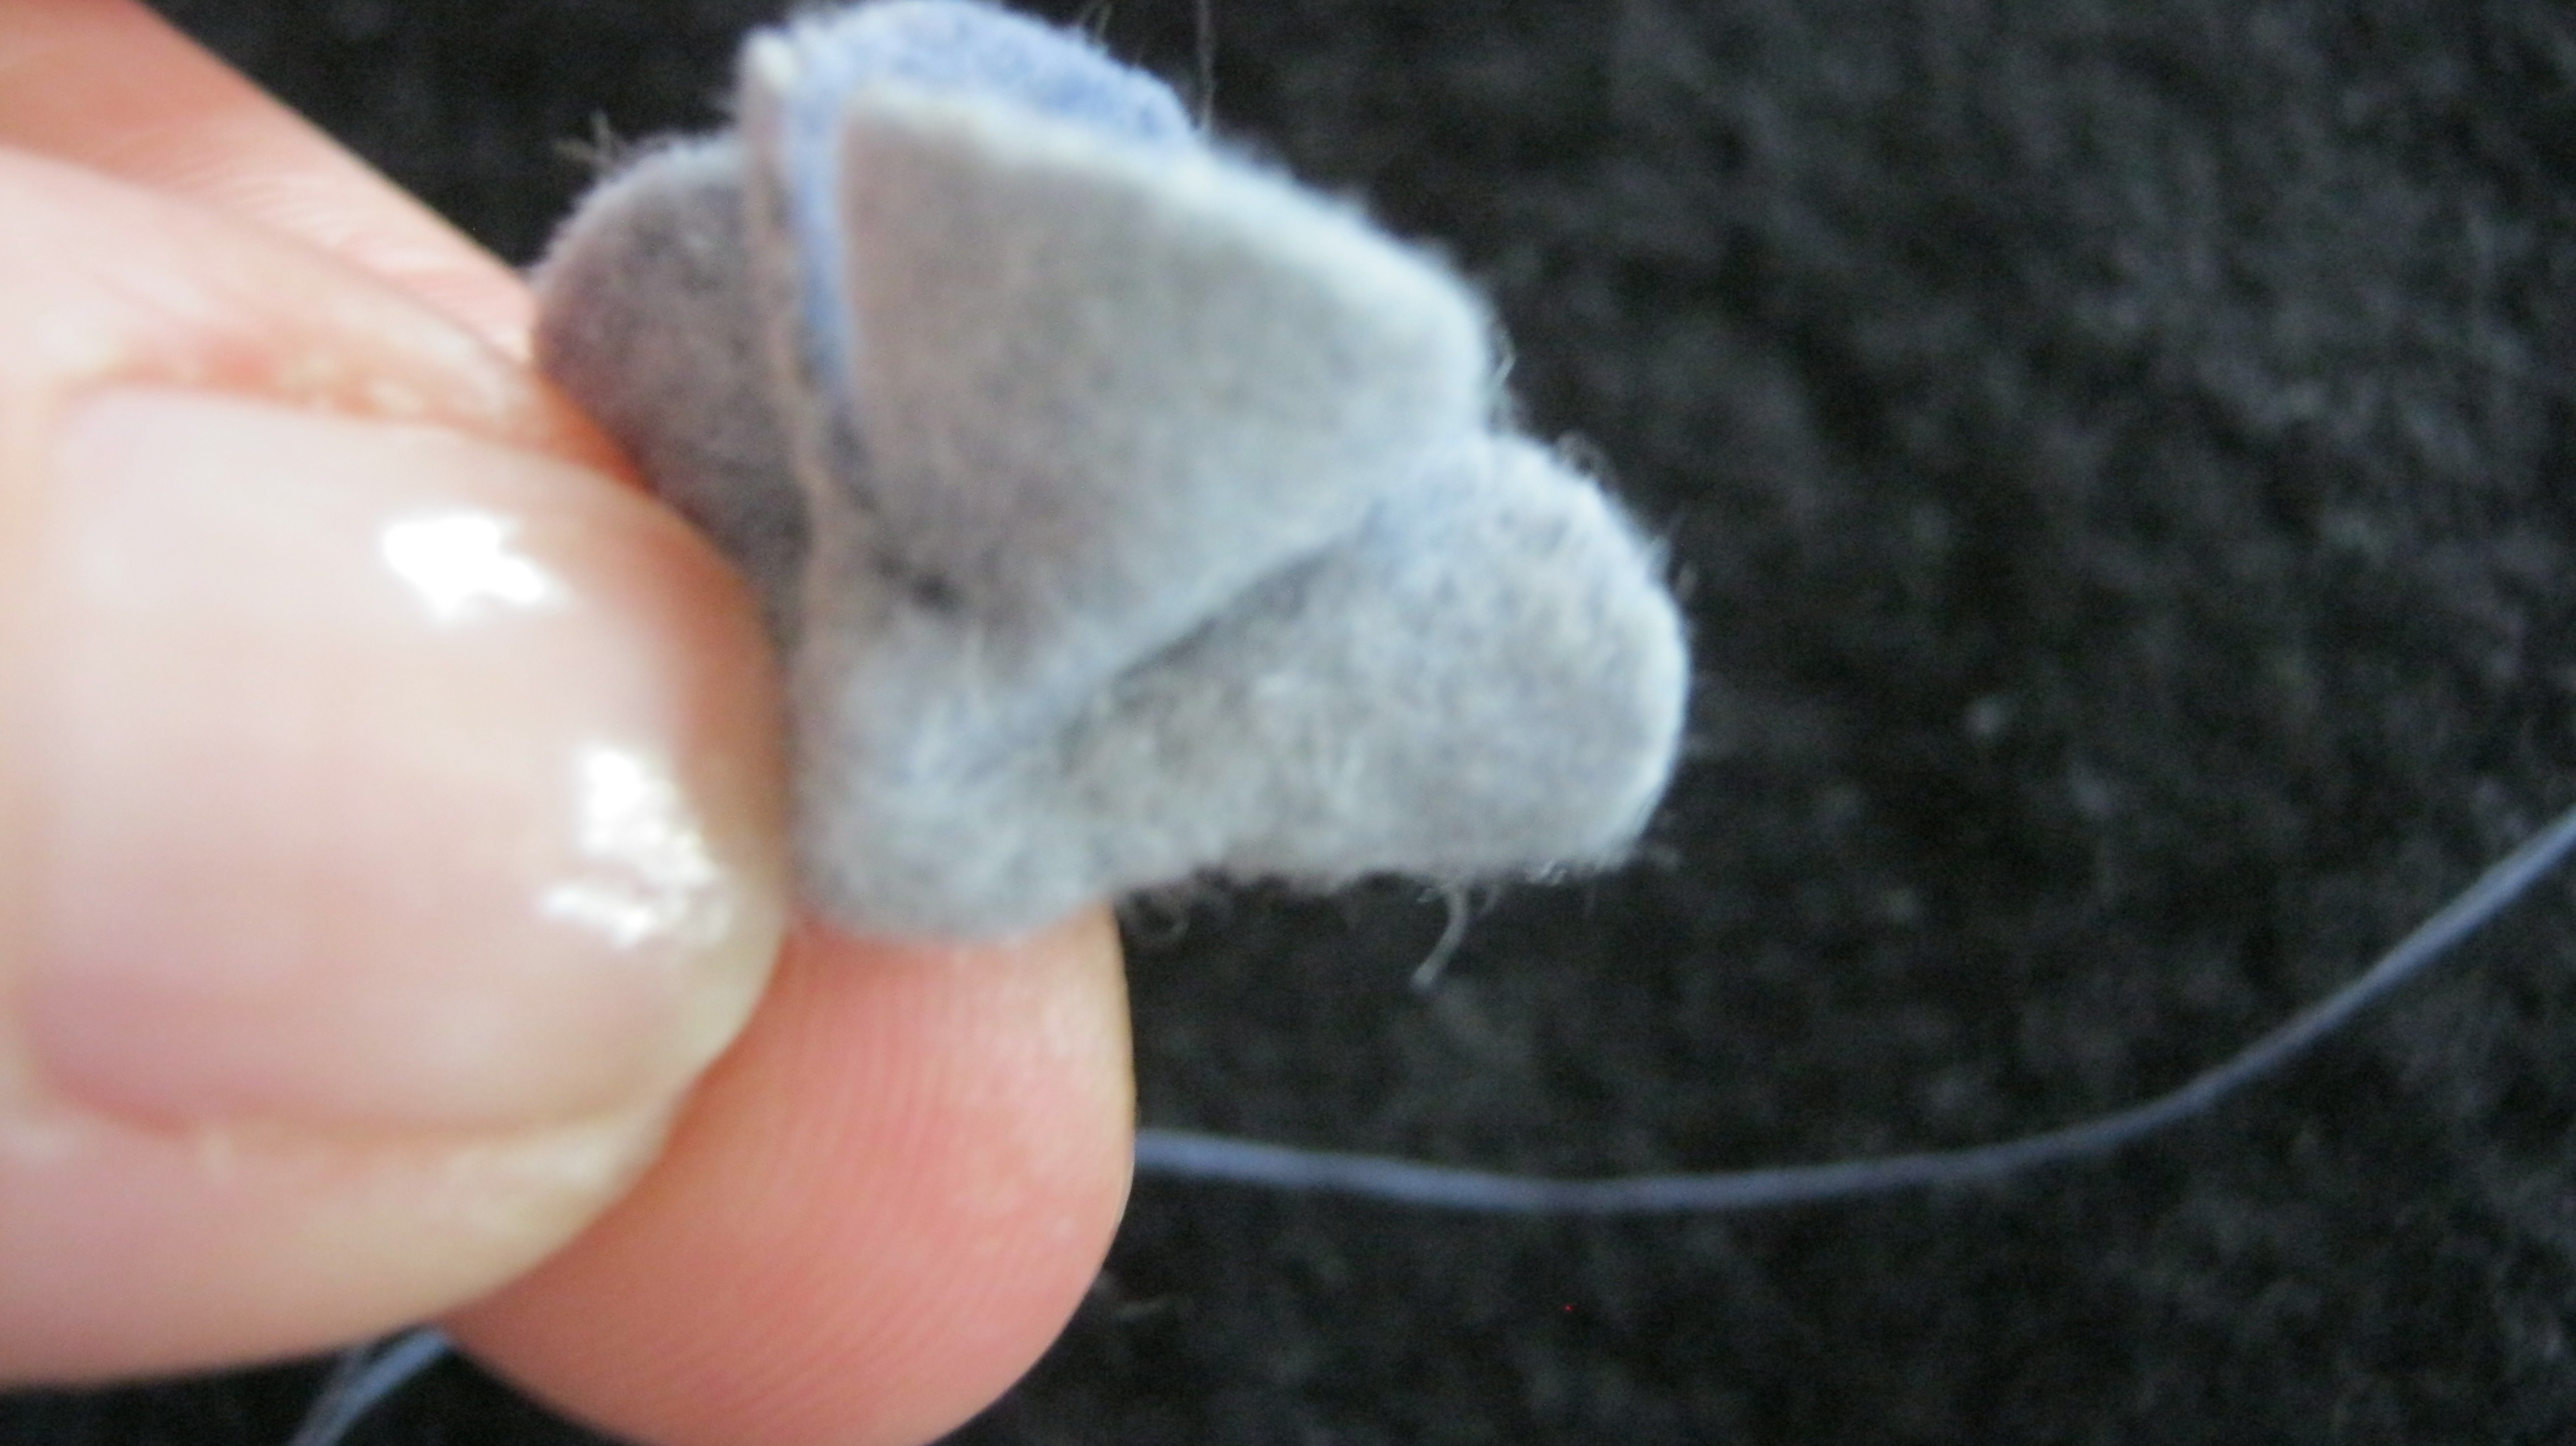
then pull thread tight, cinching bottom of flower.

secure by stitching across bottom several times.
 !
!
your flowers should look like this.
Repeat 71 more times!
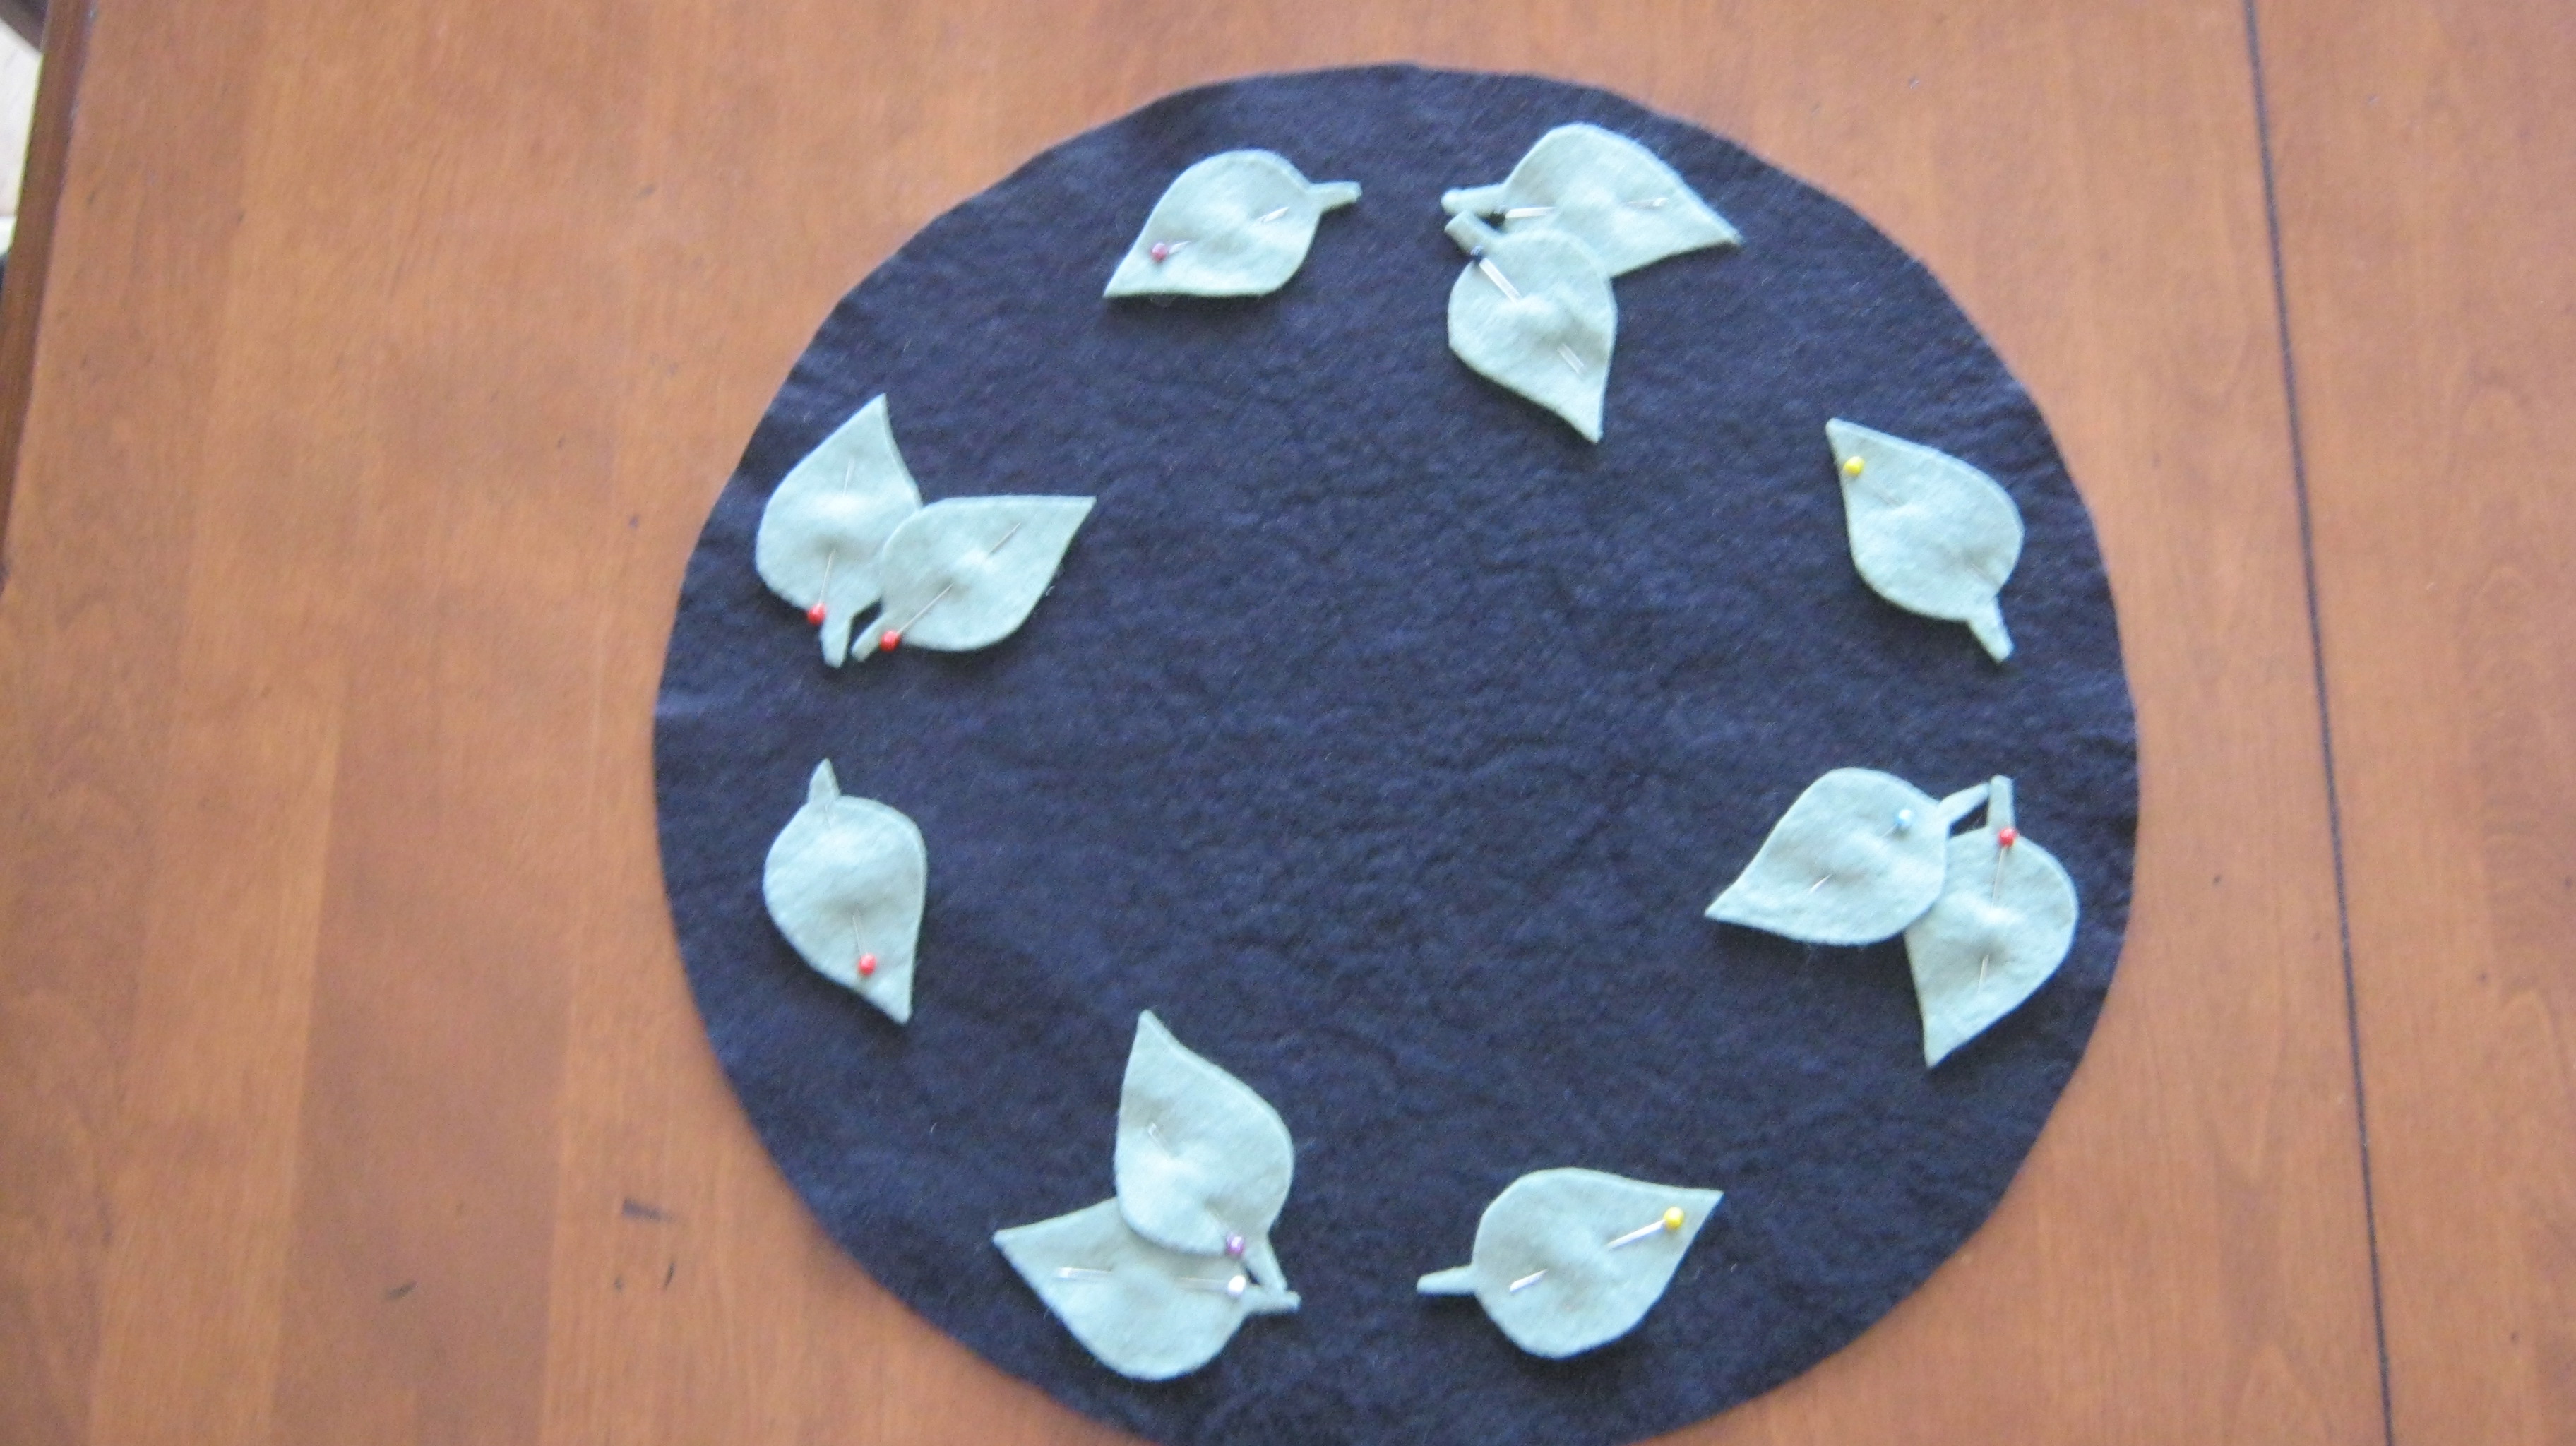
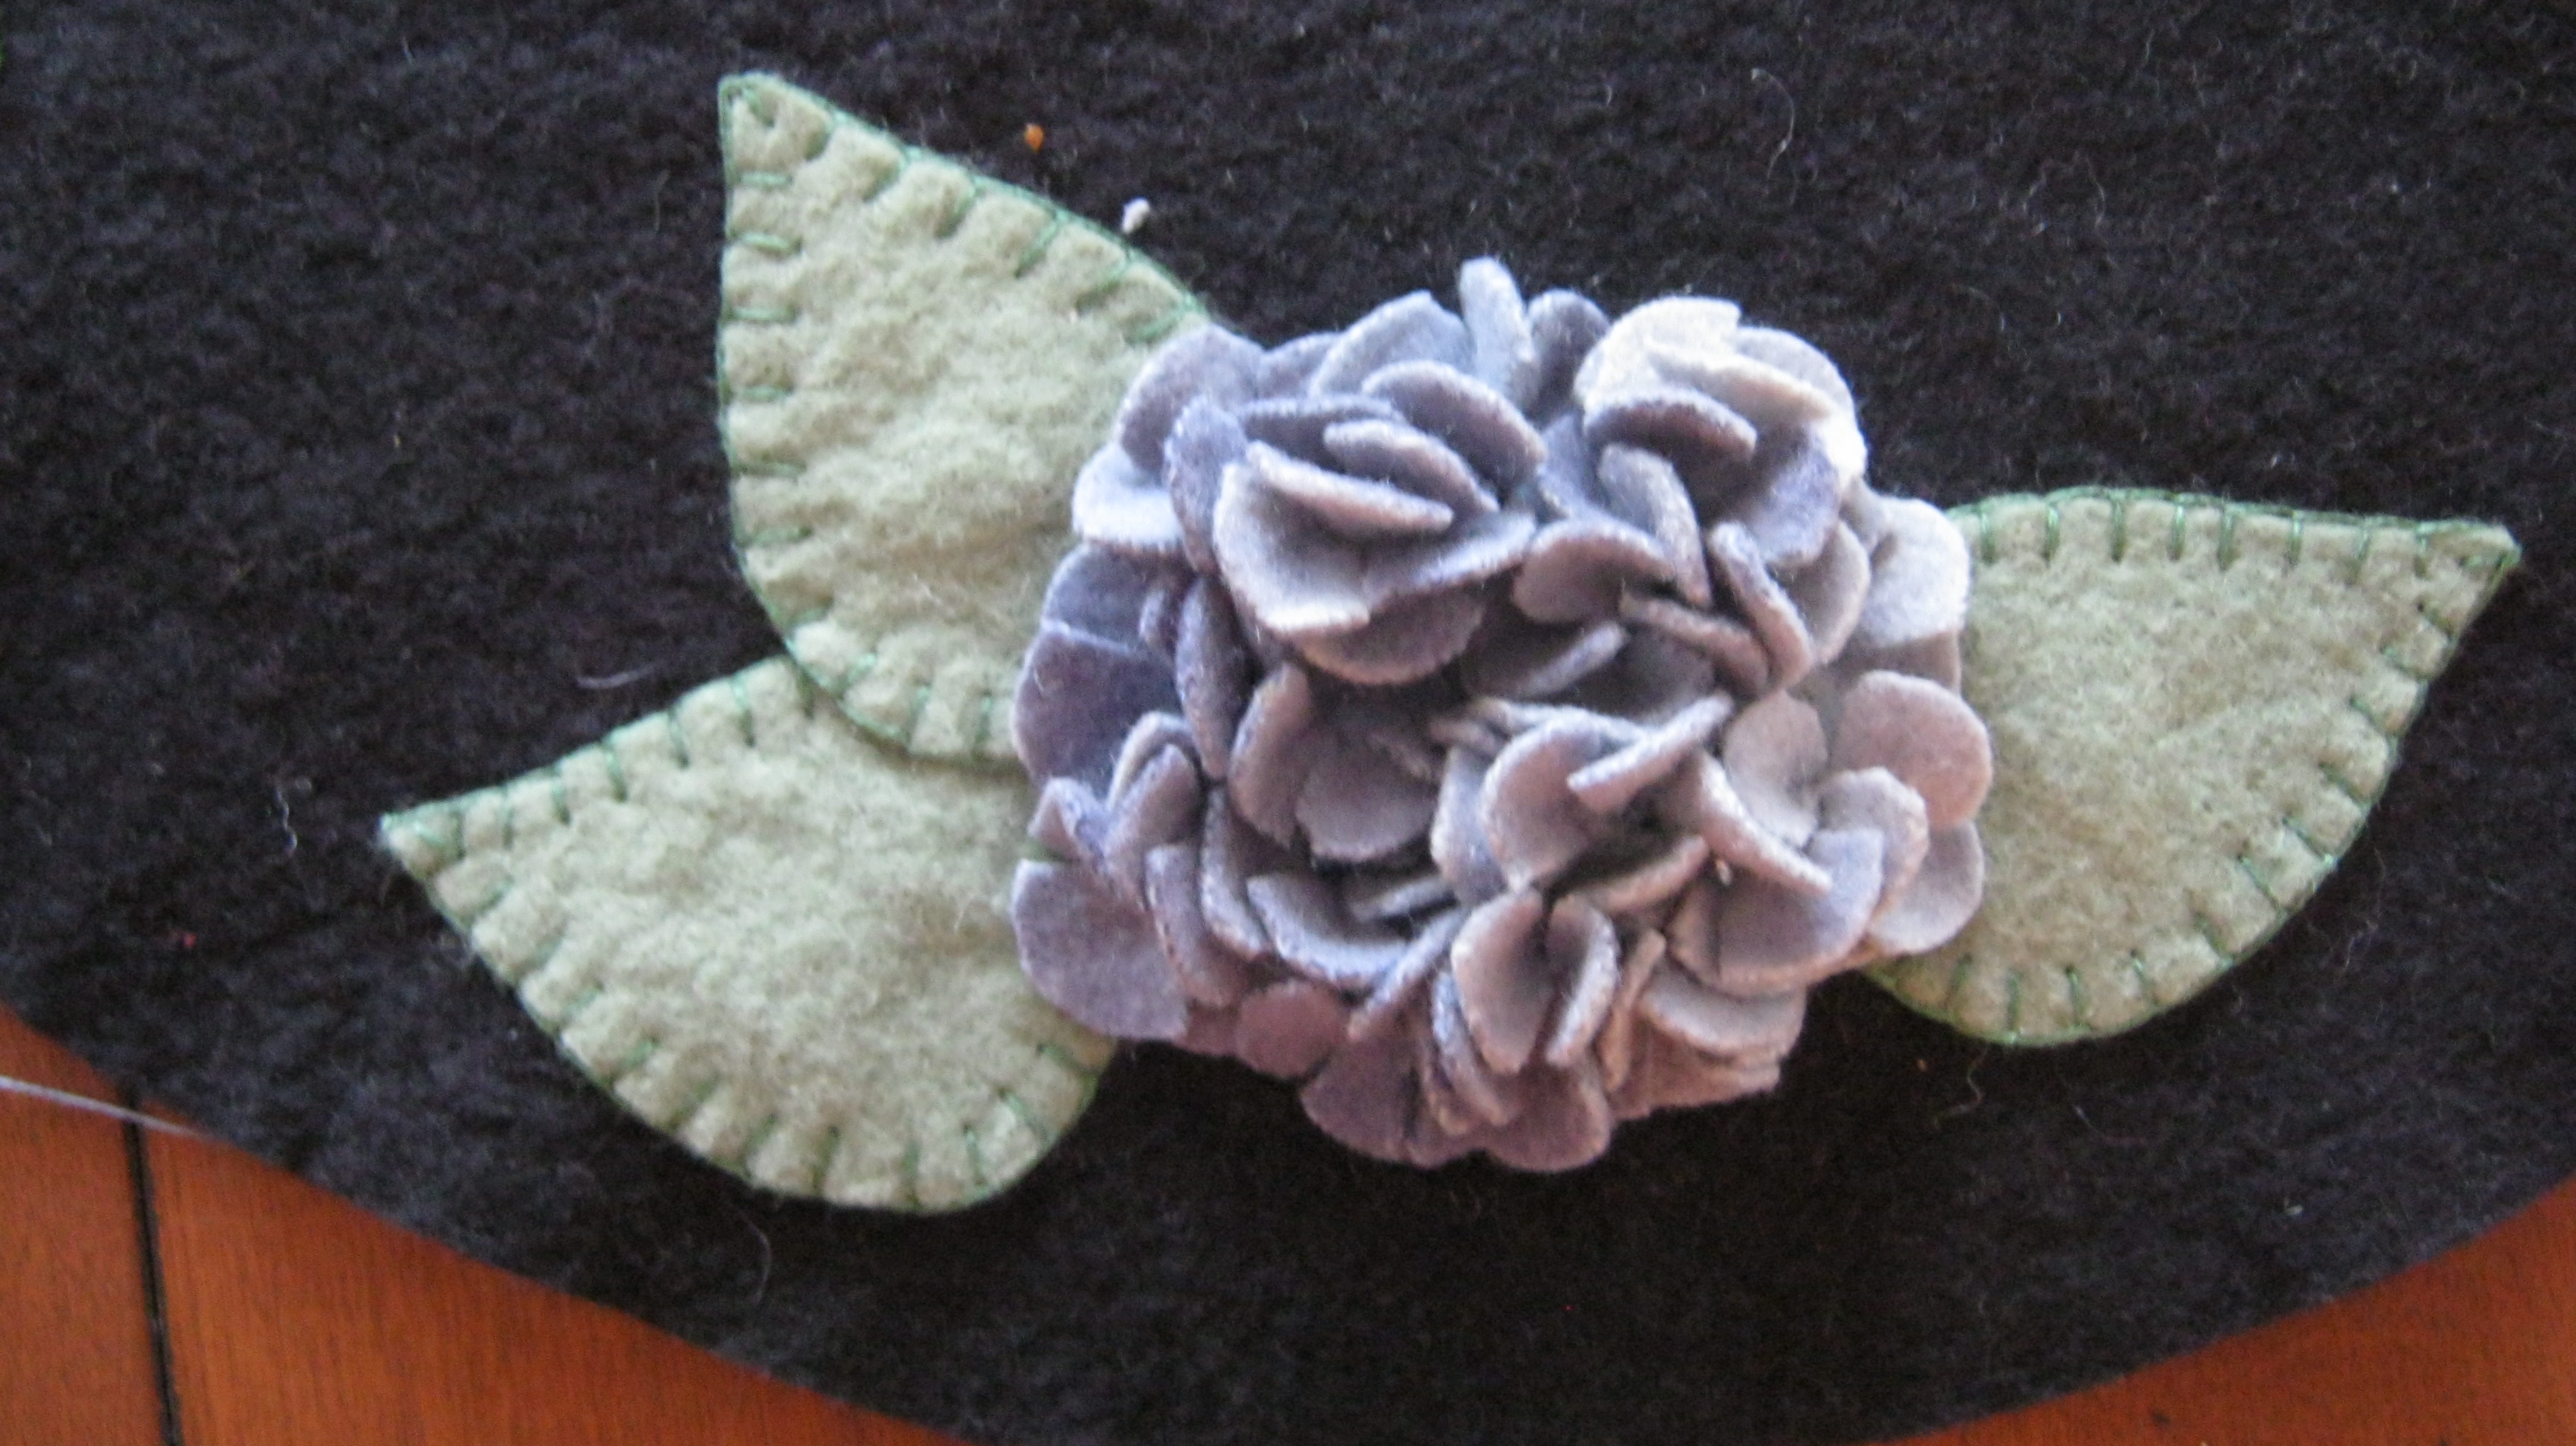
Next lay out the leaves as shown onto the large14
inch circle cut from the black felt..
An easy way to determine
placement is to fold the circle in half, pinning each
end of the fold, bring these two pins together and
pin the ends of the new perpendicular diameter. These
pins will be the center of the flowers, arrange the
leaves around this mark.

blanket stitch around the leaves using green floss.
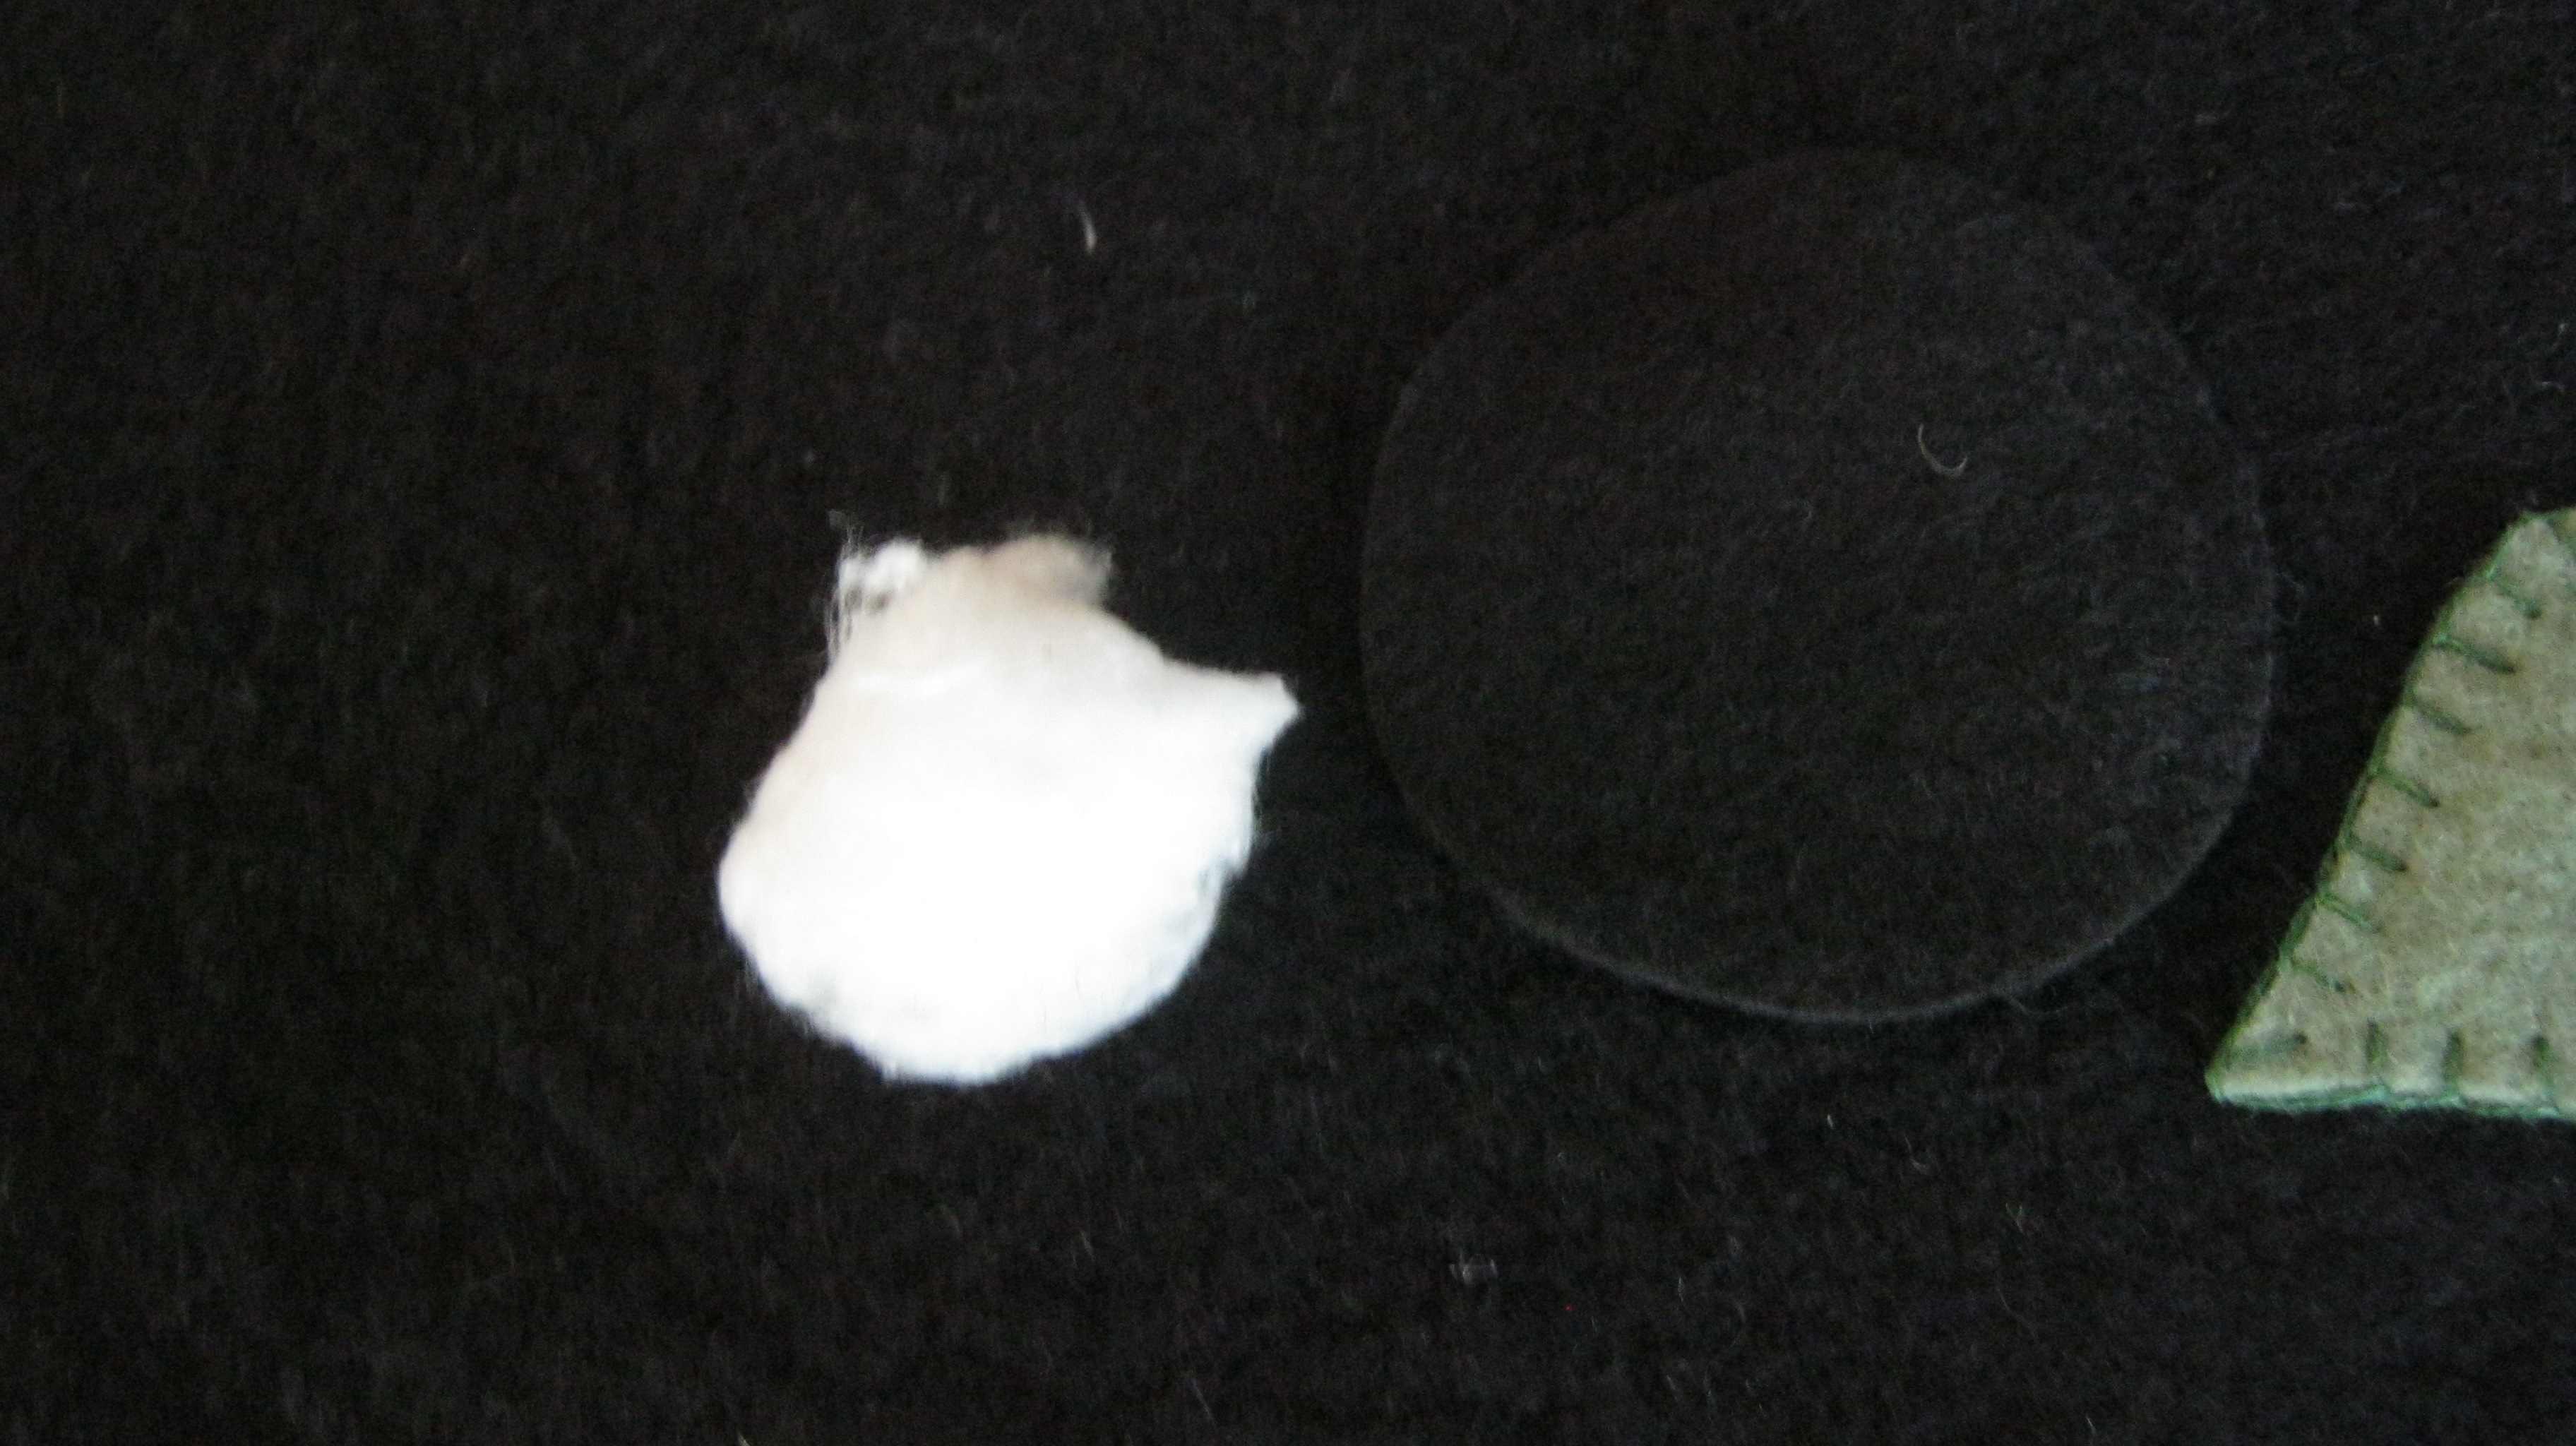
To give the hydrangea depth take a cotton ball
and cut it in half
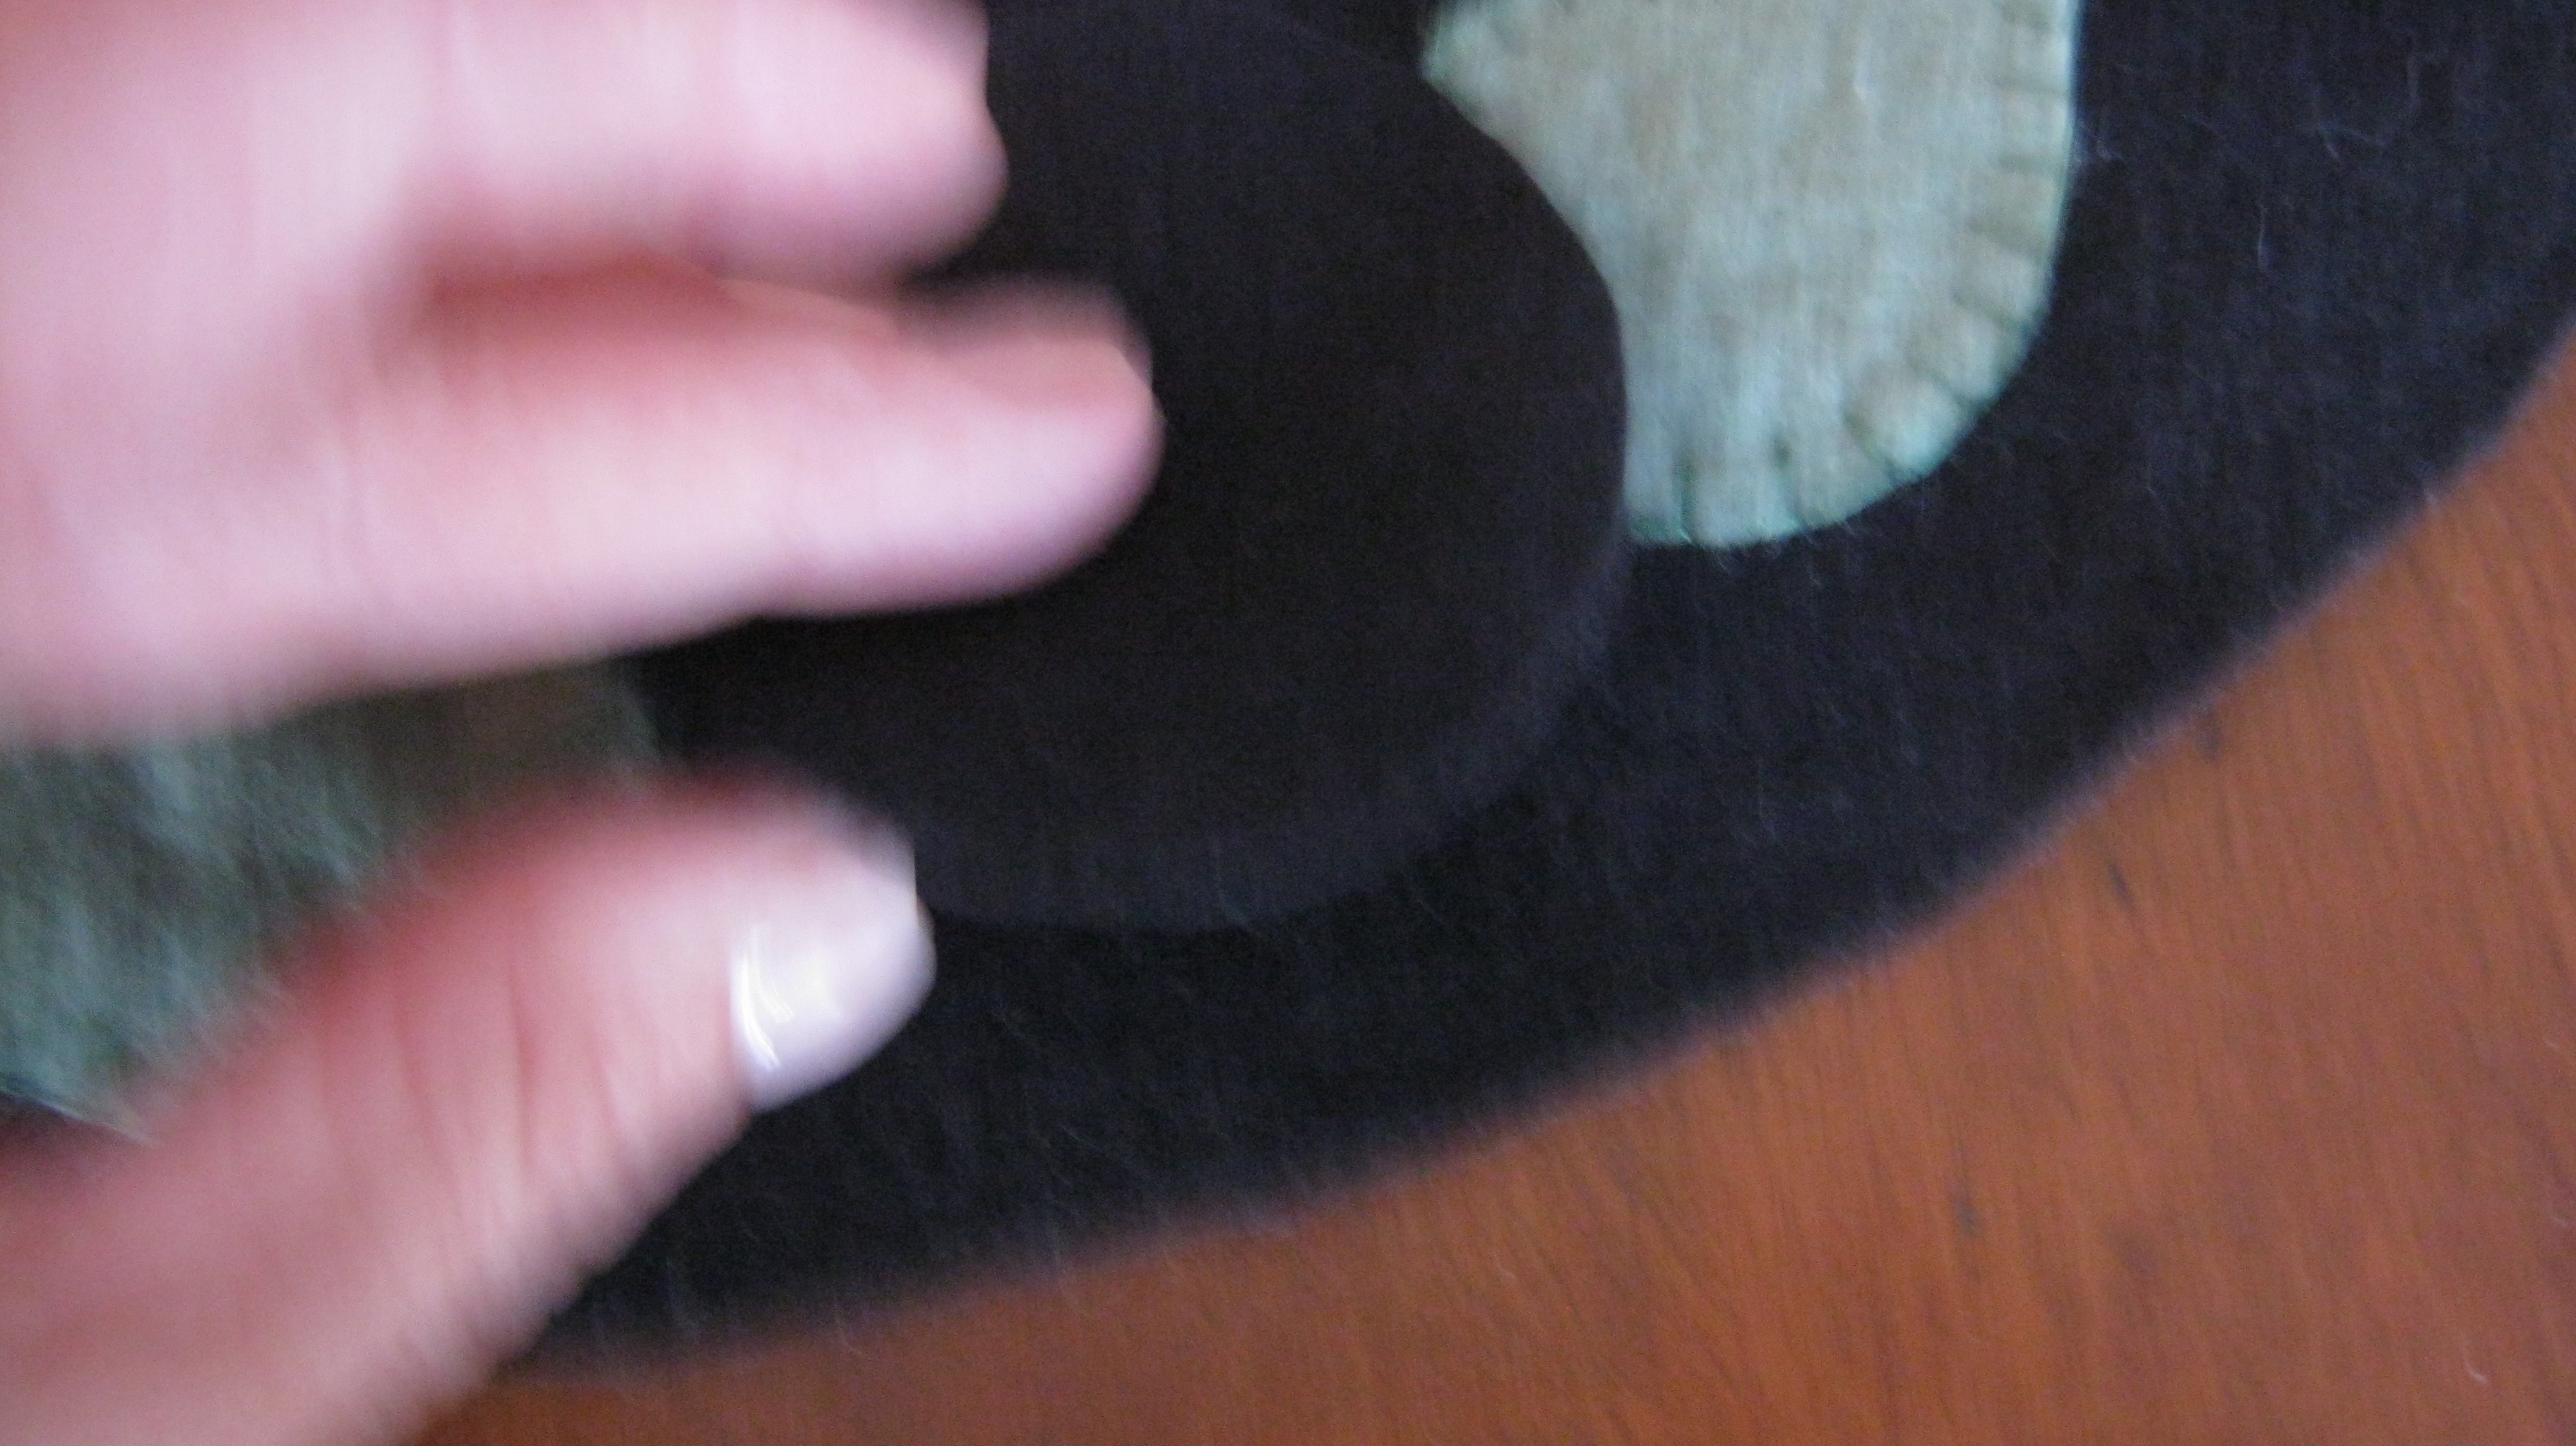
place it in the center of the leaves and cover with
the small black circle


secure by stitching around out side using blanket stitch
and black floss.
This will give height to the hydrangea.
.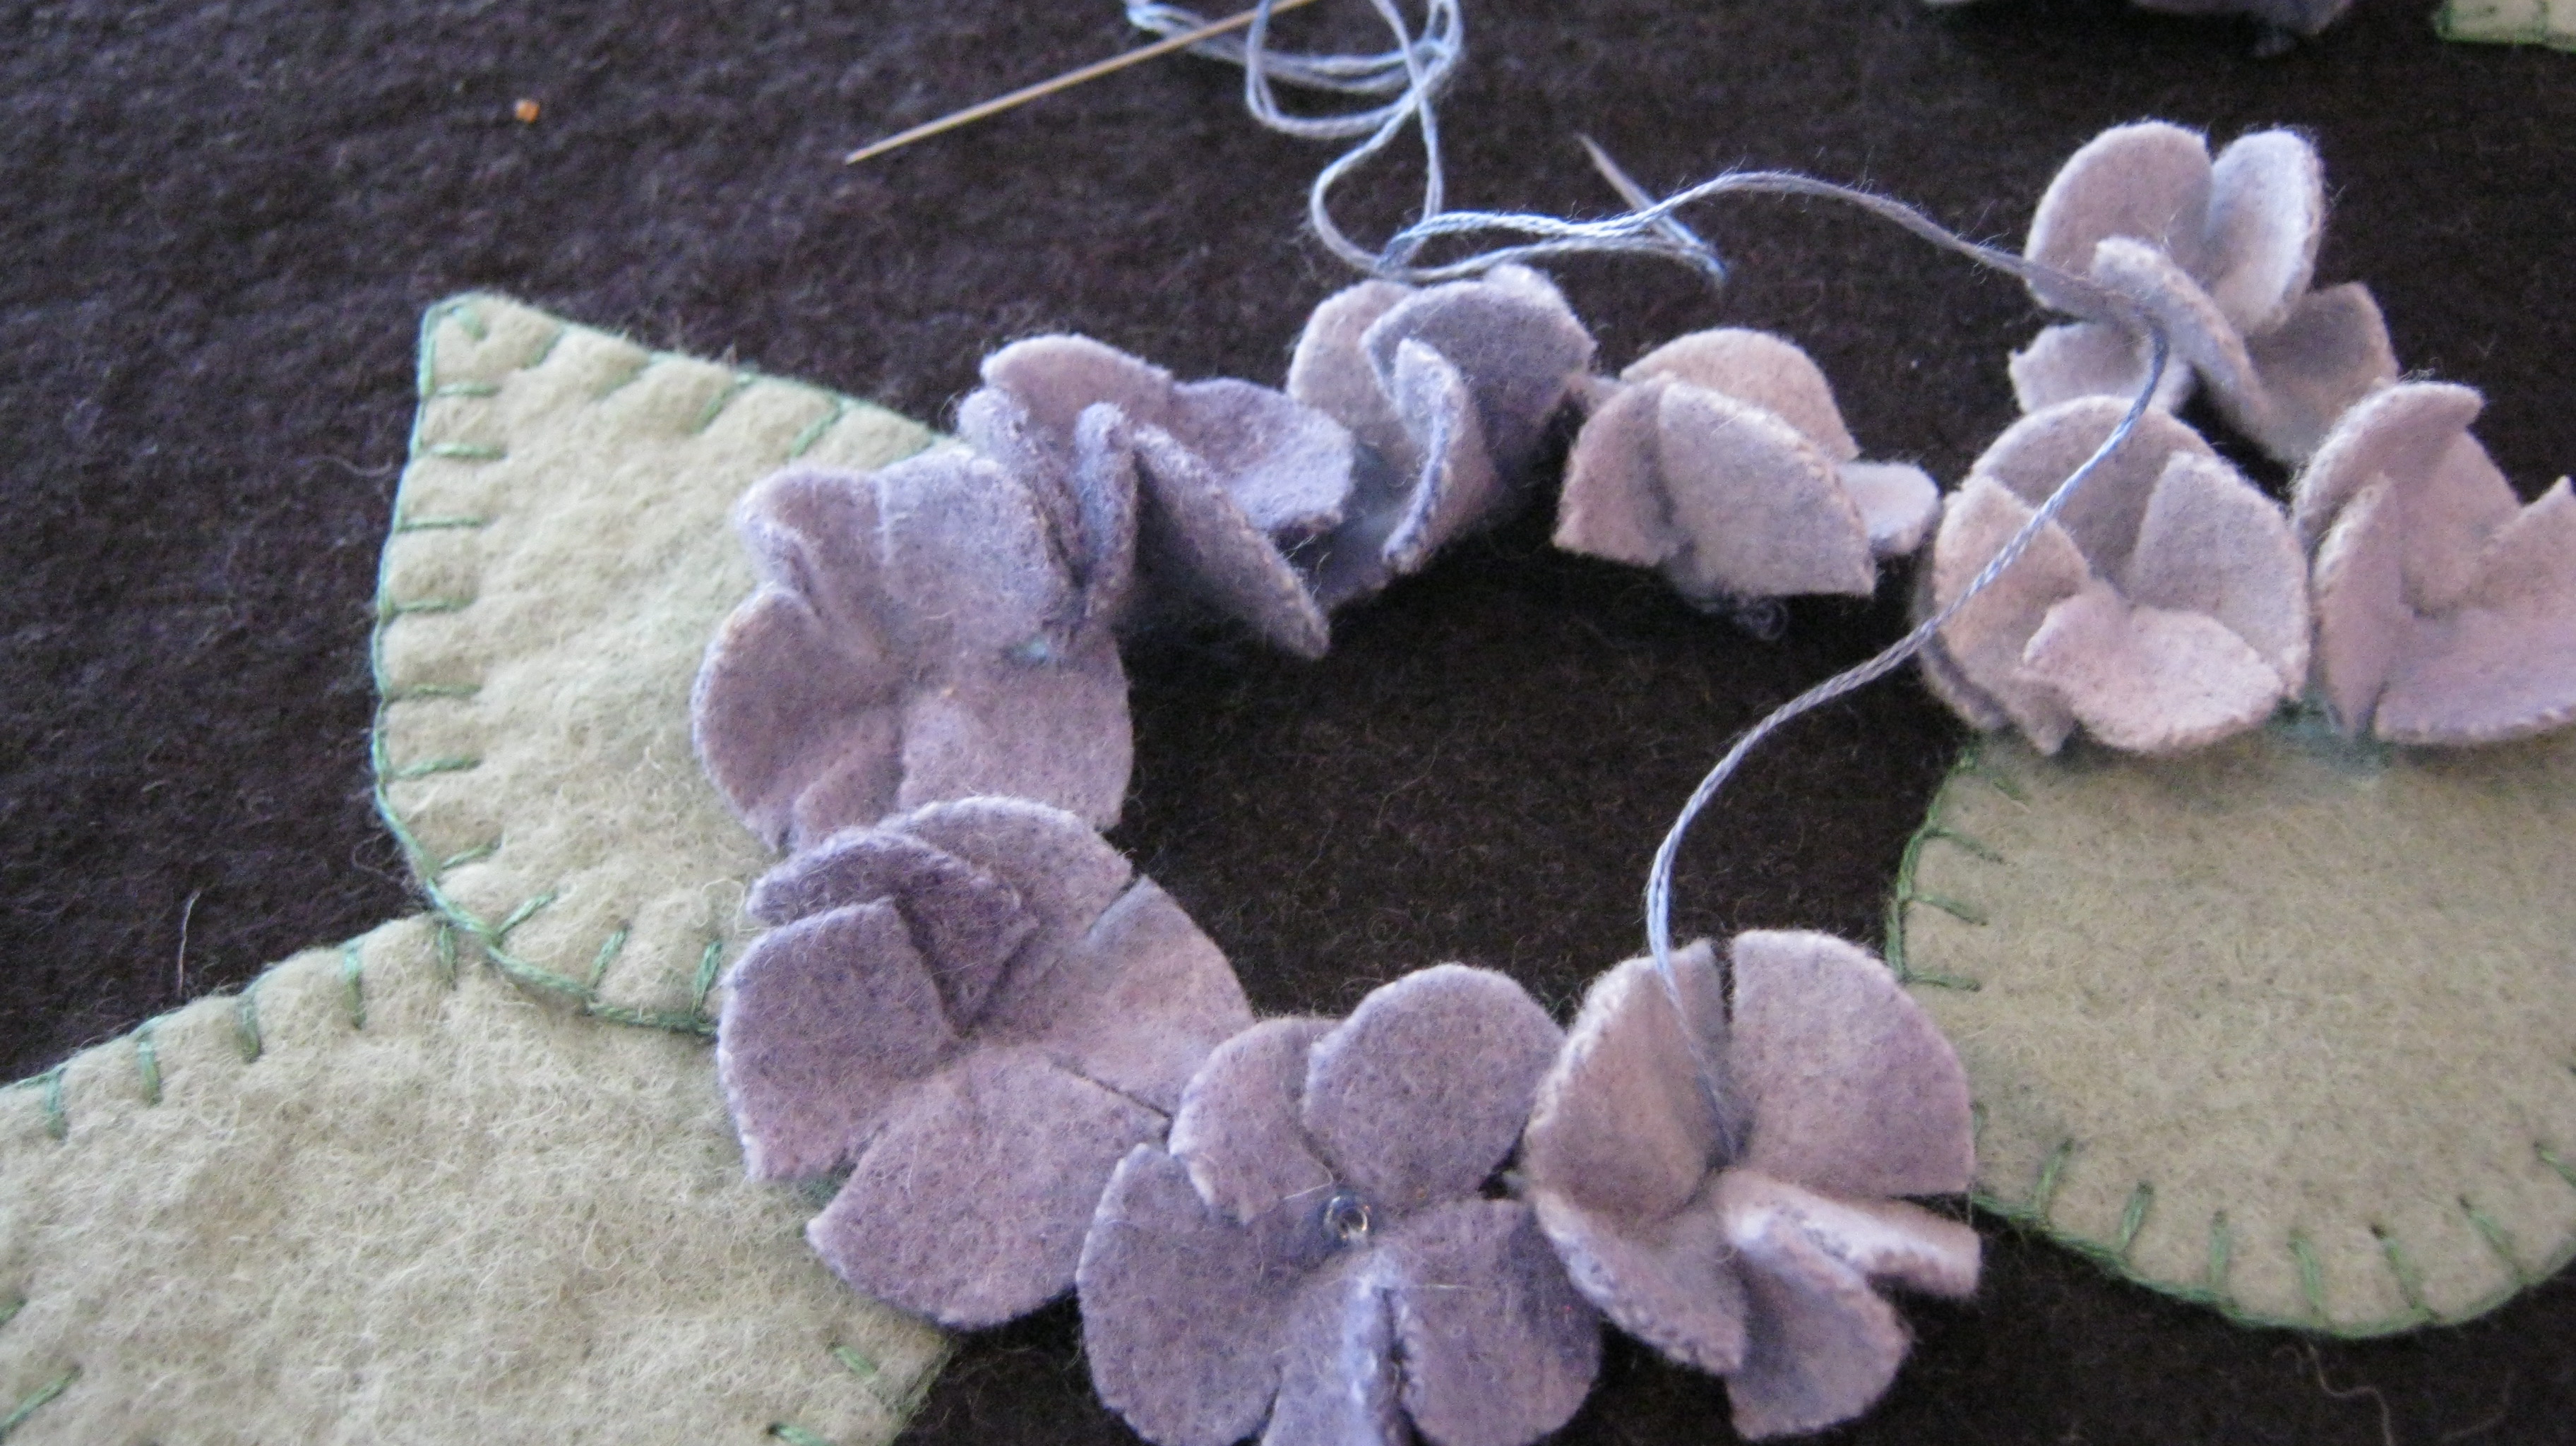
place the flowers around the edge of the black circle you just
applied. I arranged them, with darker flowers on one side
and lighter ones on the other.
That will give you the variegated look.
It should take about 10 to cover the outside edge.


.
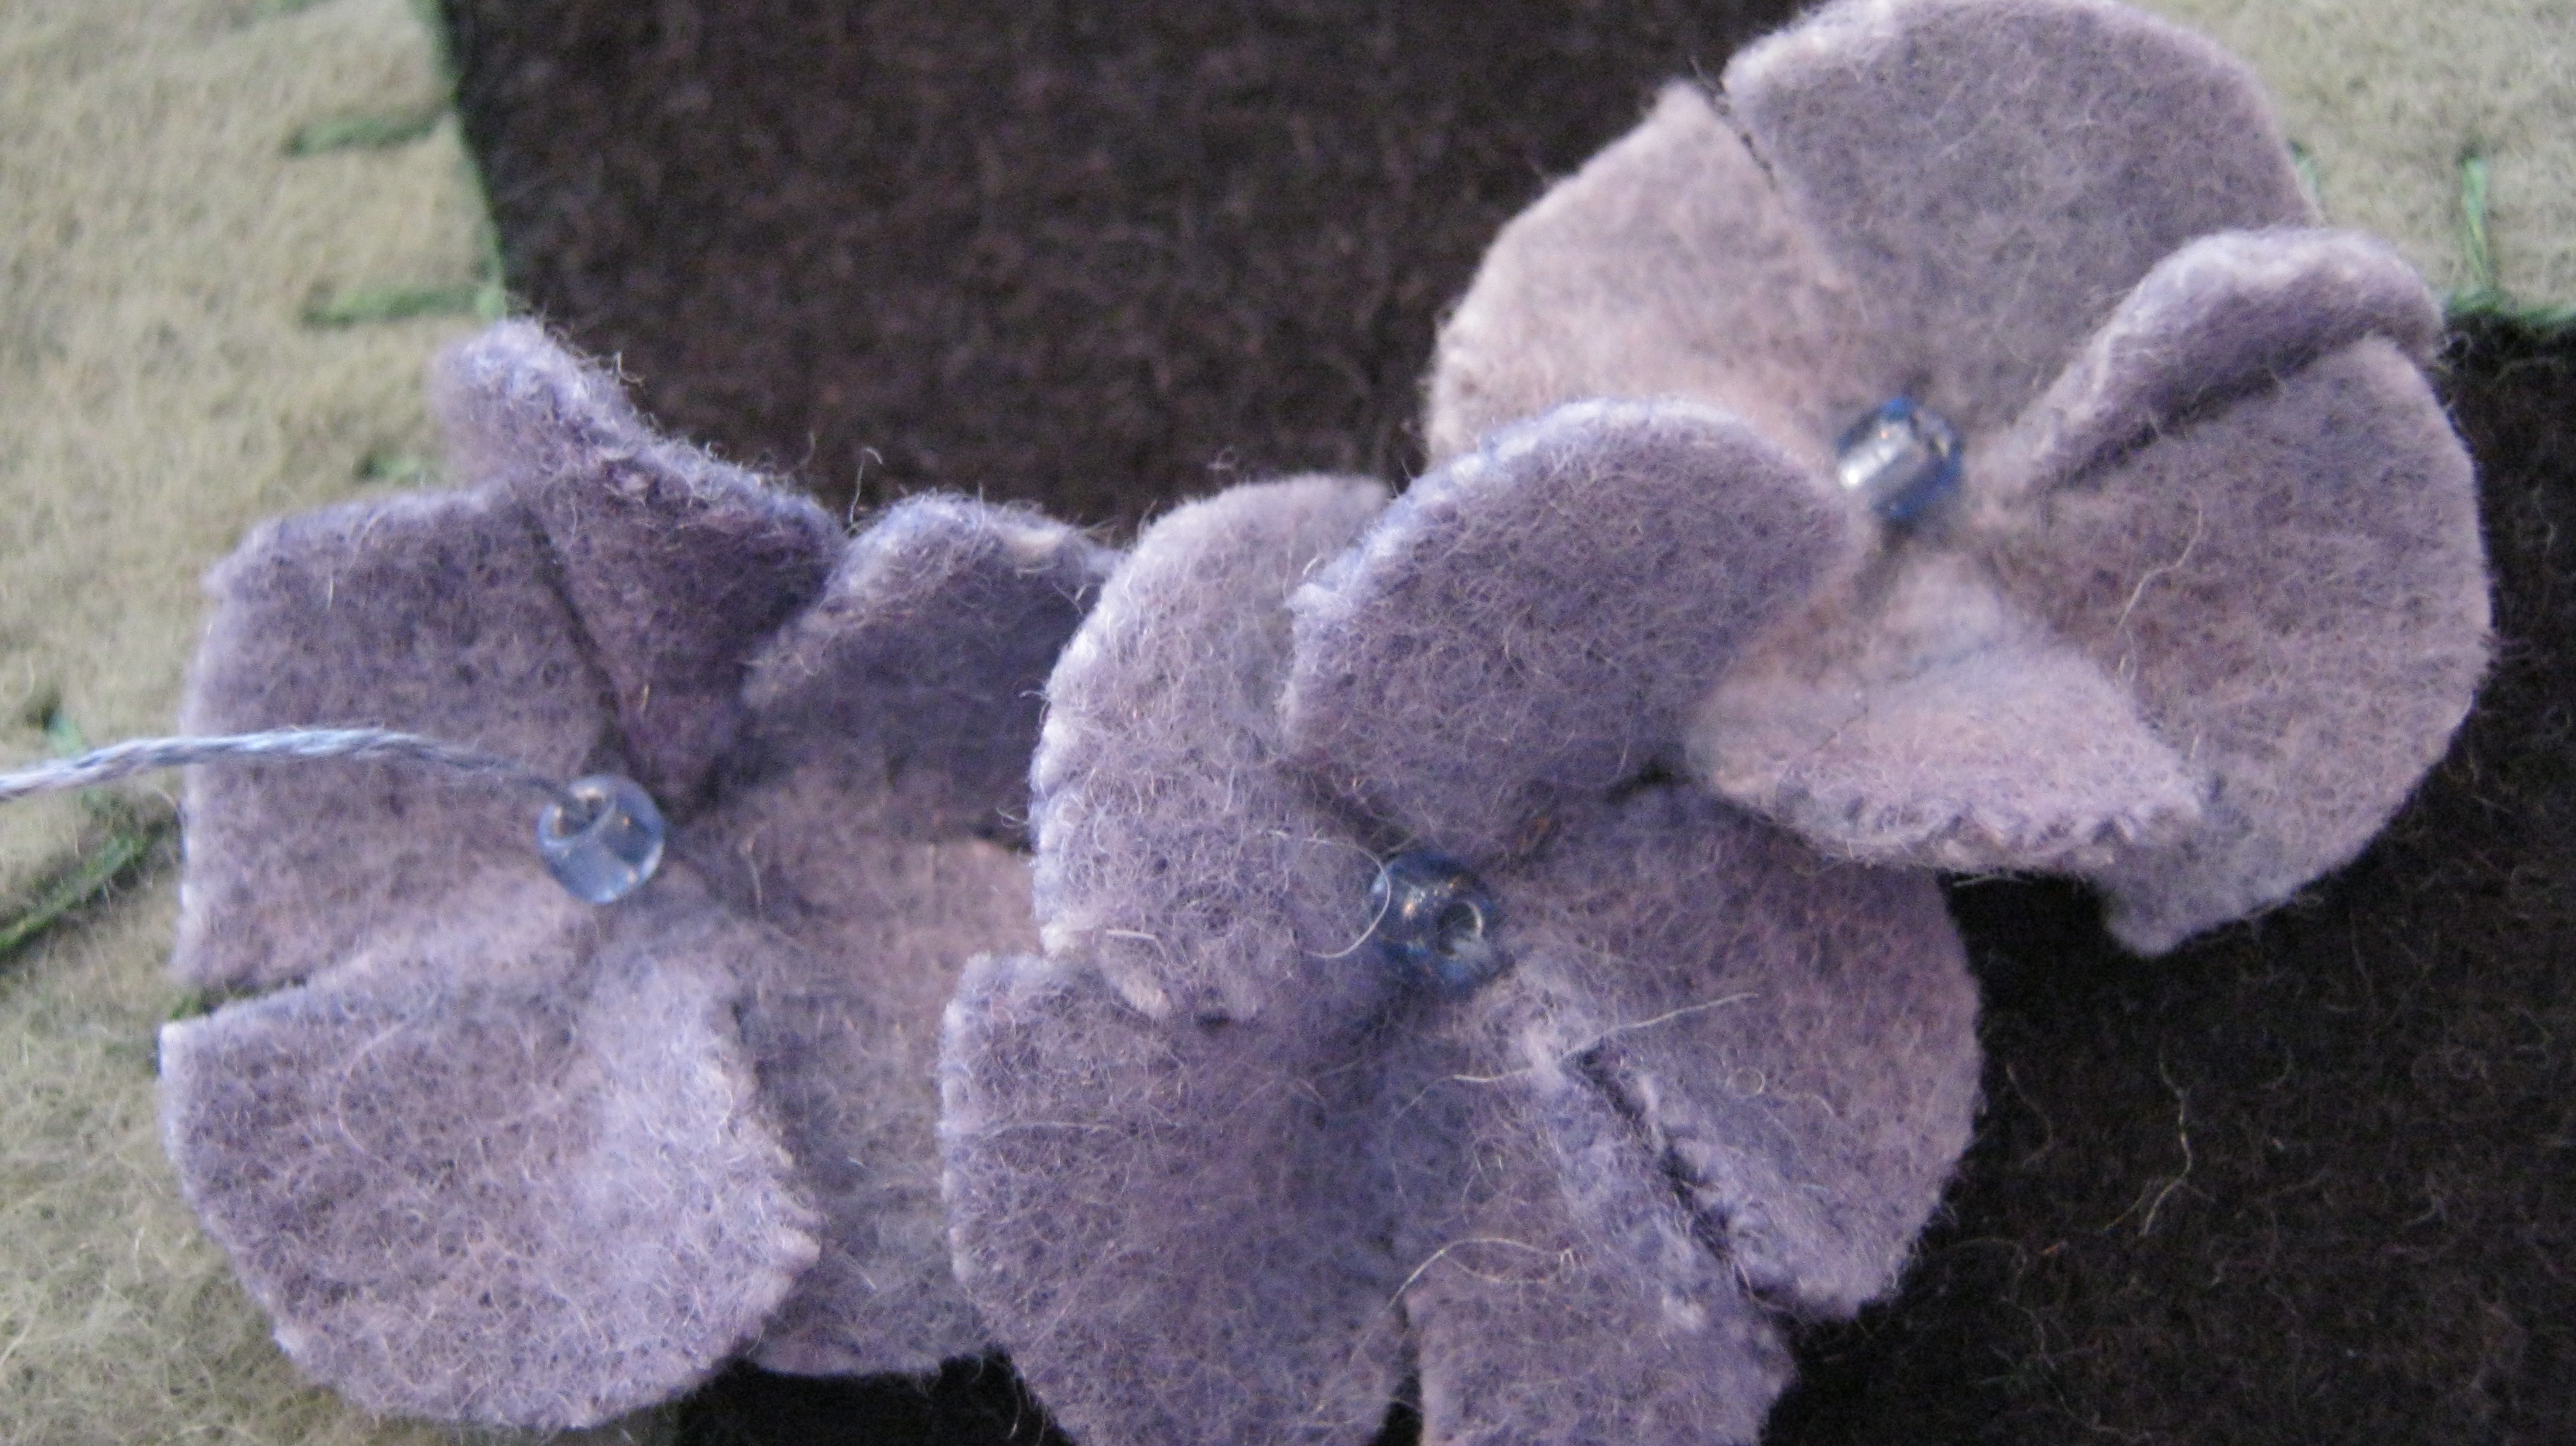
Attach the flowers with a single stitch brought up from
the bottom, going through the flower, then through a
bead and back down through the flower. Once you have
10 attached around the edge of the circle, fill in the middle.
it should take about 7 more. Repeat this for all four hydrangeas.

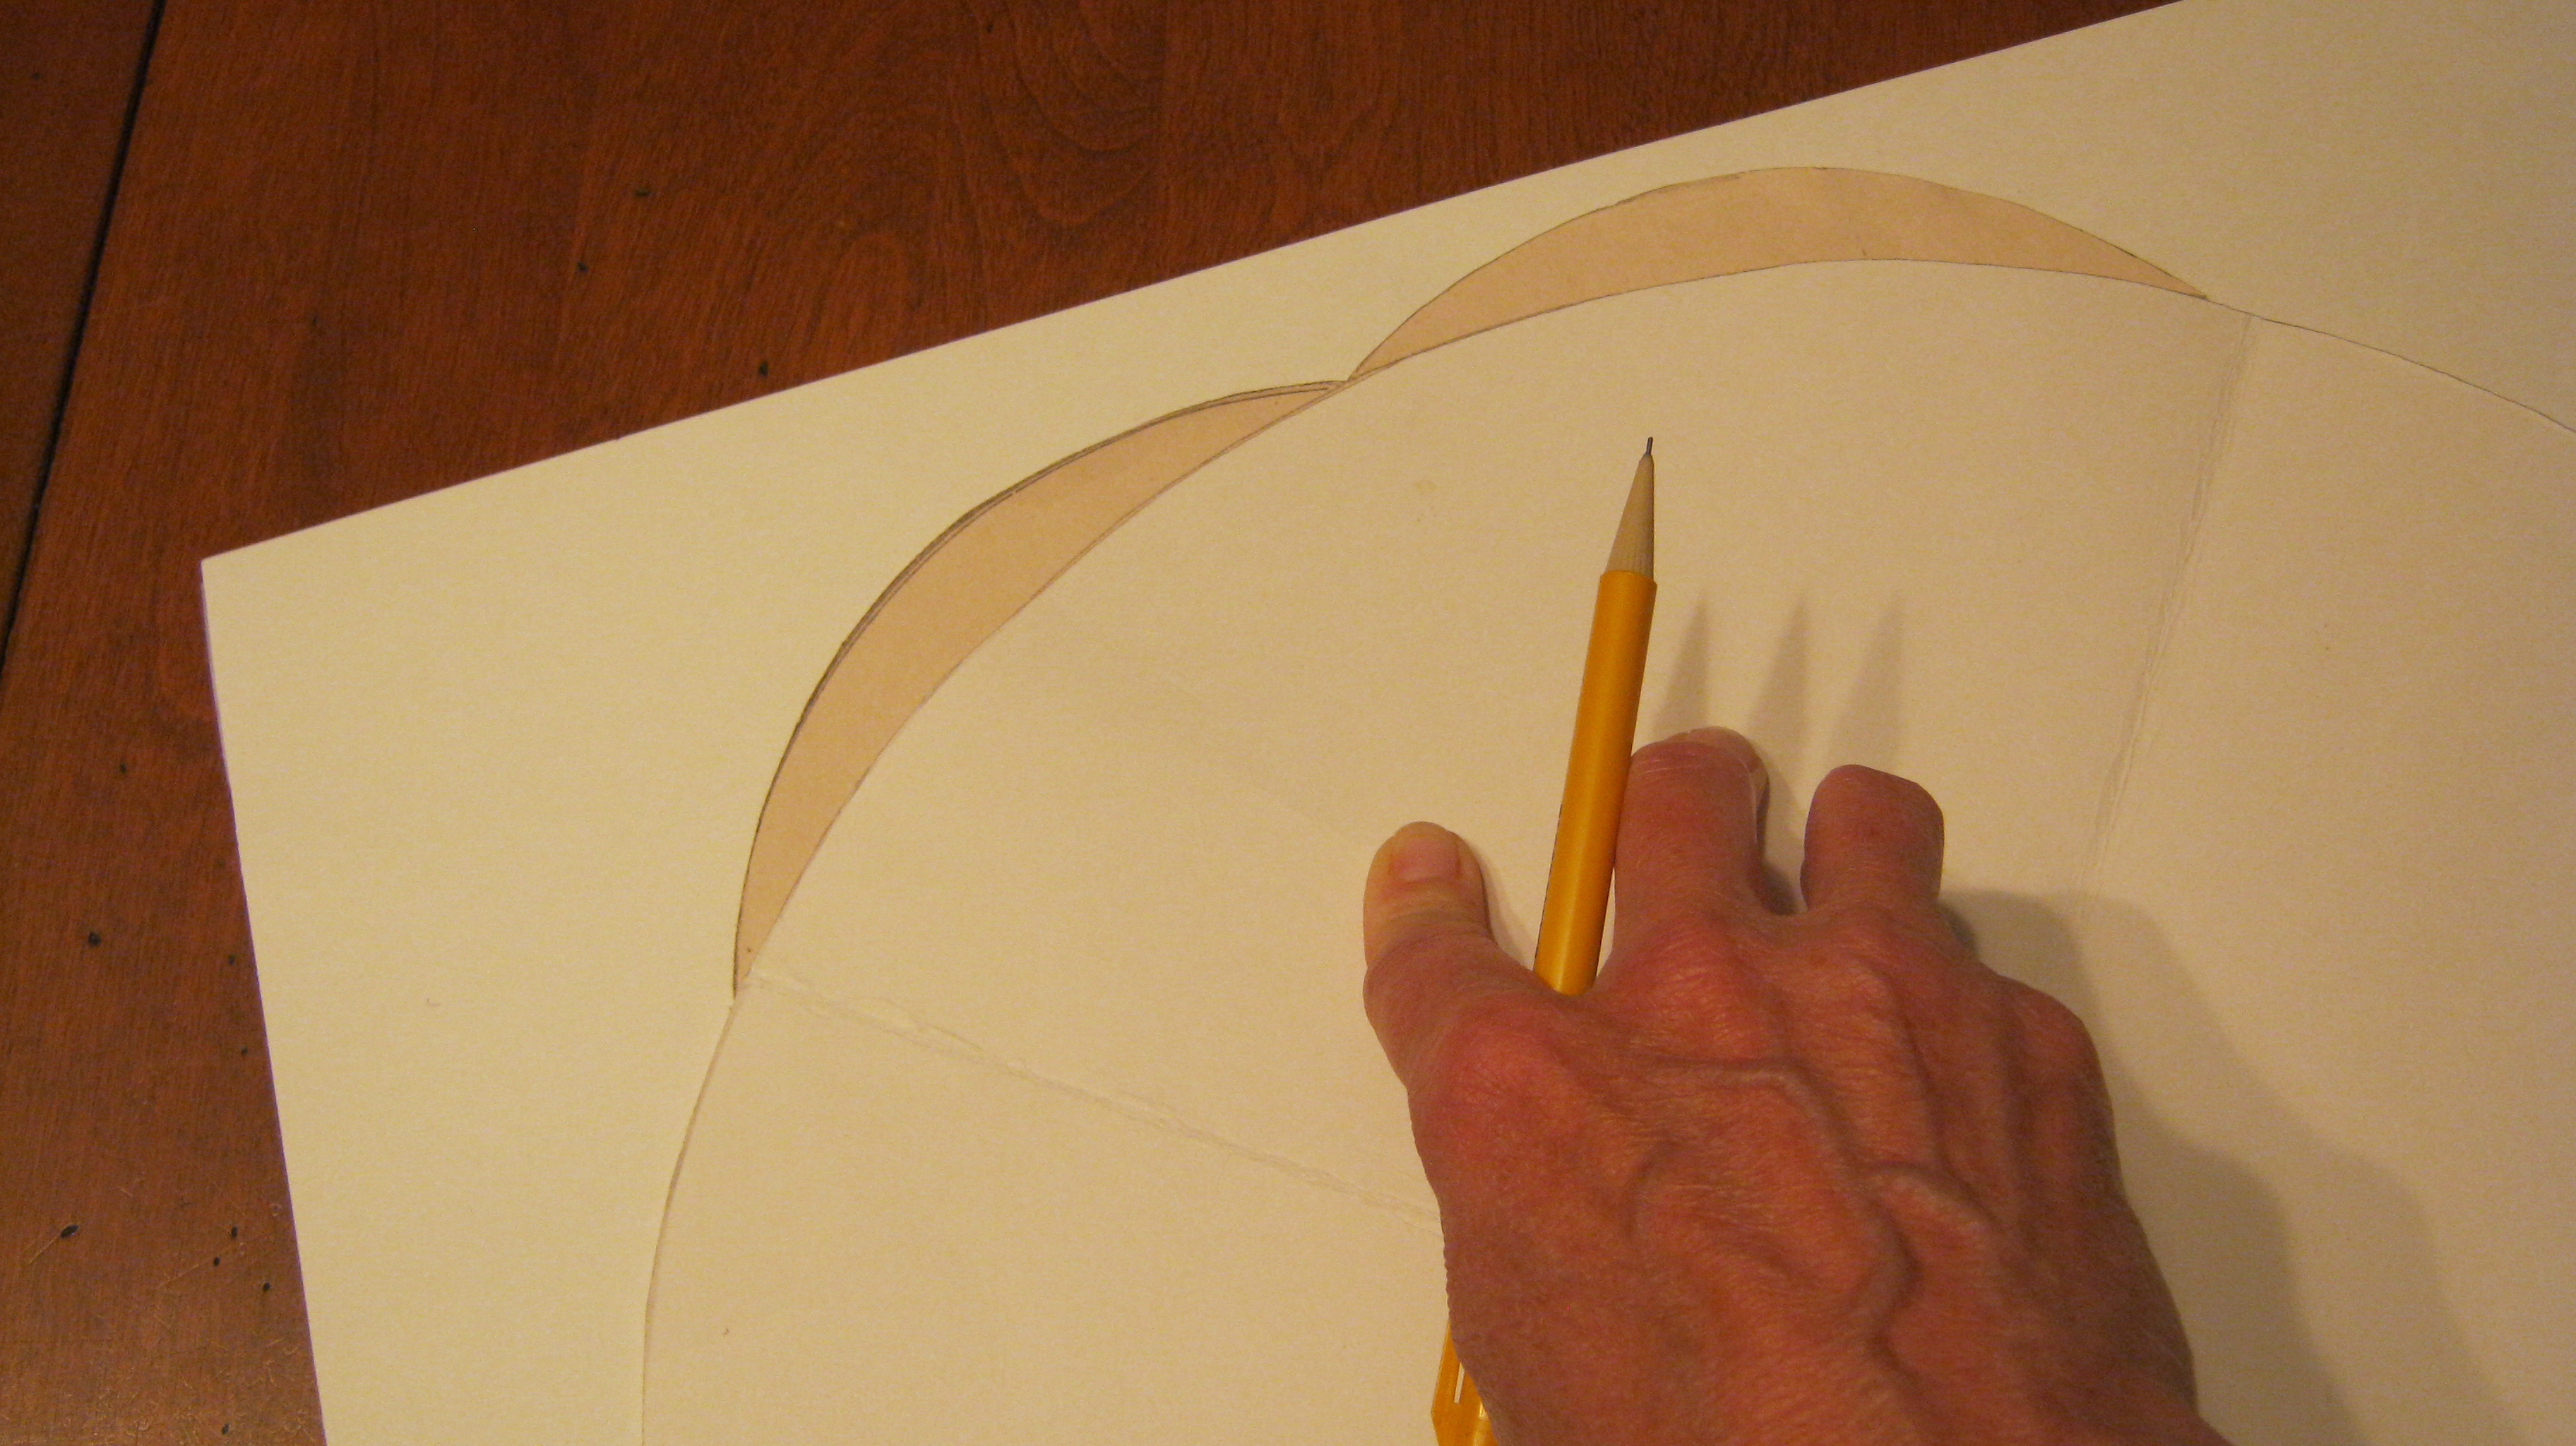
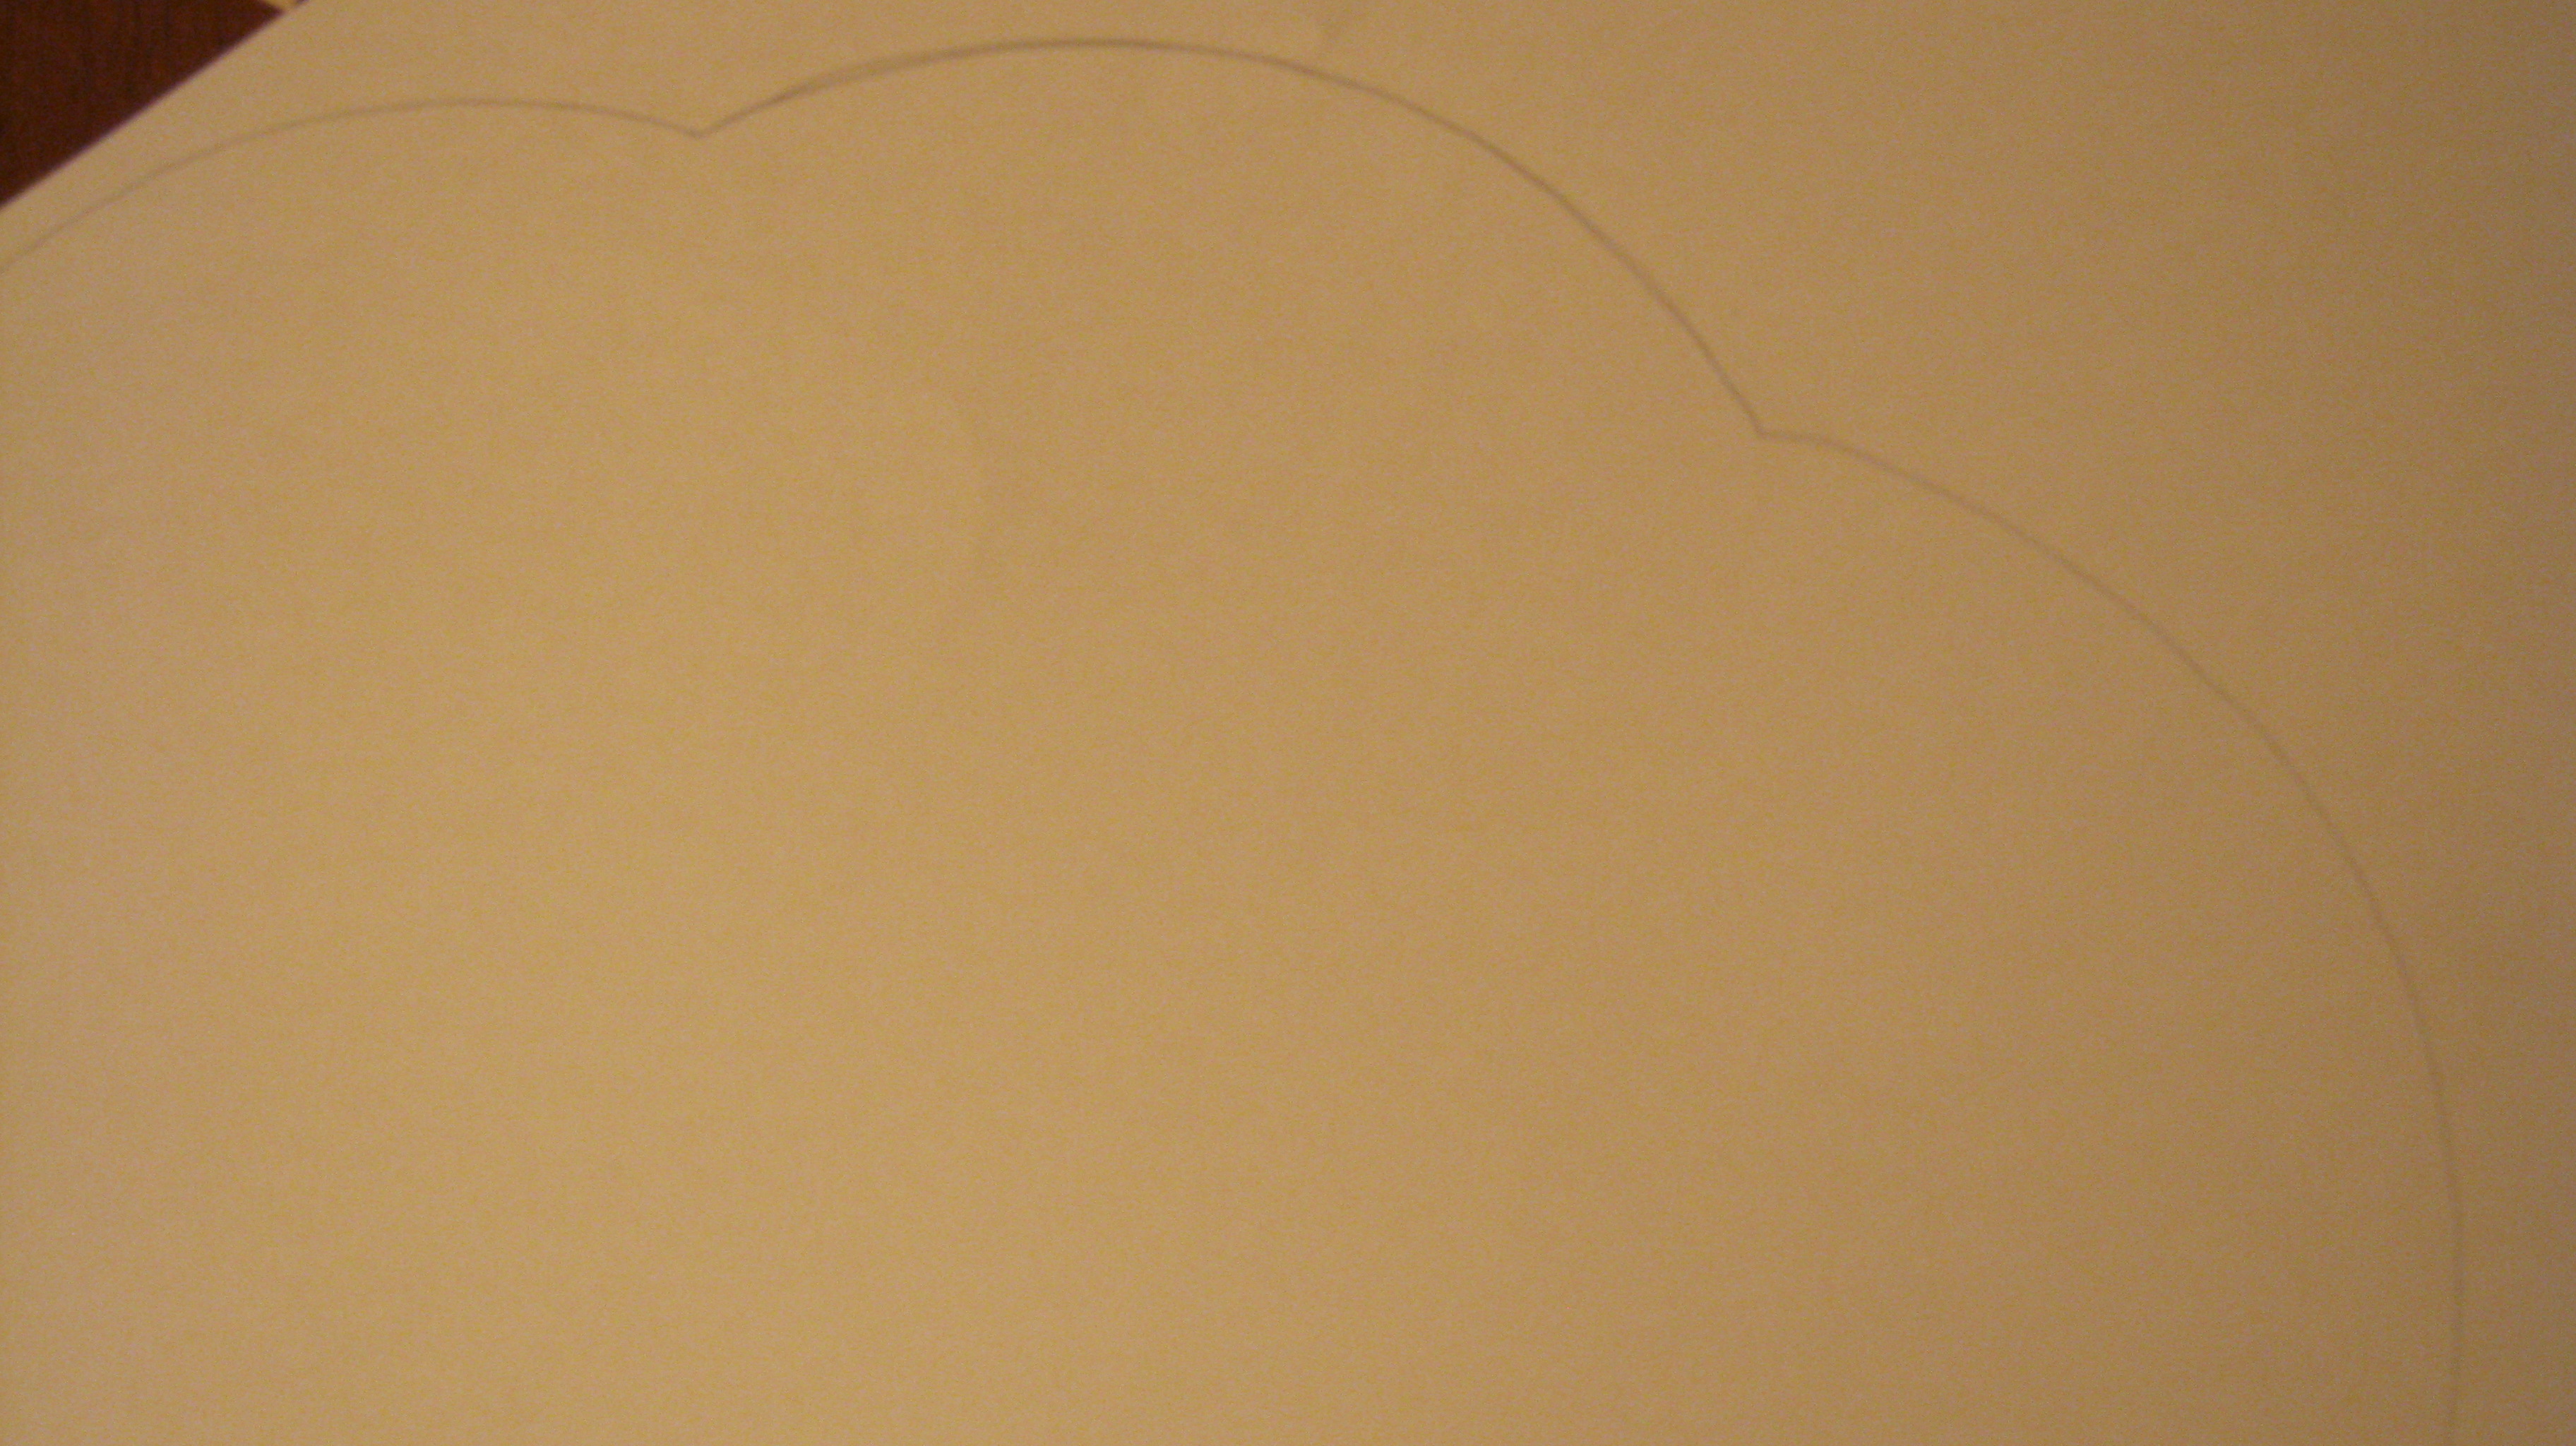
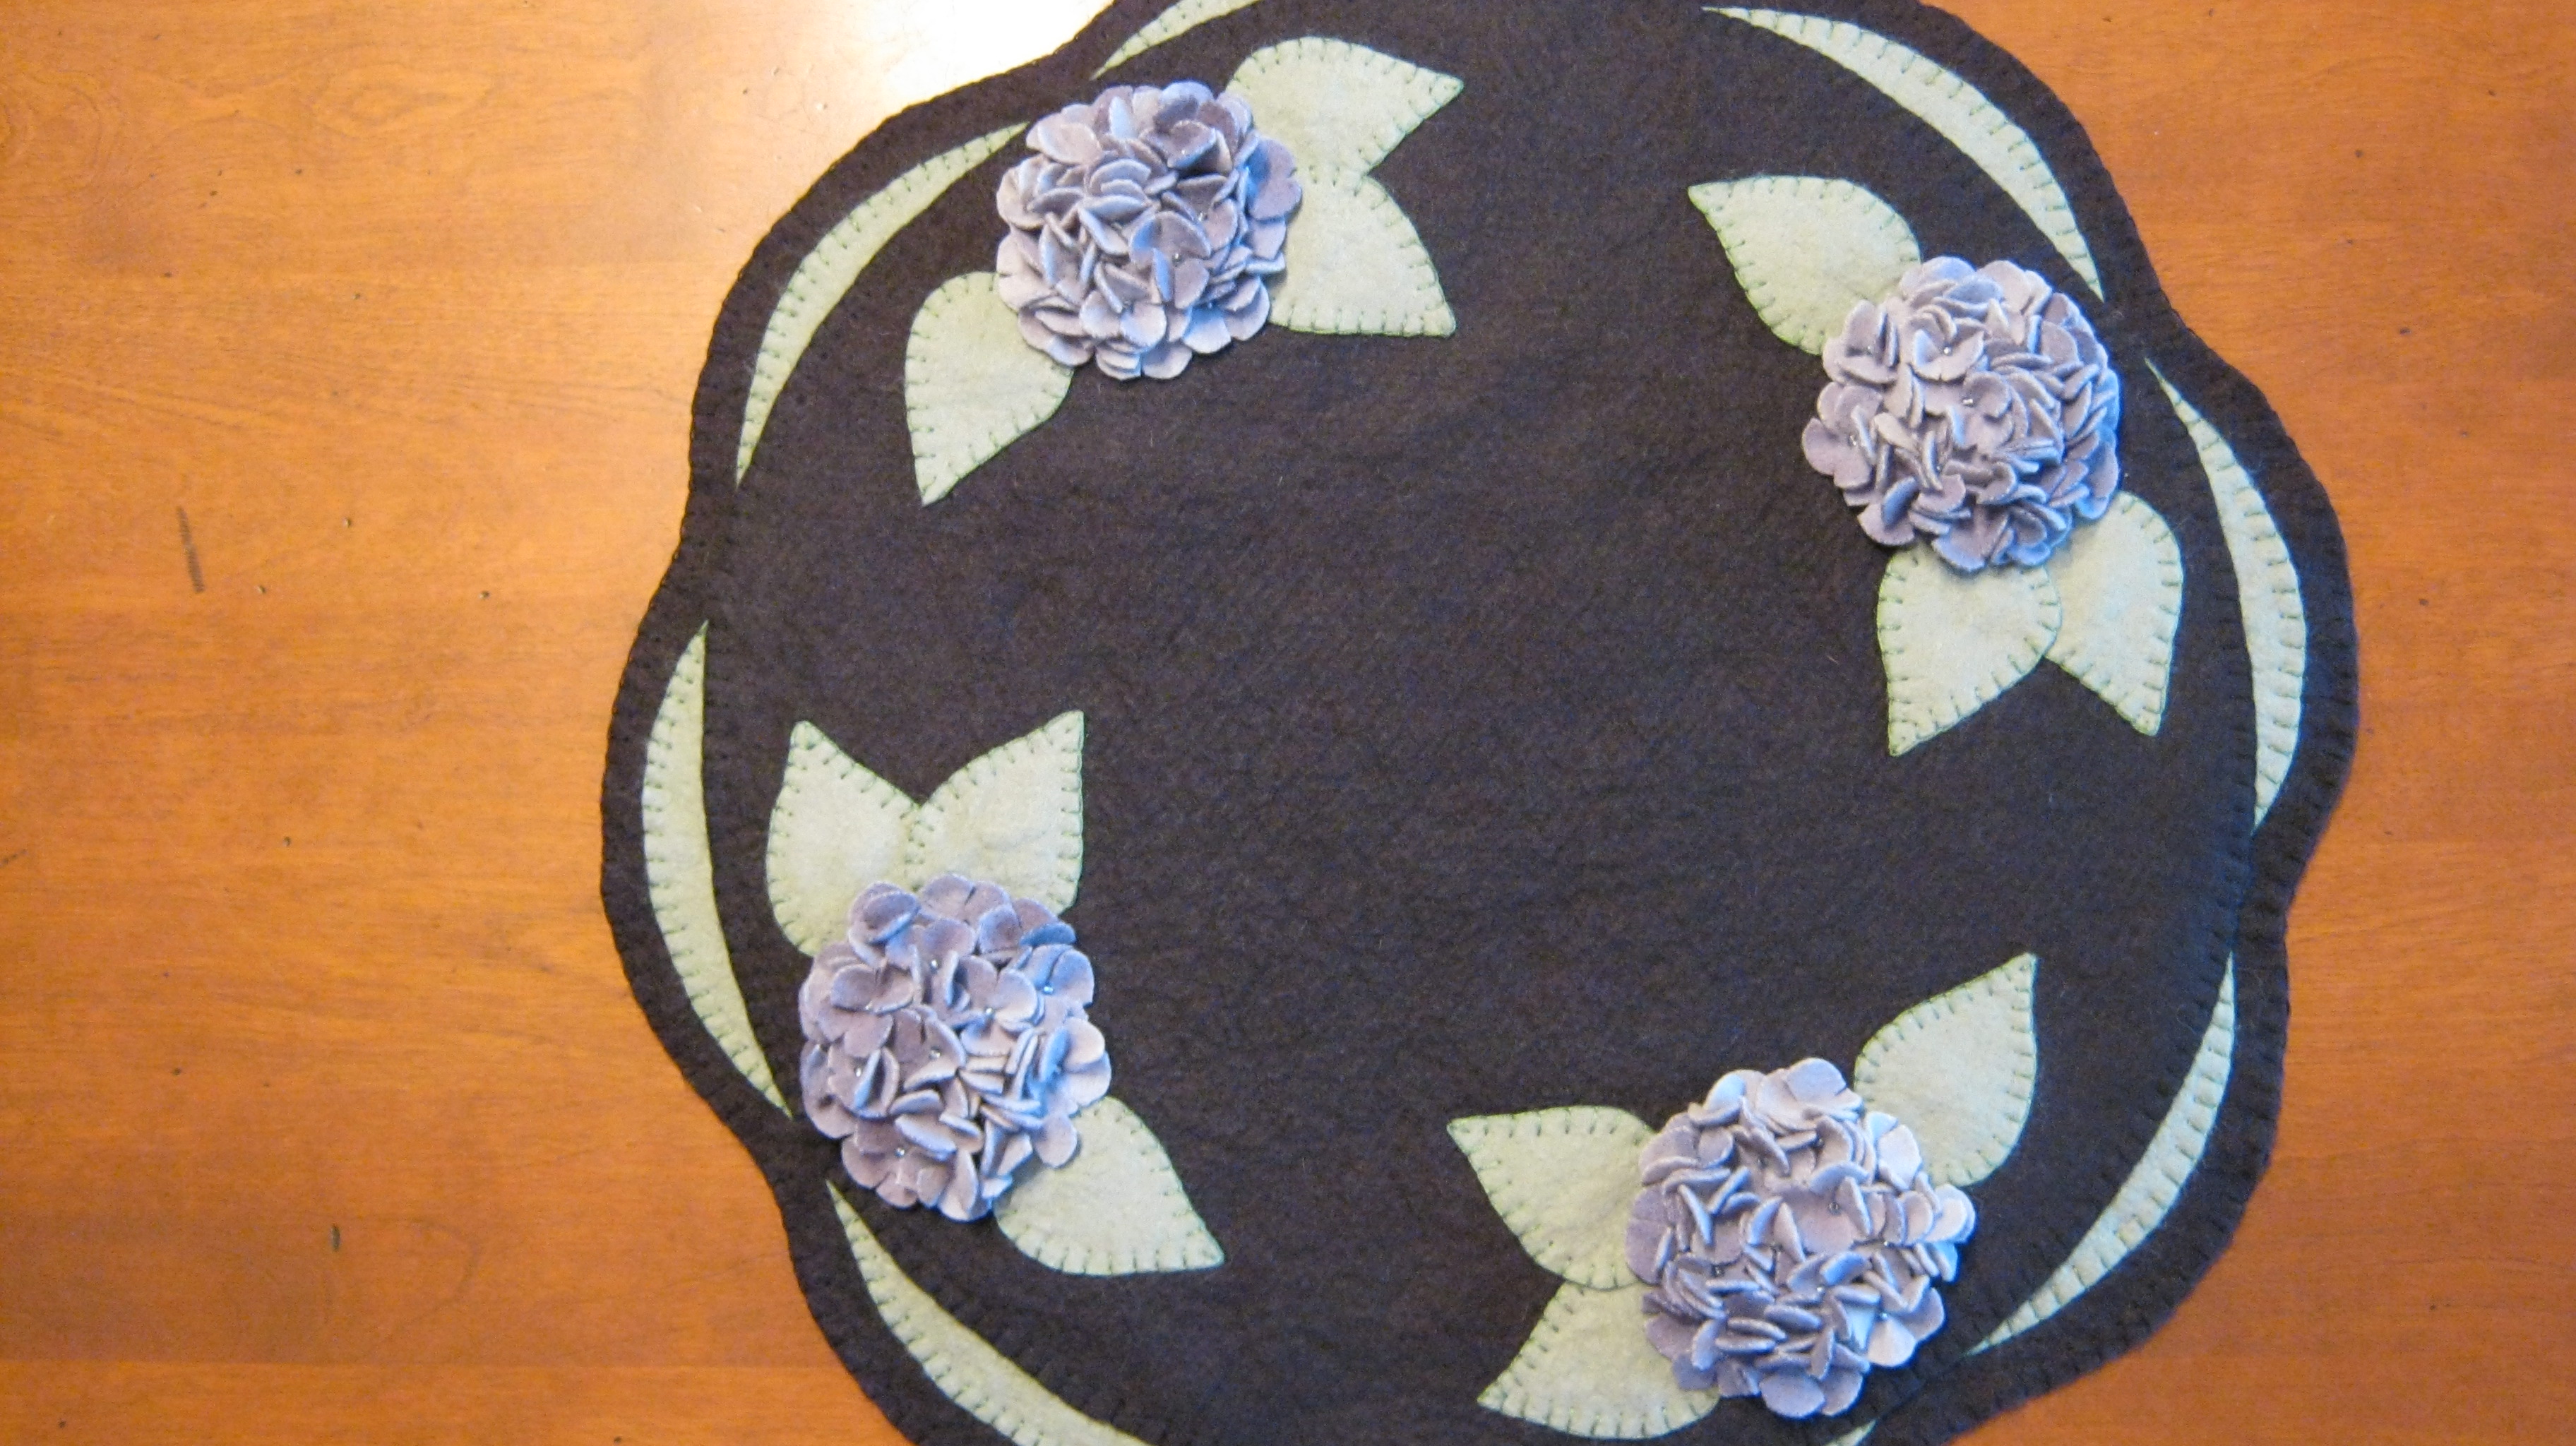
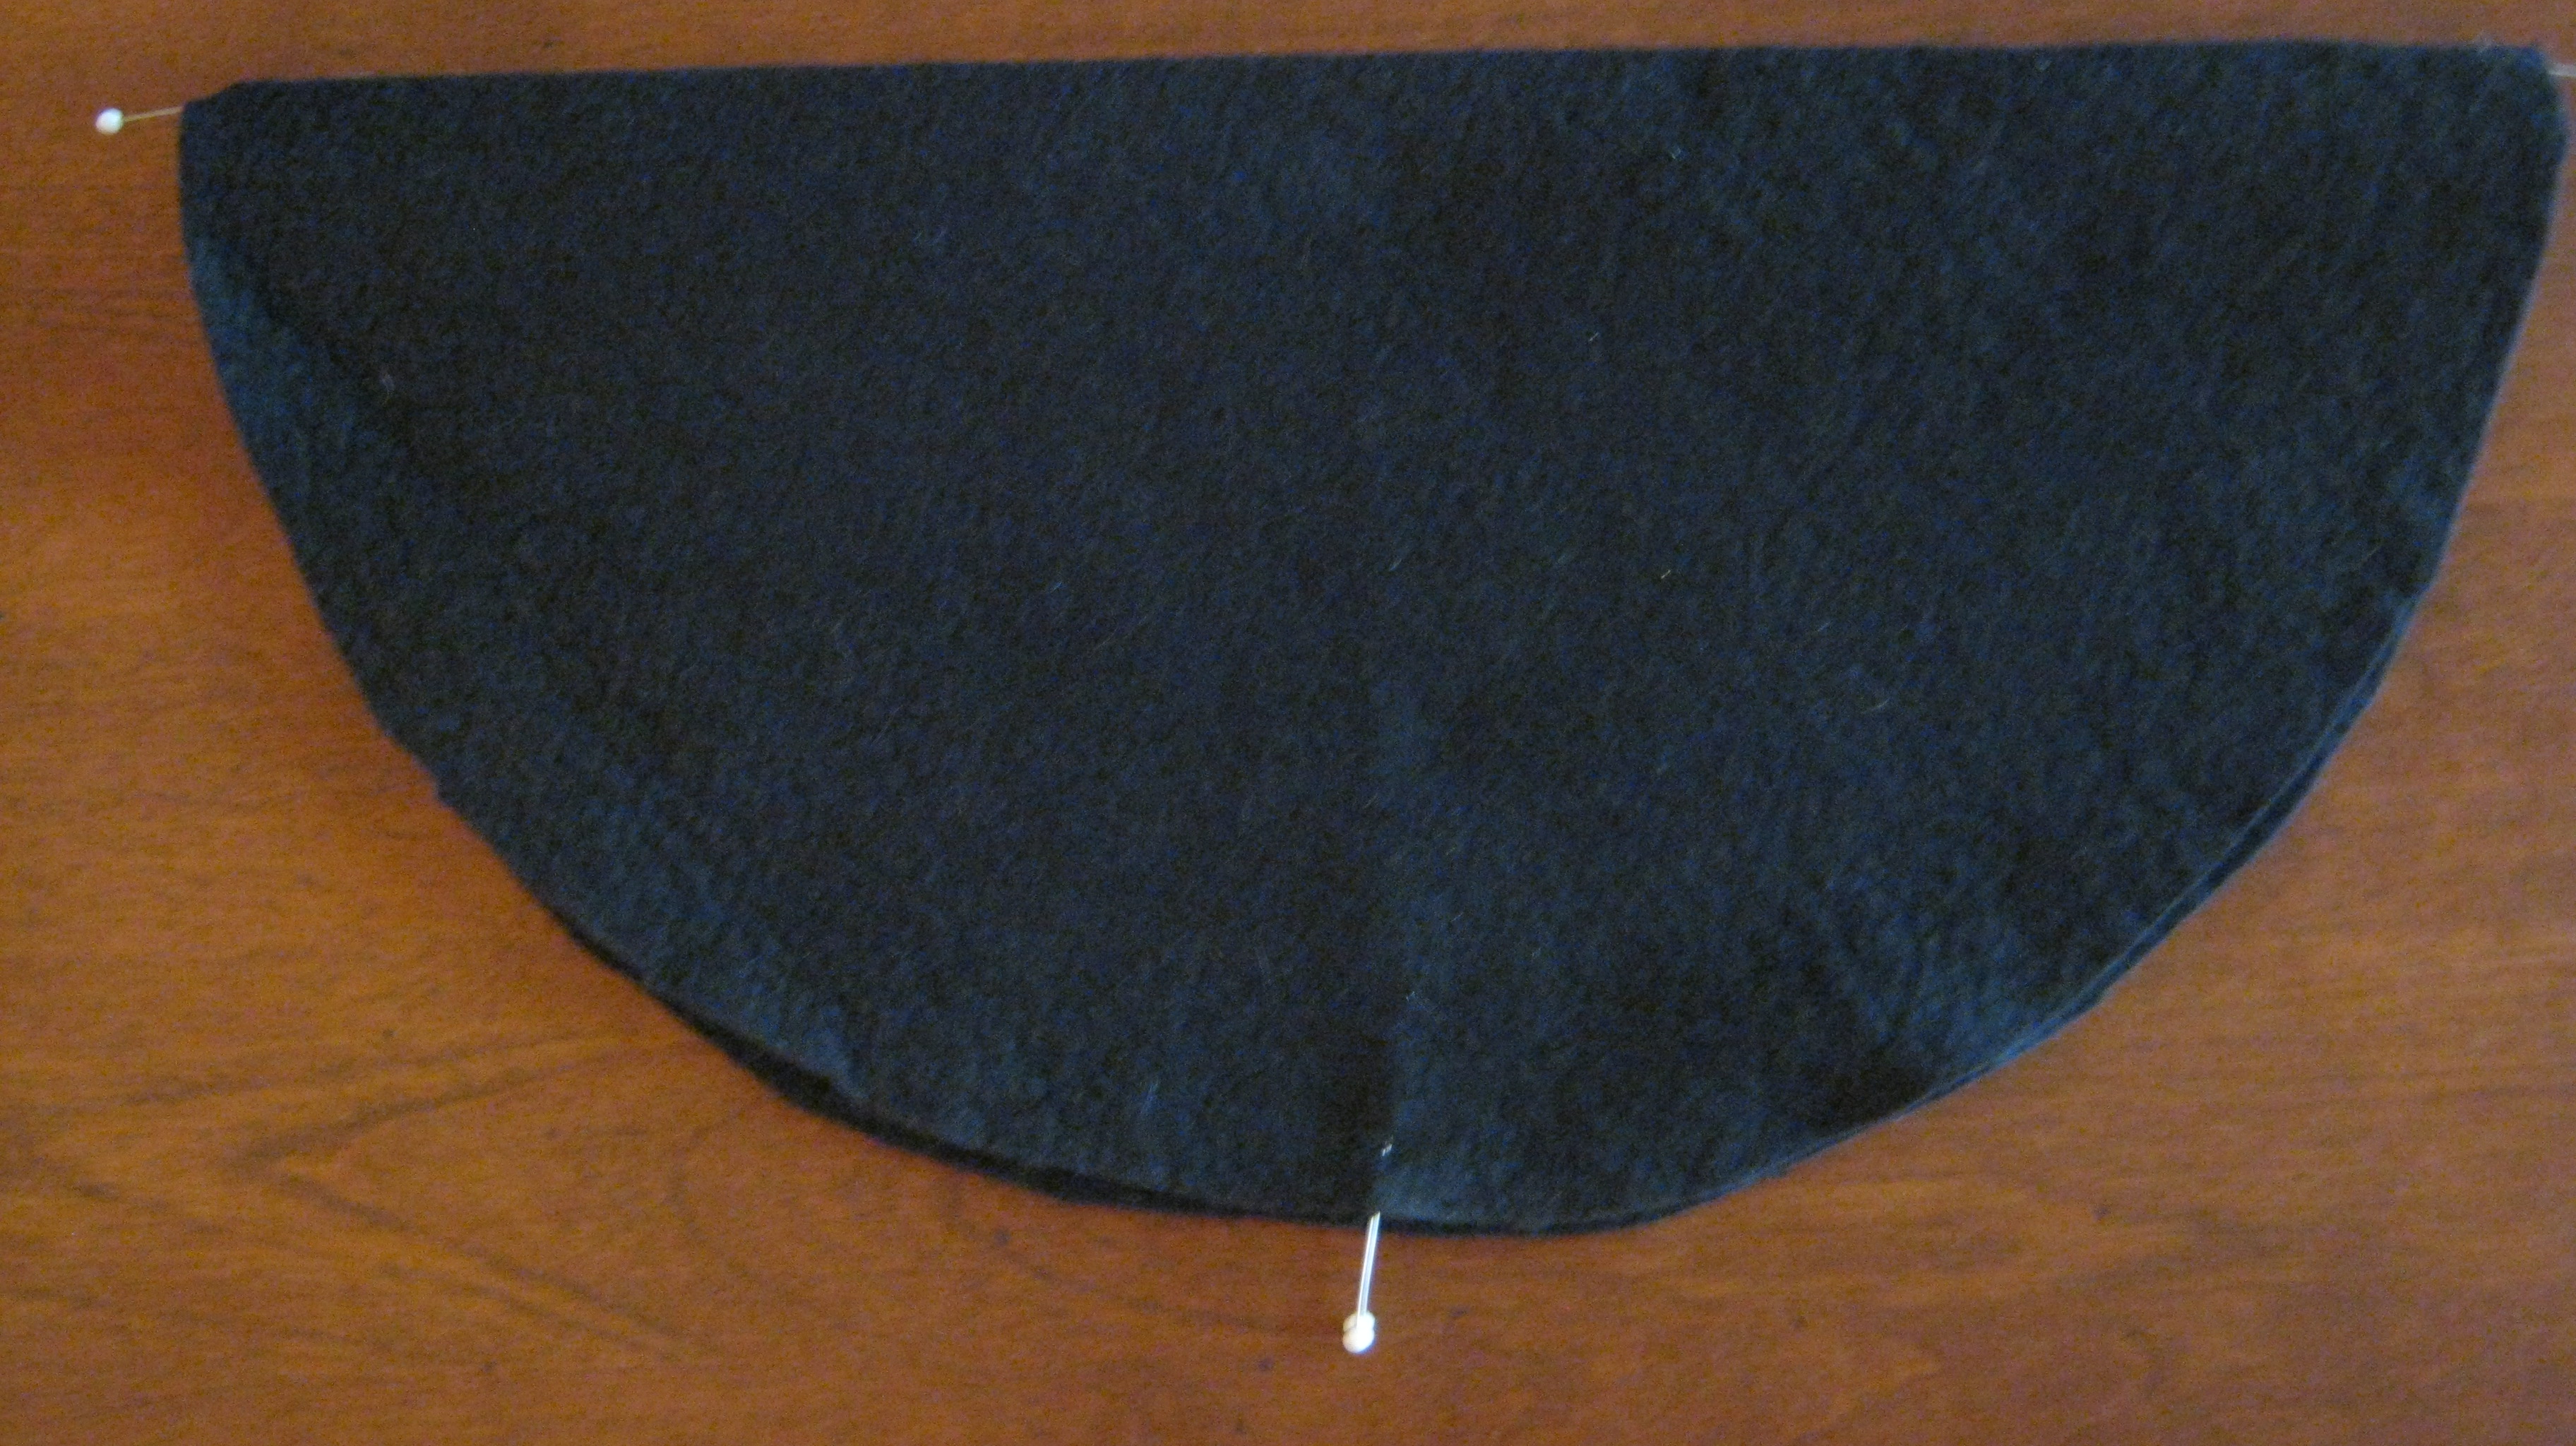
Next use your 14 inch circle pattern and scallop template
to create a pattern for the green layer of the penny rug.

trace pattern onto green felt, cut out, and place under
rug as shown. Attach using blanket stitch with
black floss.


repeat to create pattern for bottom layer of rug,
trace onto black felt and cut out.

place under green layer as shown, and attach using

blanket stitch with green floss. Finish edge with
black floss and blanket stitch.
I hope you enjoyed the tutorial, and give this pattern
a try. If you do, let me know how you make out. I would
love to hear from you!
Related articles
- Hydrangea (fuzzynacho.wordpress.com)
