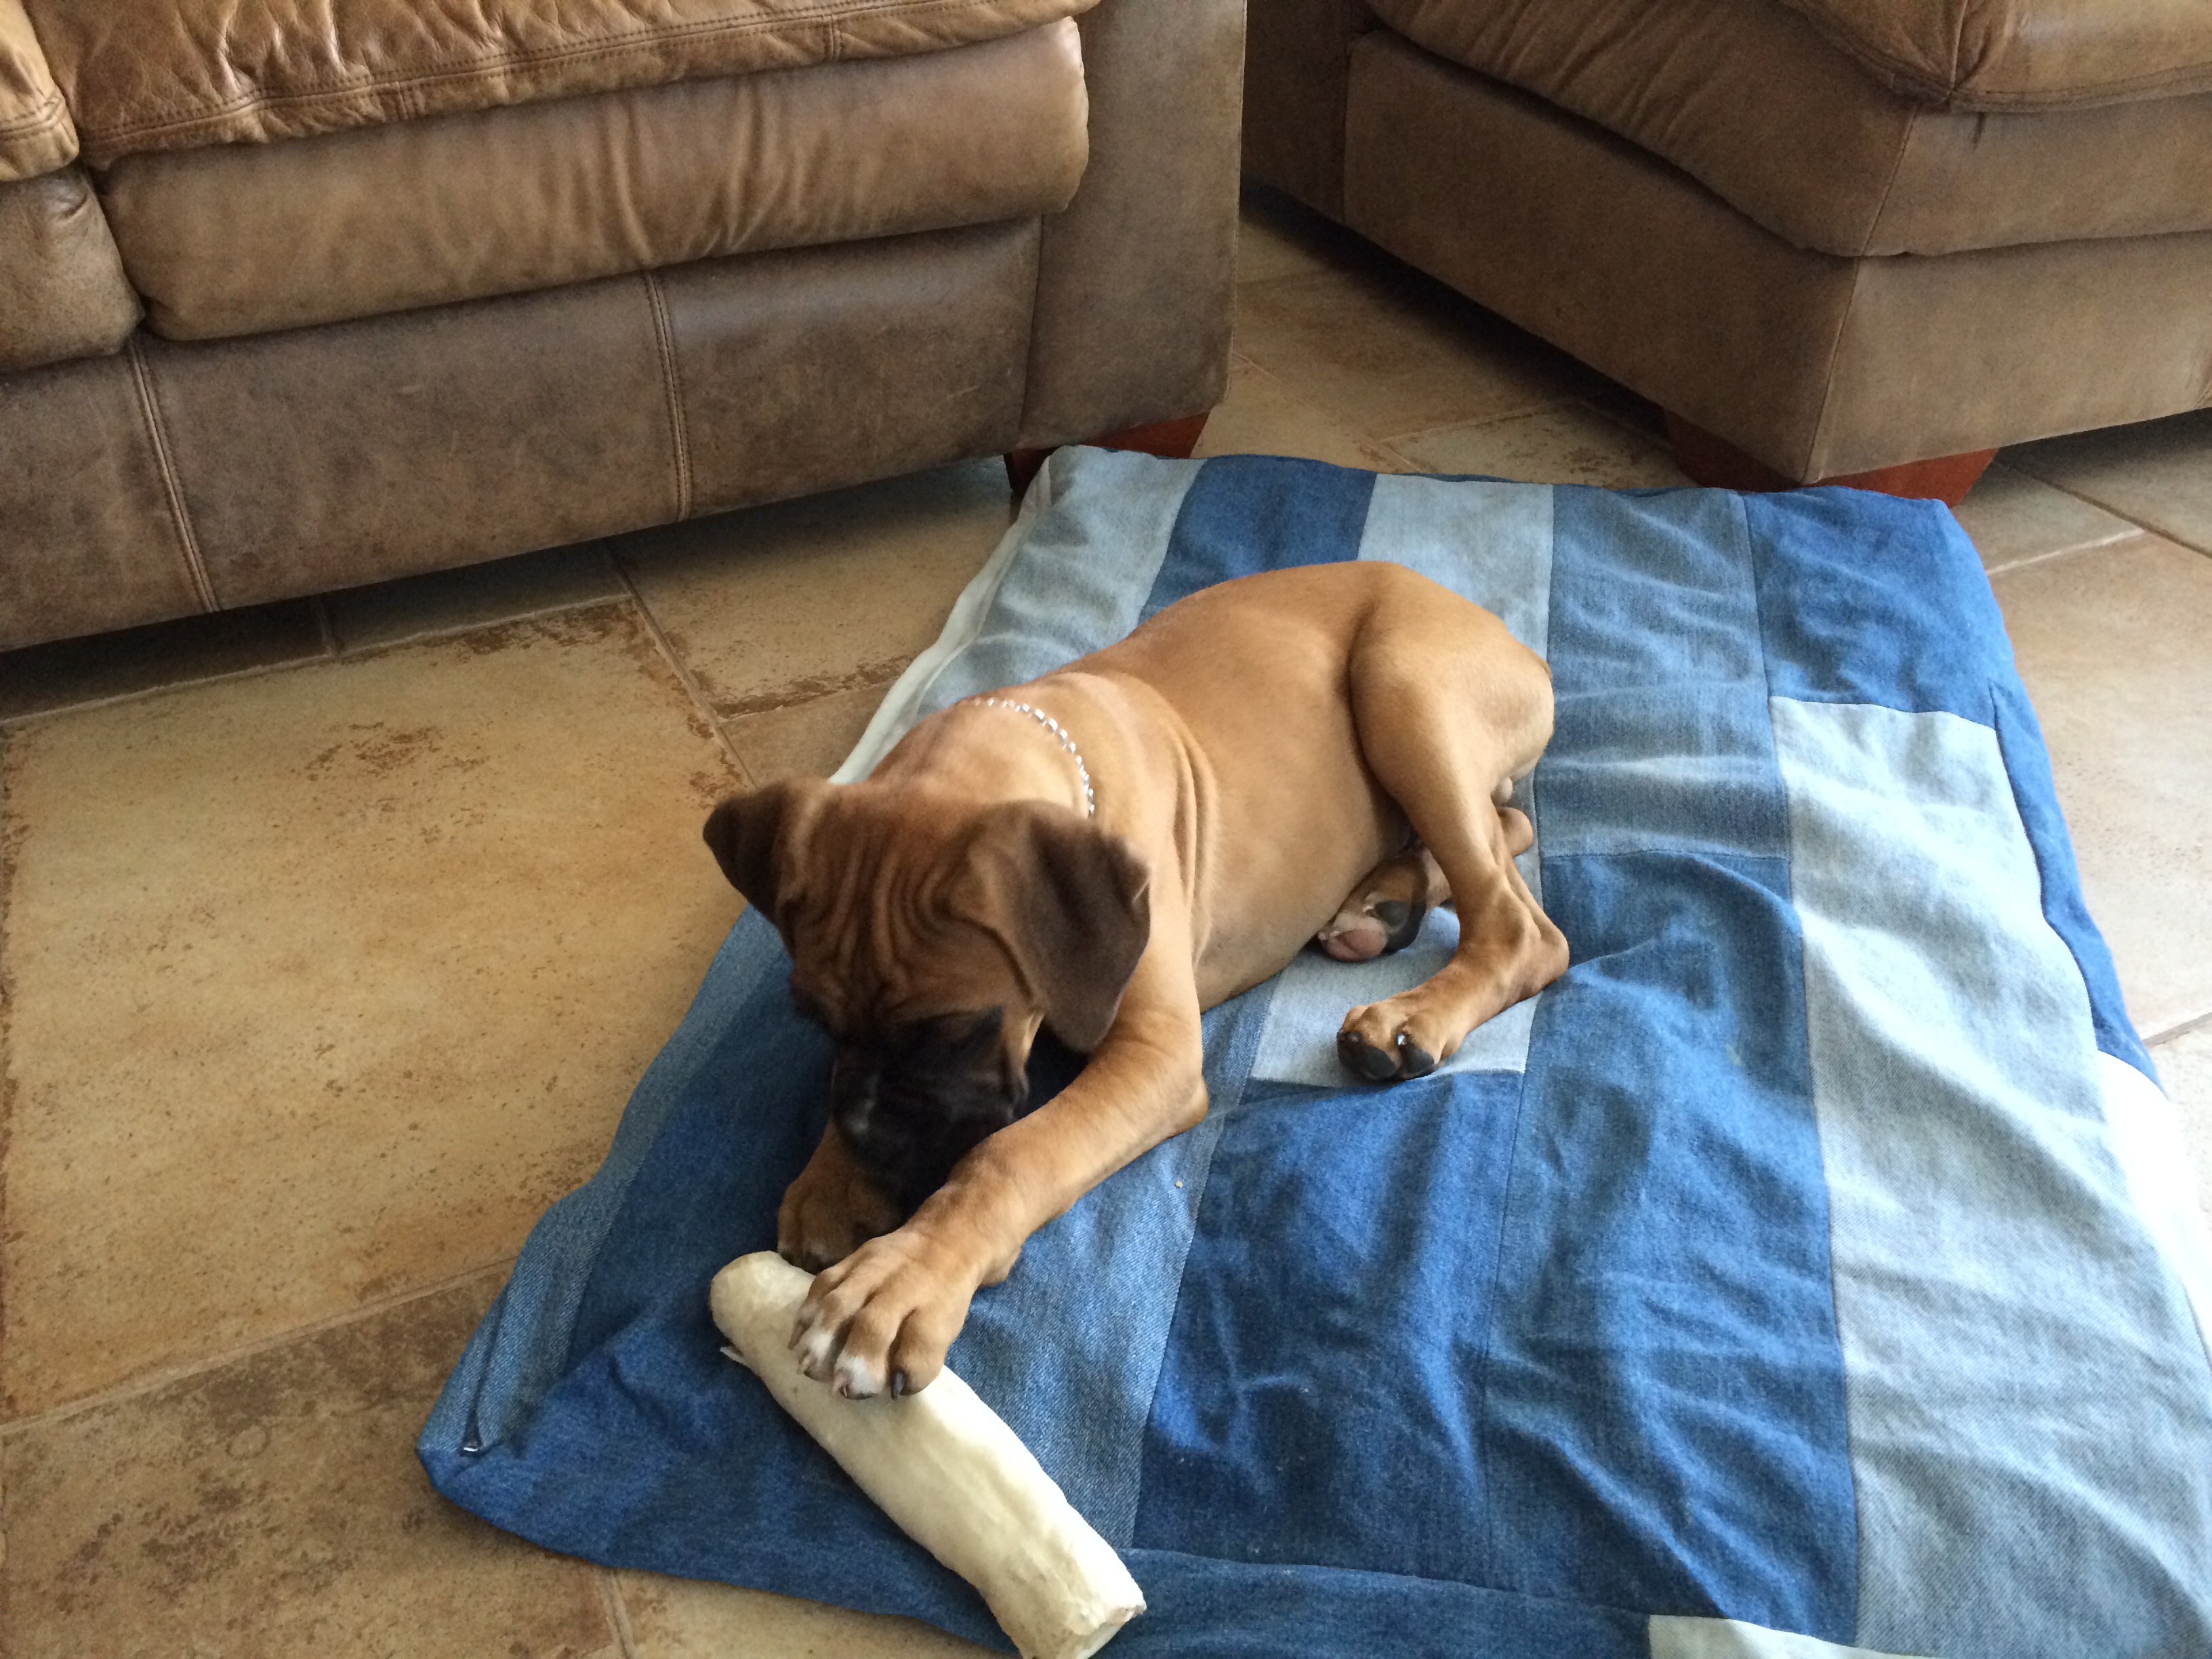
We got a puppy! His name is Murphy…. and he needed bed.. so I decided
to save a few bucks and make him one.
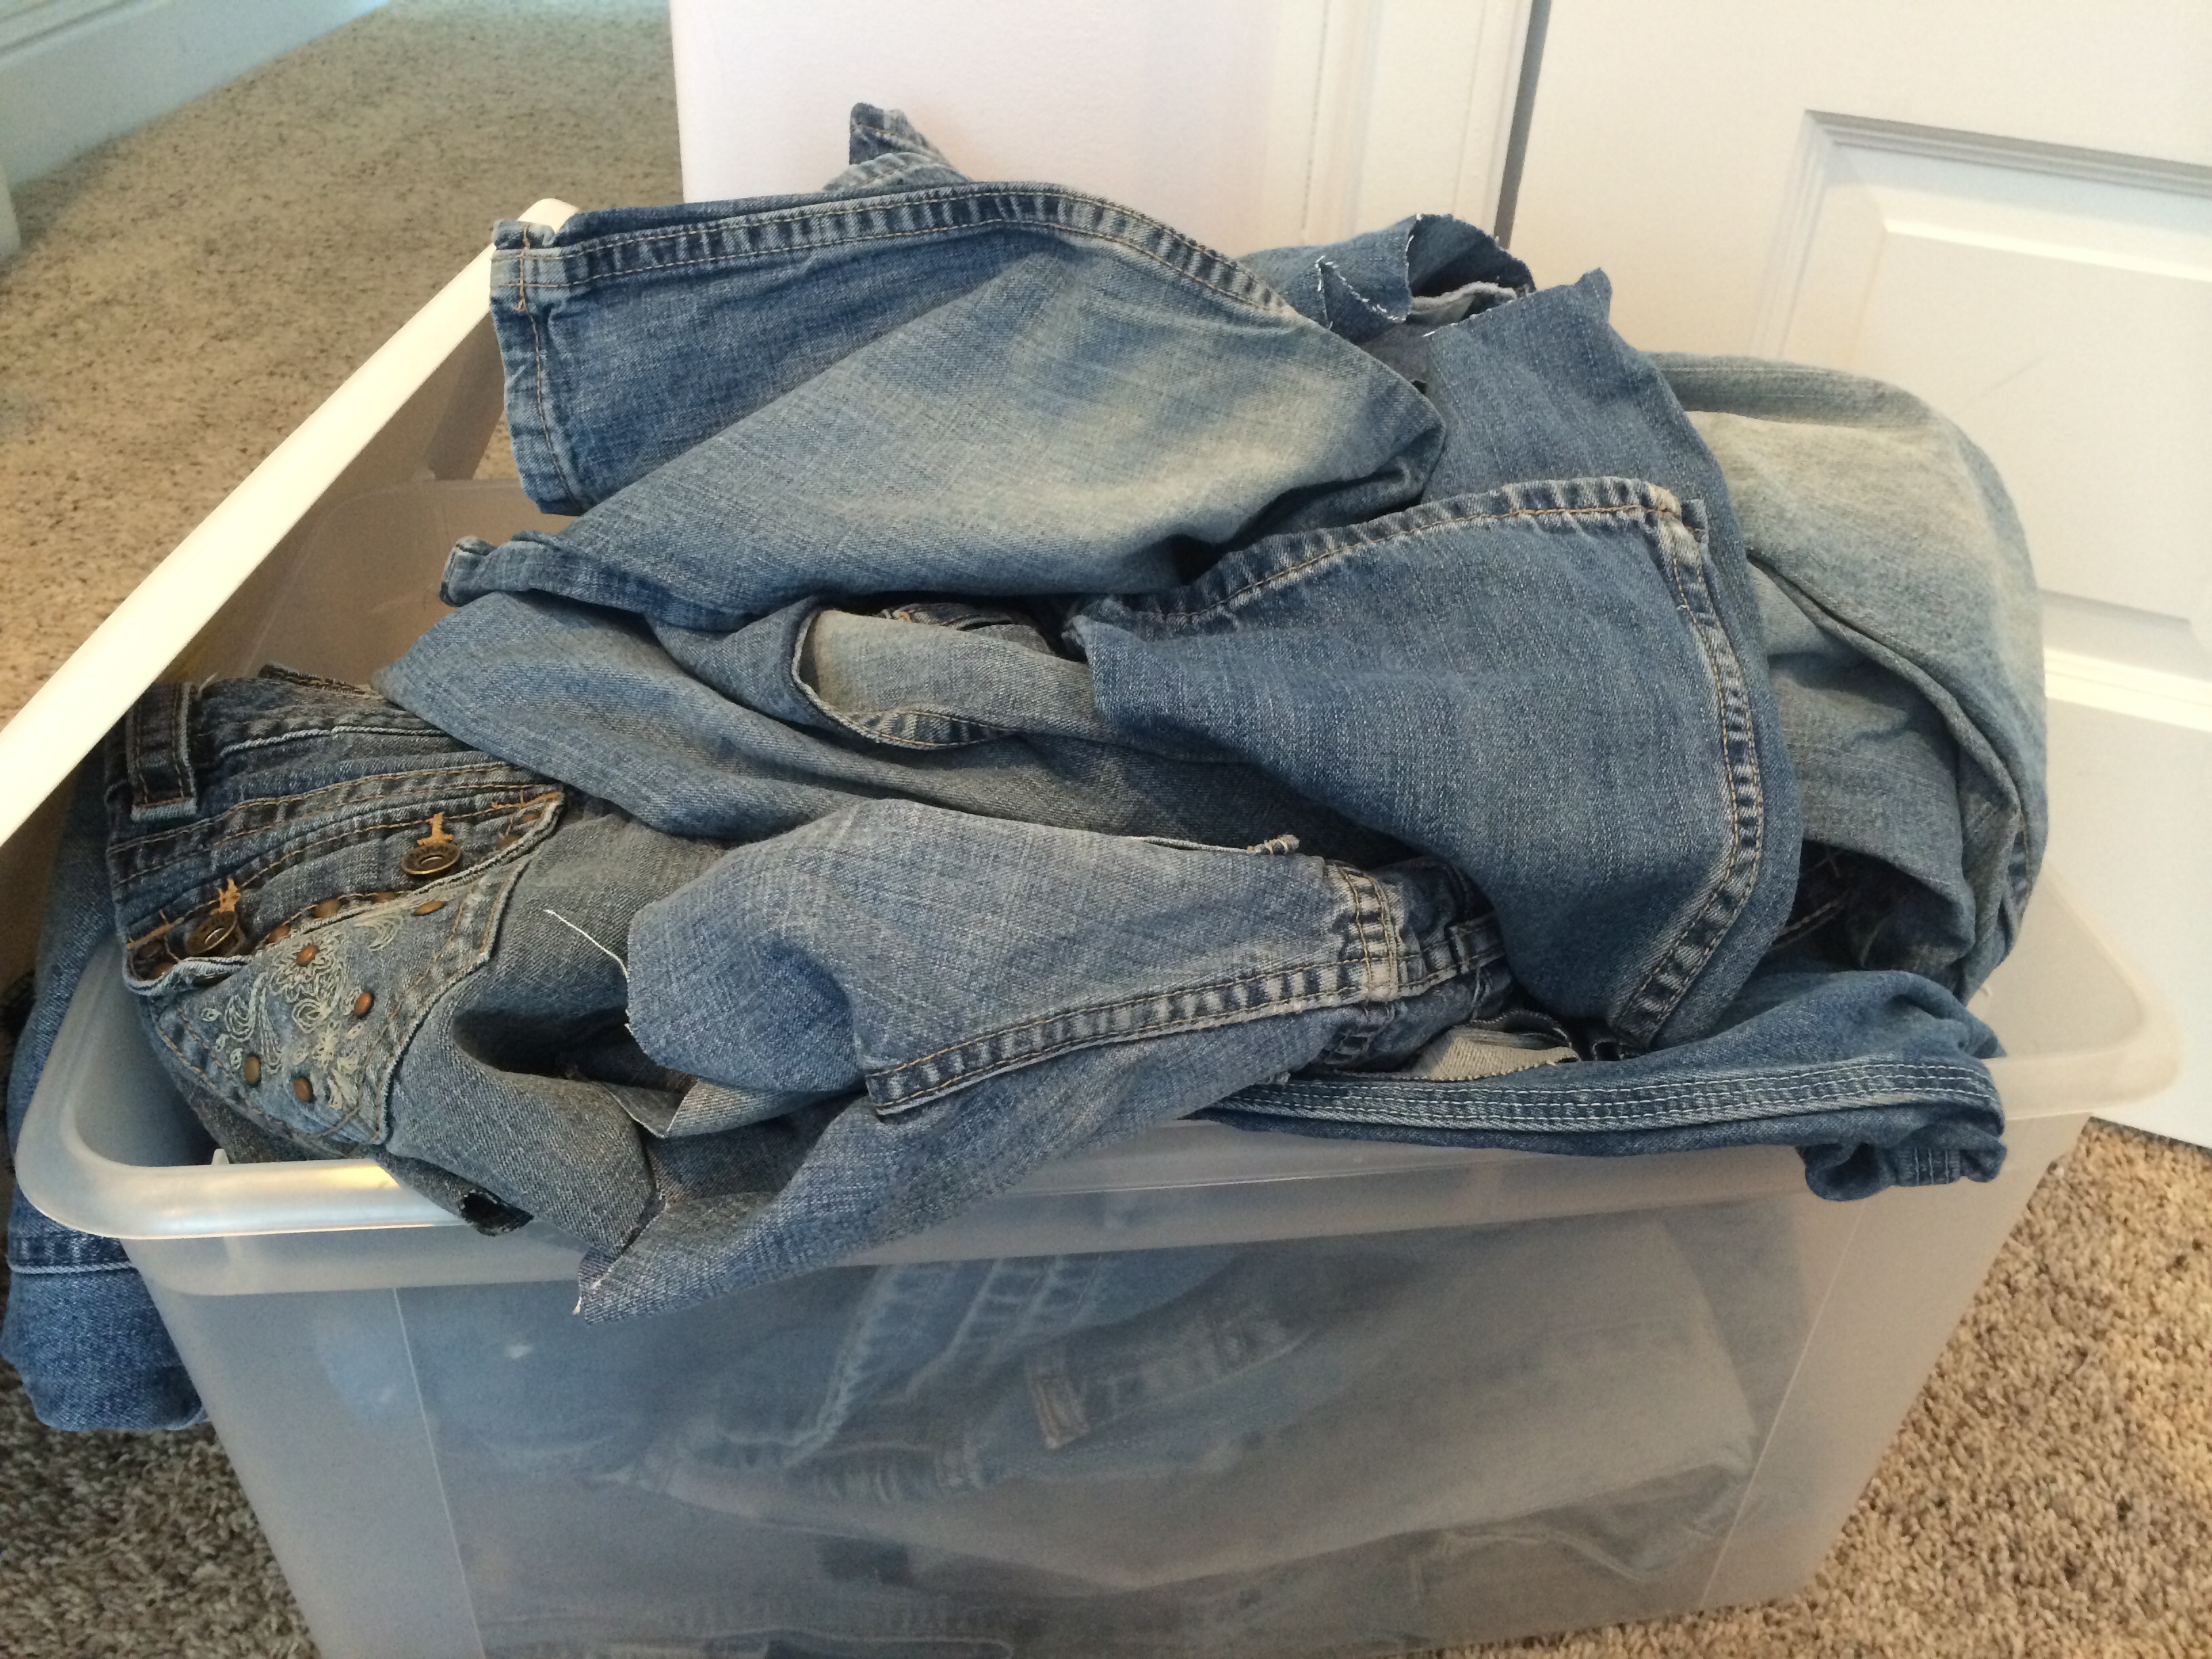
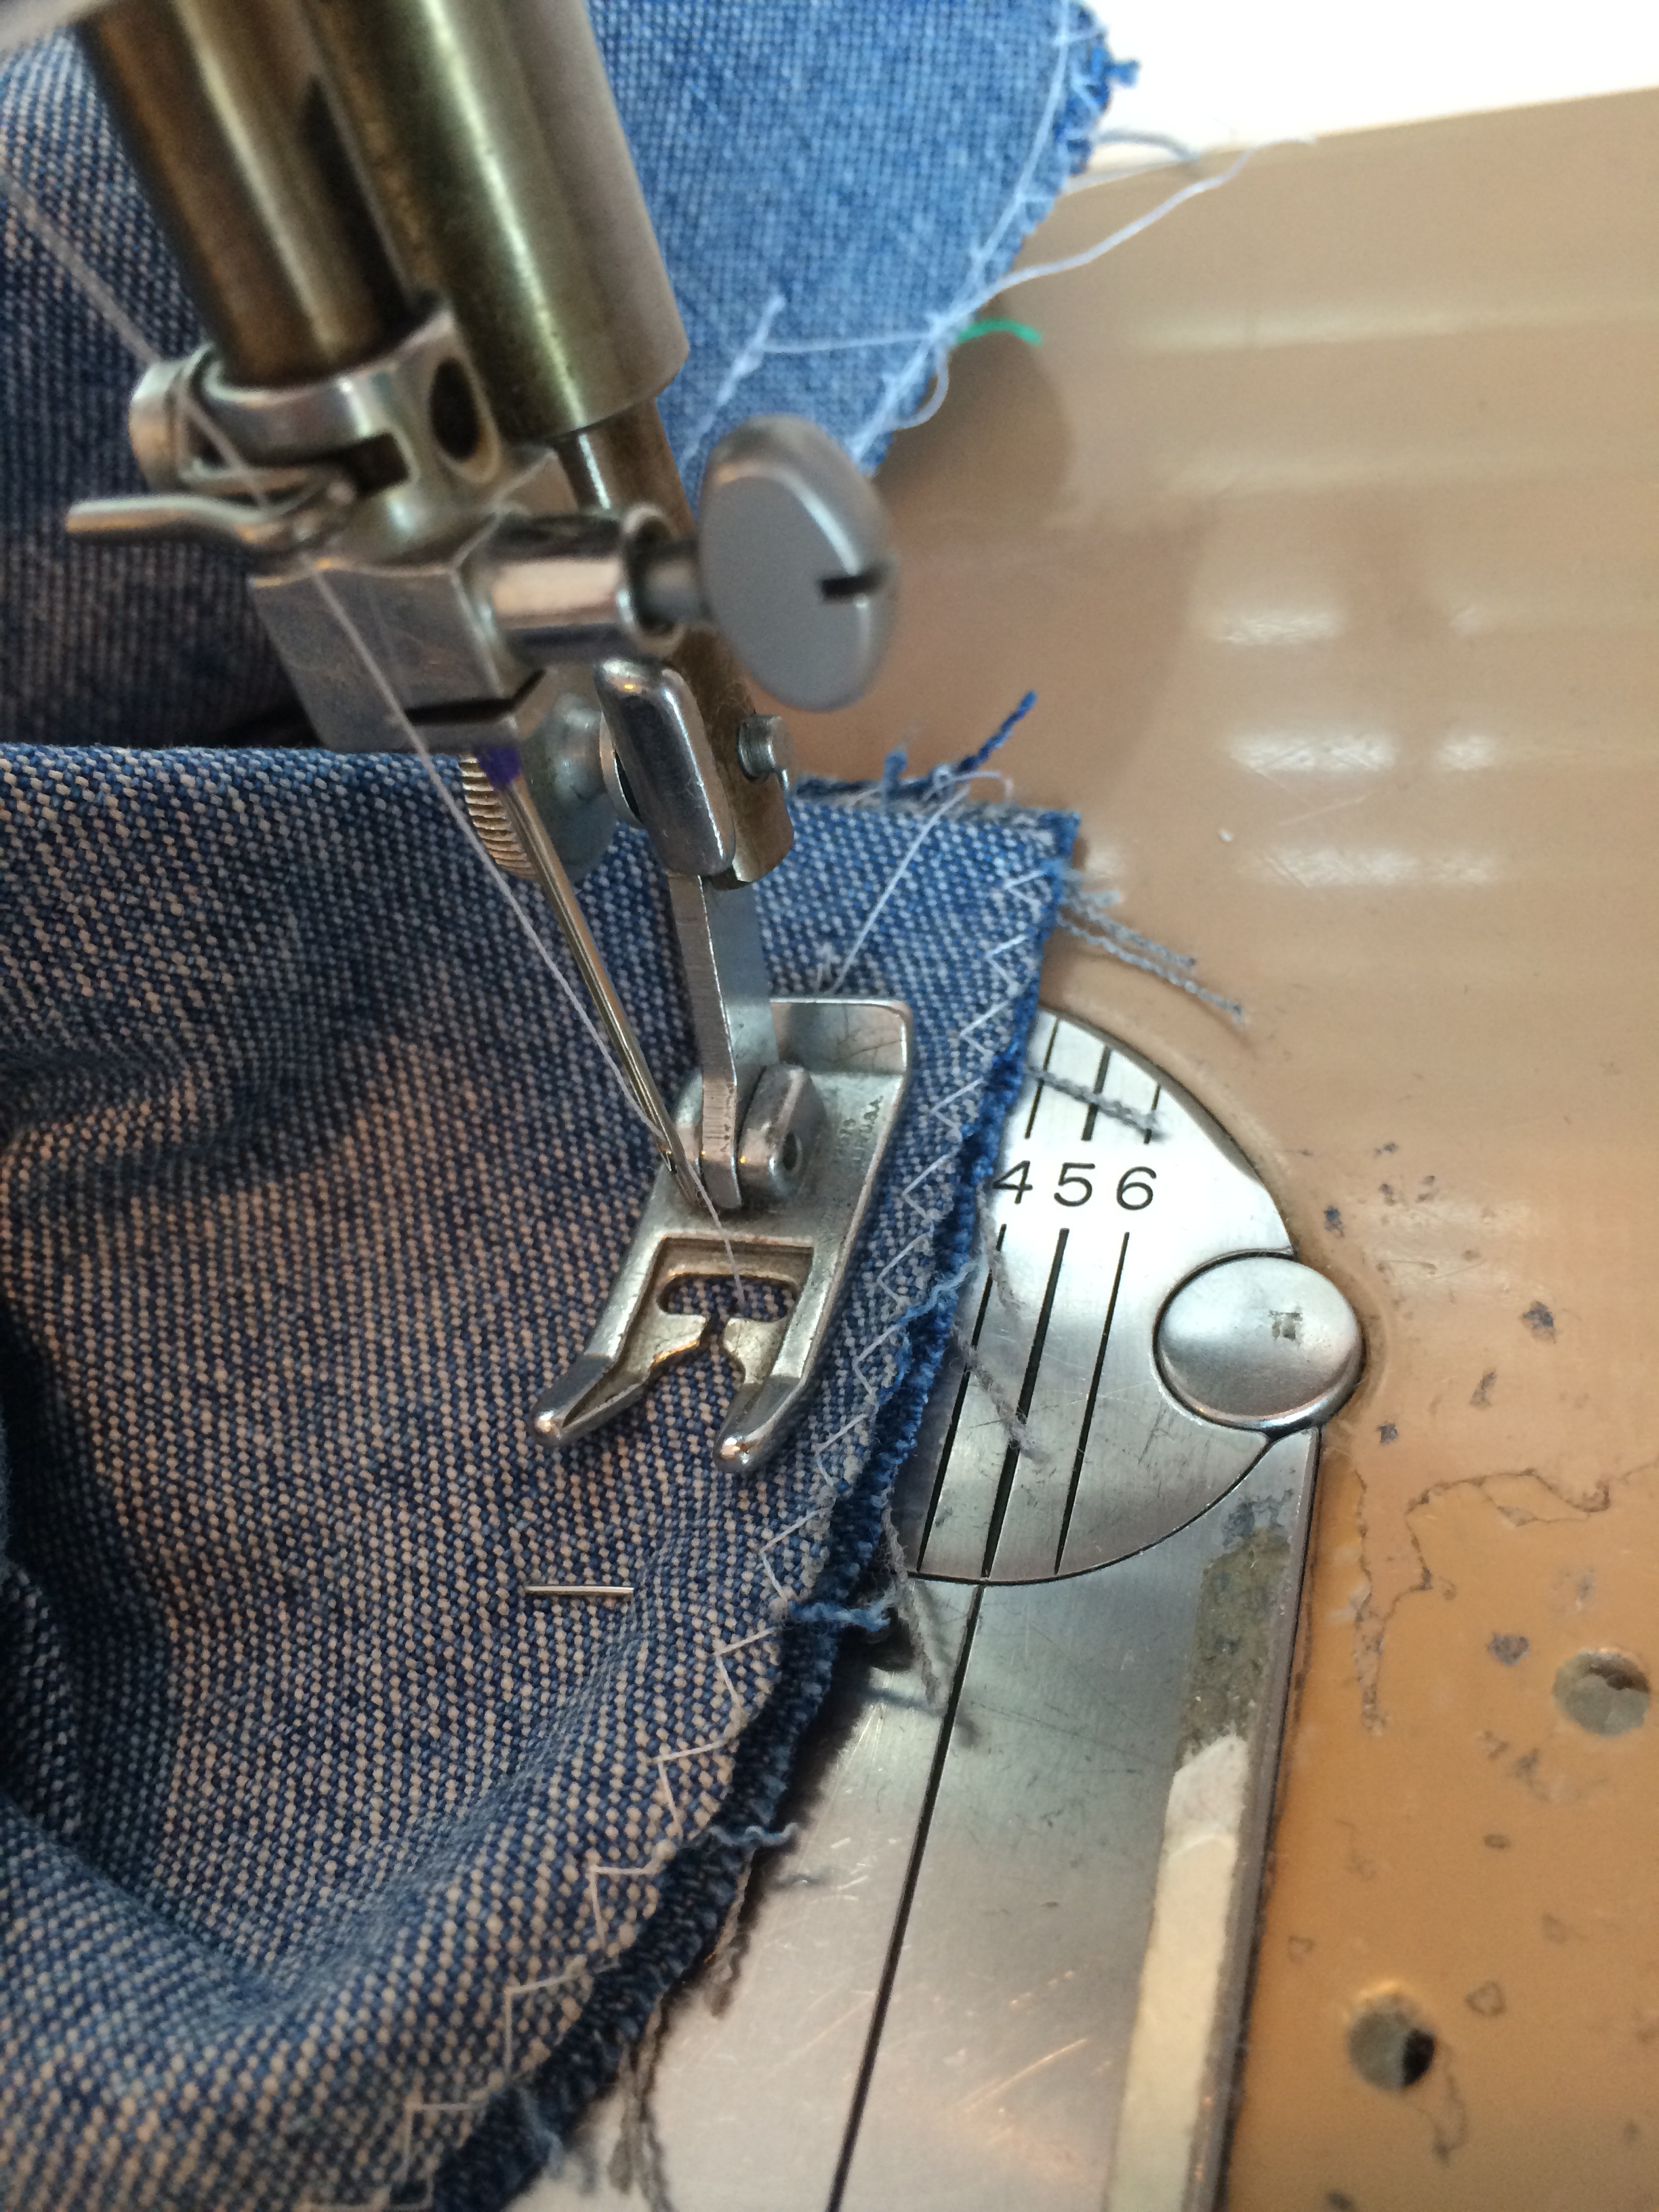
I used old jeans that I had squirreled away, just waiting to be upcycled
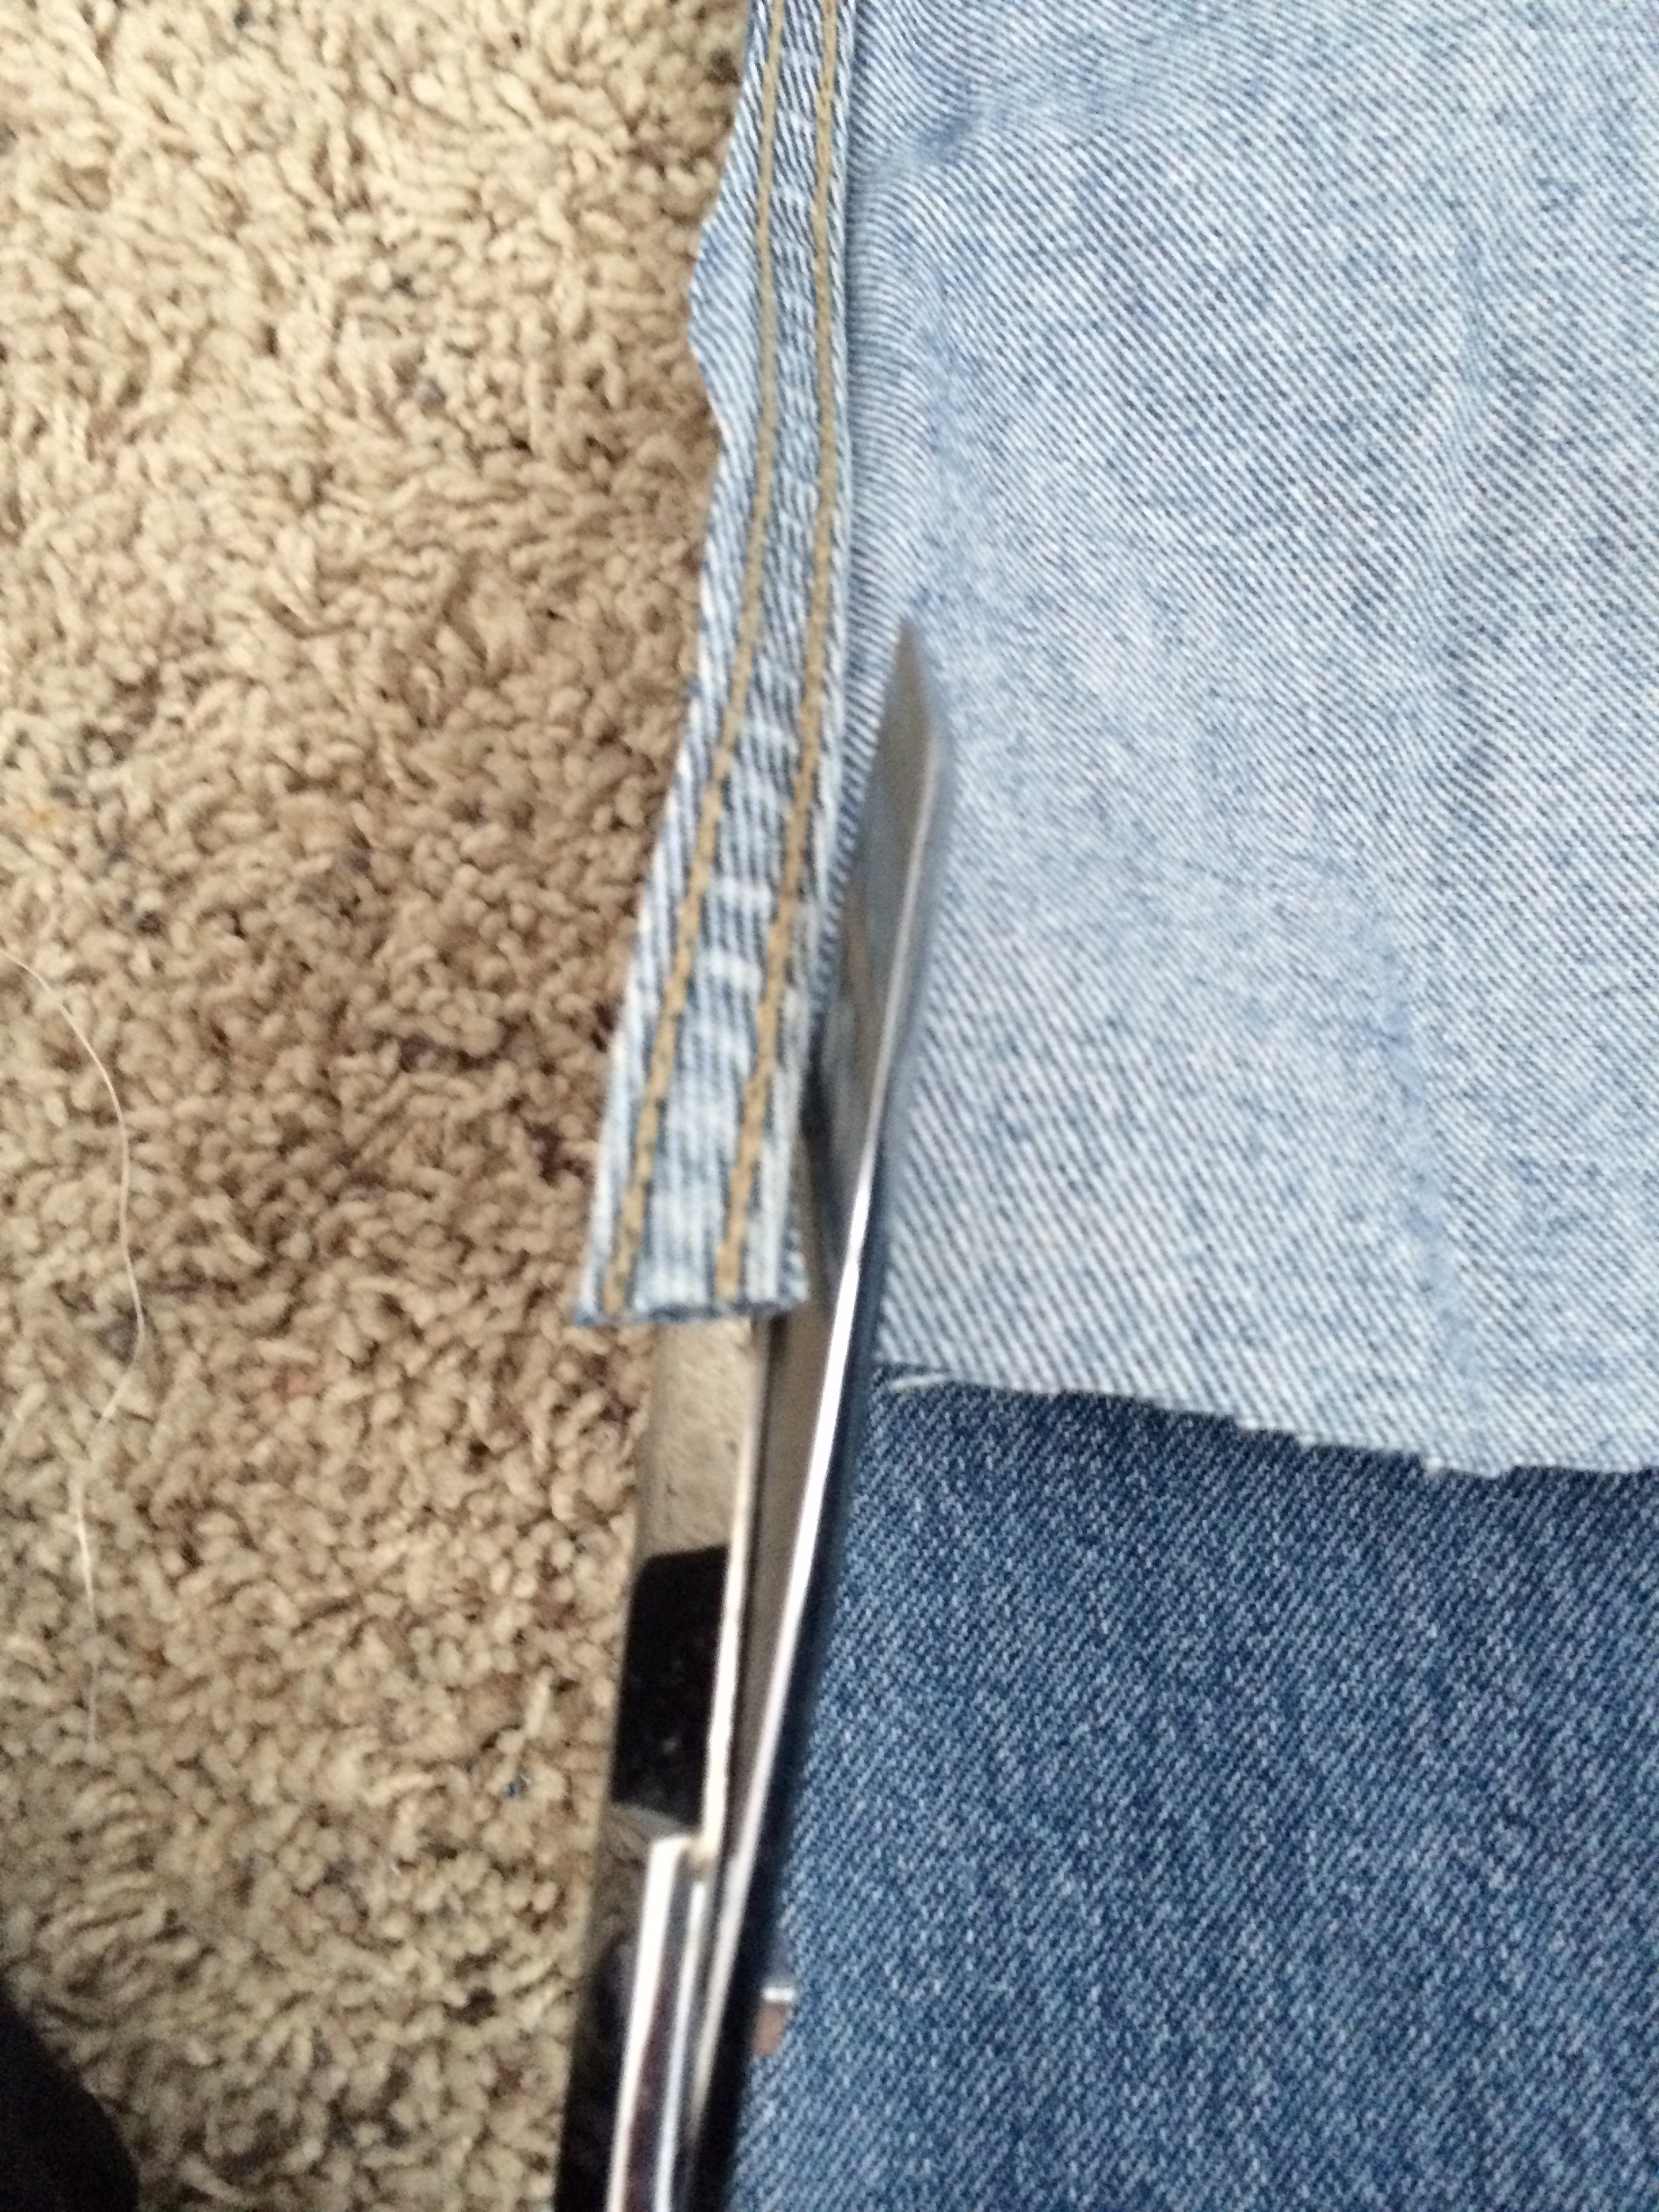
into something useful. I started by removing the pant legs, opening them
up and cutting off the seams. The finished bed was to be about 25 by 36,
accounting for a 1/2 inch seam, I cut the pant legs into 6 inch wide strips,
and left them as long as I could.

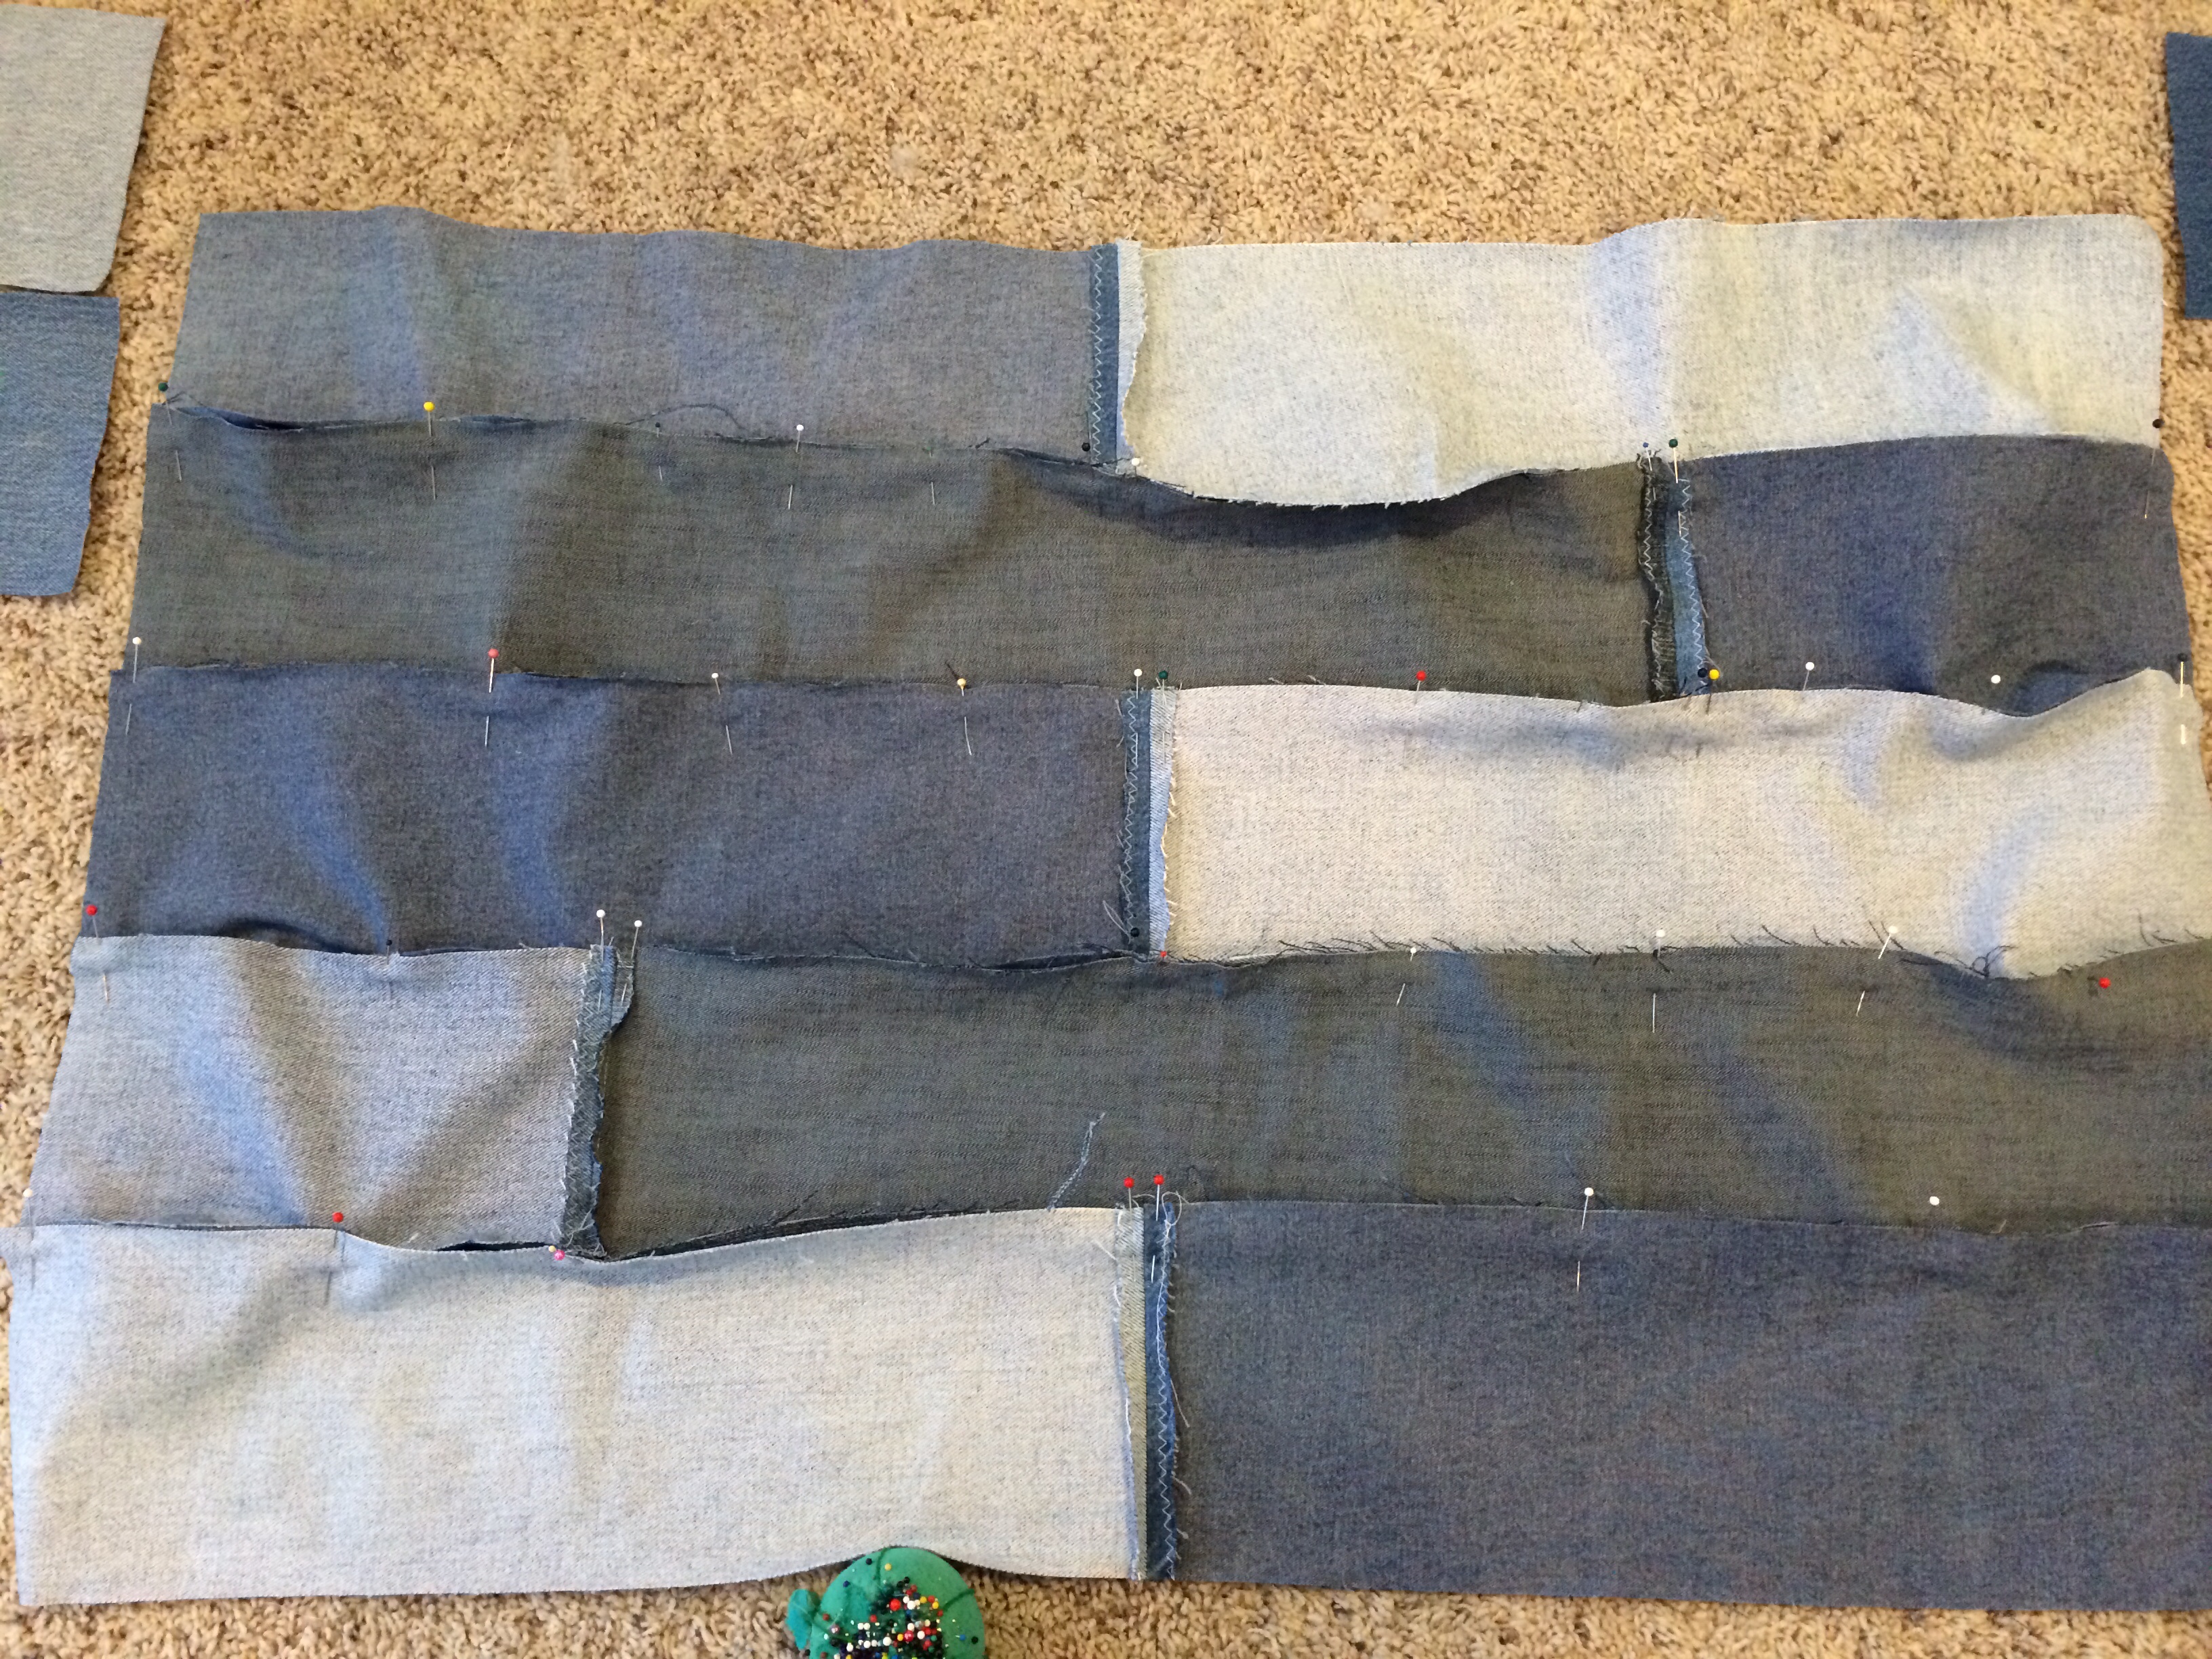
The 6 inch wide strips were laid out against a tape measure to 37 inch length
(keeping in mind the finished length is going to be 36 inches with a 1/2 inch seam).
I laid out 5 rows – which would give me 25 inch width once sewn. The strips
were sewn together, first end to end, then side to side.
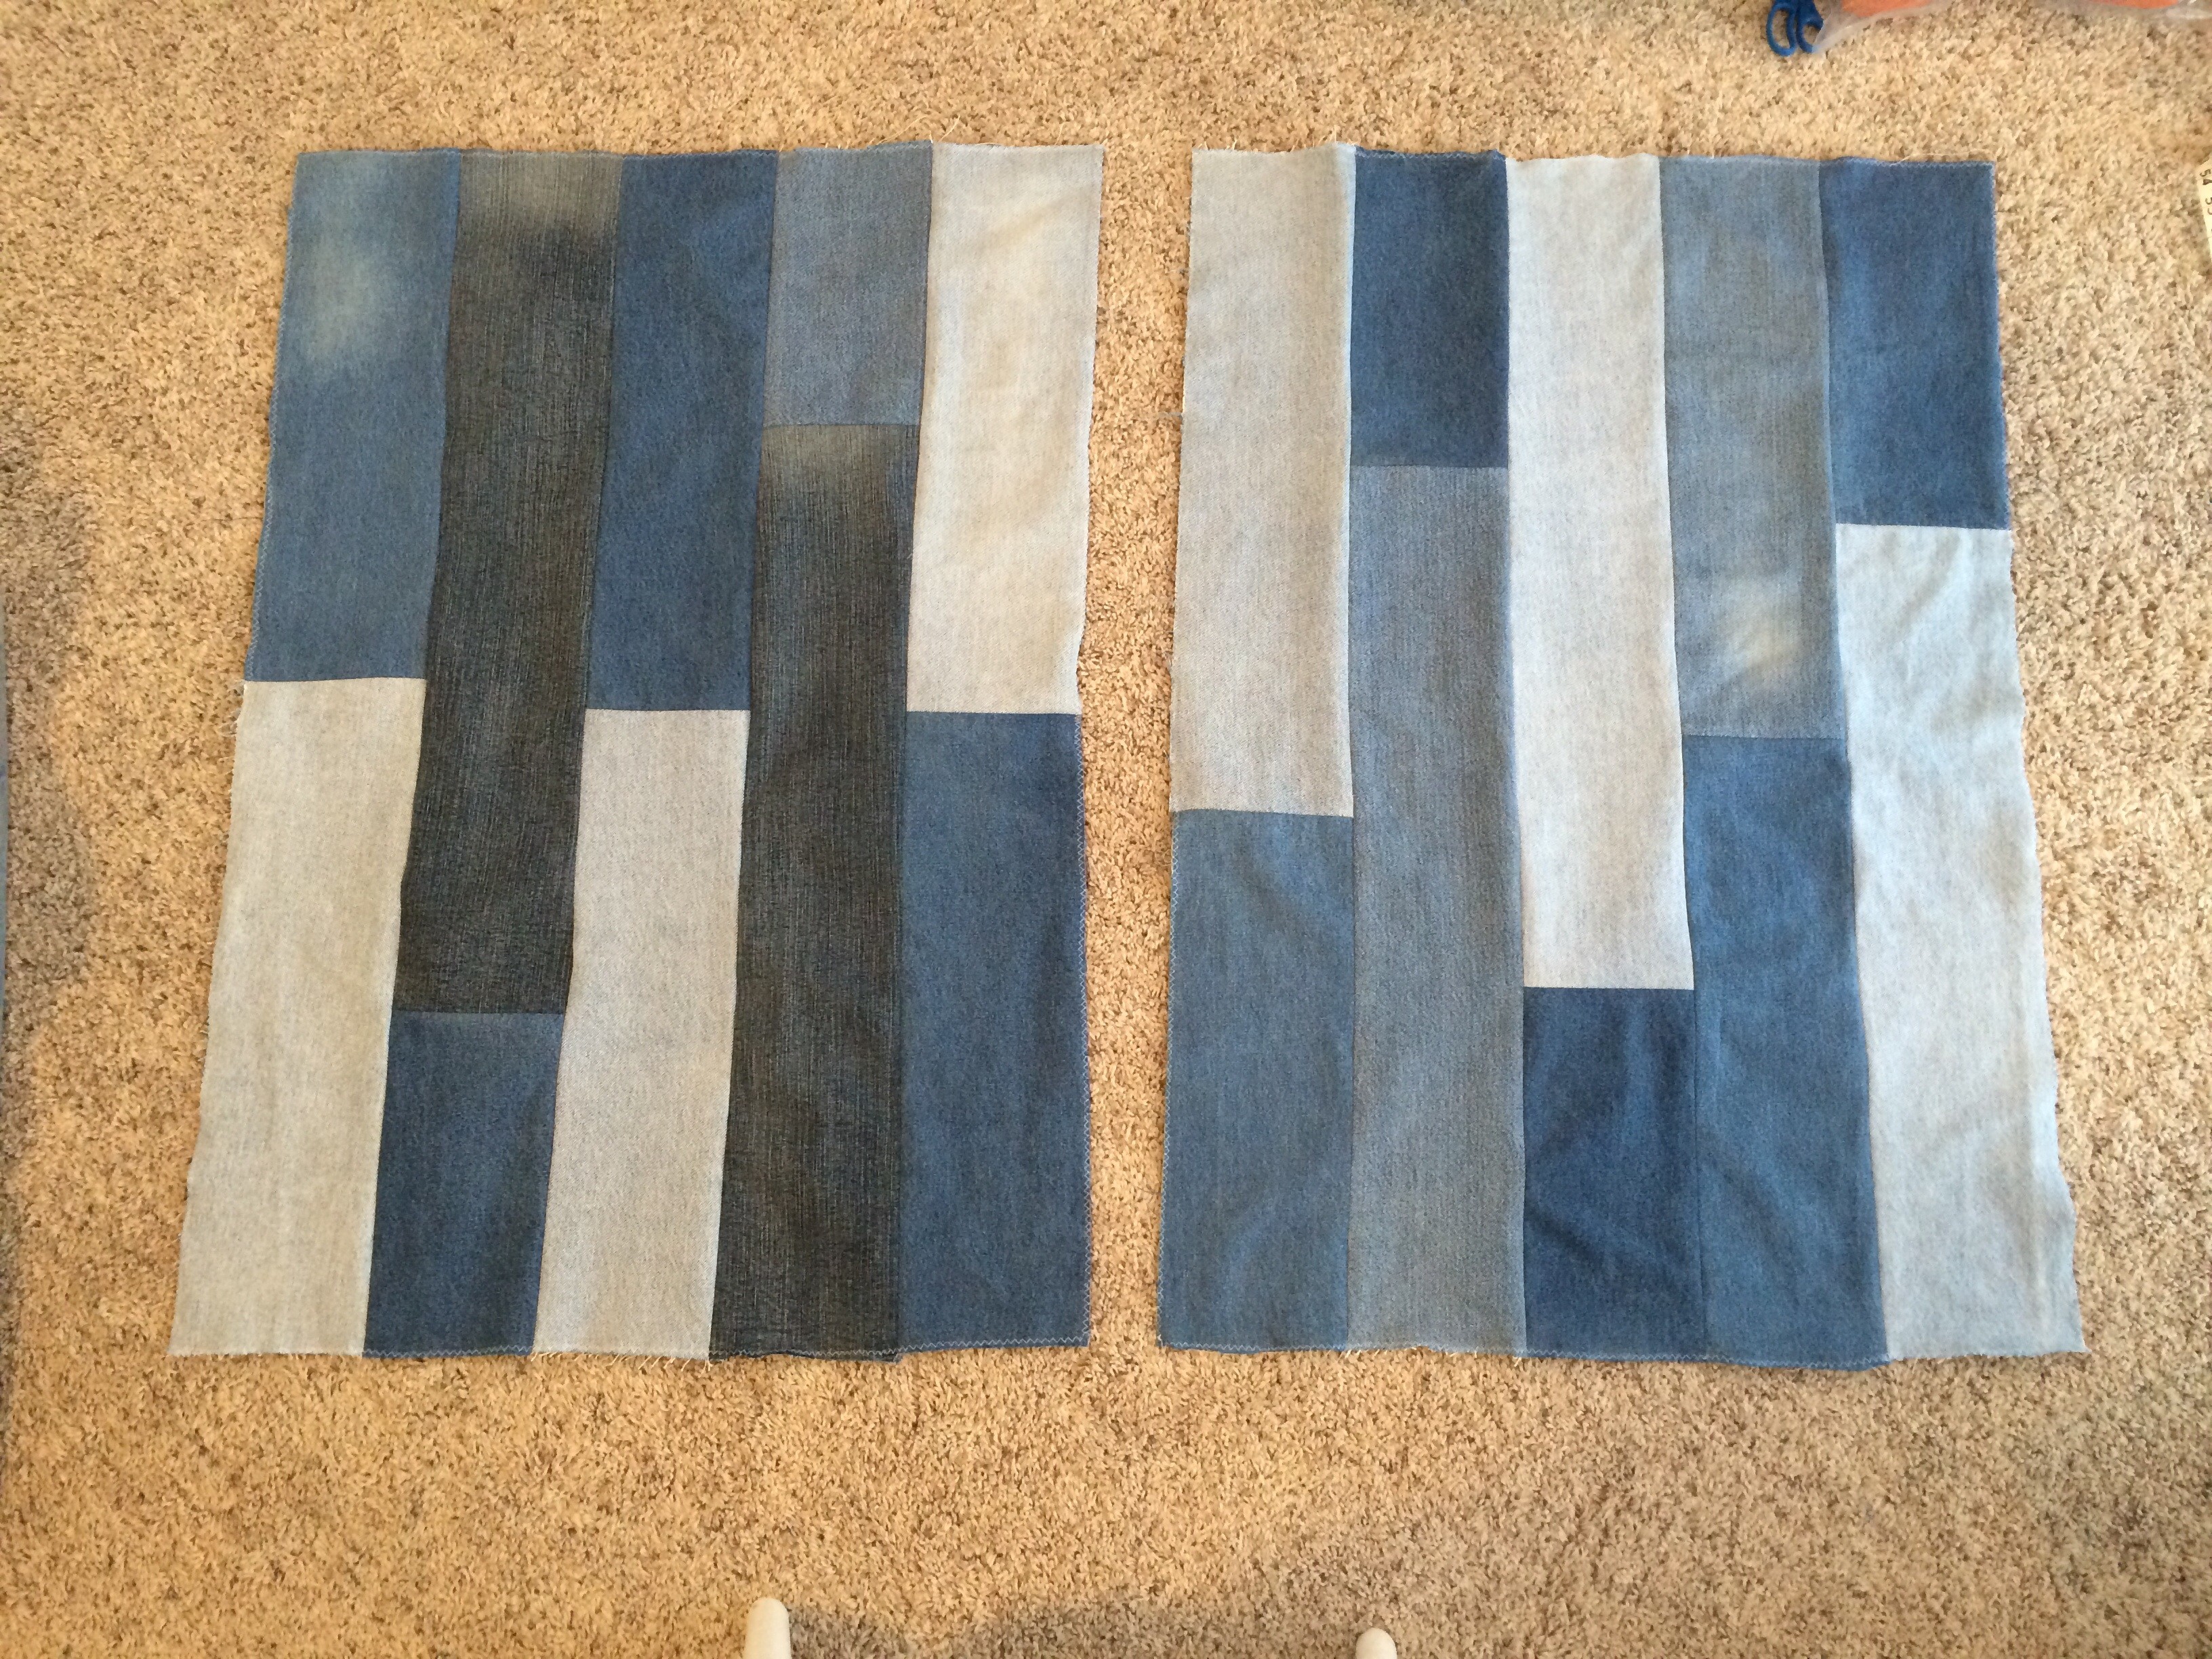
I repeated the same for the bottom. So now you have a top and bottom
measuring 37 by 26. Next up is the sides. I wanted depth to be 3 inches,
enough to put a decent amount of stuffing. I also wanted to add a zipper,
so that it would be easier to remove the stuffing when it came time to
wash the bed. I pieced 2 more 6 inch wide strips, to achieve a 37 inch
long strip, which would be the side I attached the zipper. I purchased
“zipper by the roll” several years ago, when I was covering cushions
for our out door furniture.

The zipper roll I bought was a 25 yard roll, which came with 25
“slides”. I had more than enough left over to cut a 37 inch piece
for Murphy’s bed. The directions for applying the slide were,
straight forward, but getting the slide on the zipper required a little finagling.


I wanted to sew in a lap zipper, so a folded over 1 inch of material
along the side of the 6 inch wide strip and pinned the zipper face
down on to it. Then sewed in place.
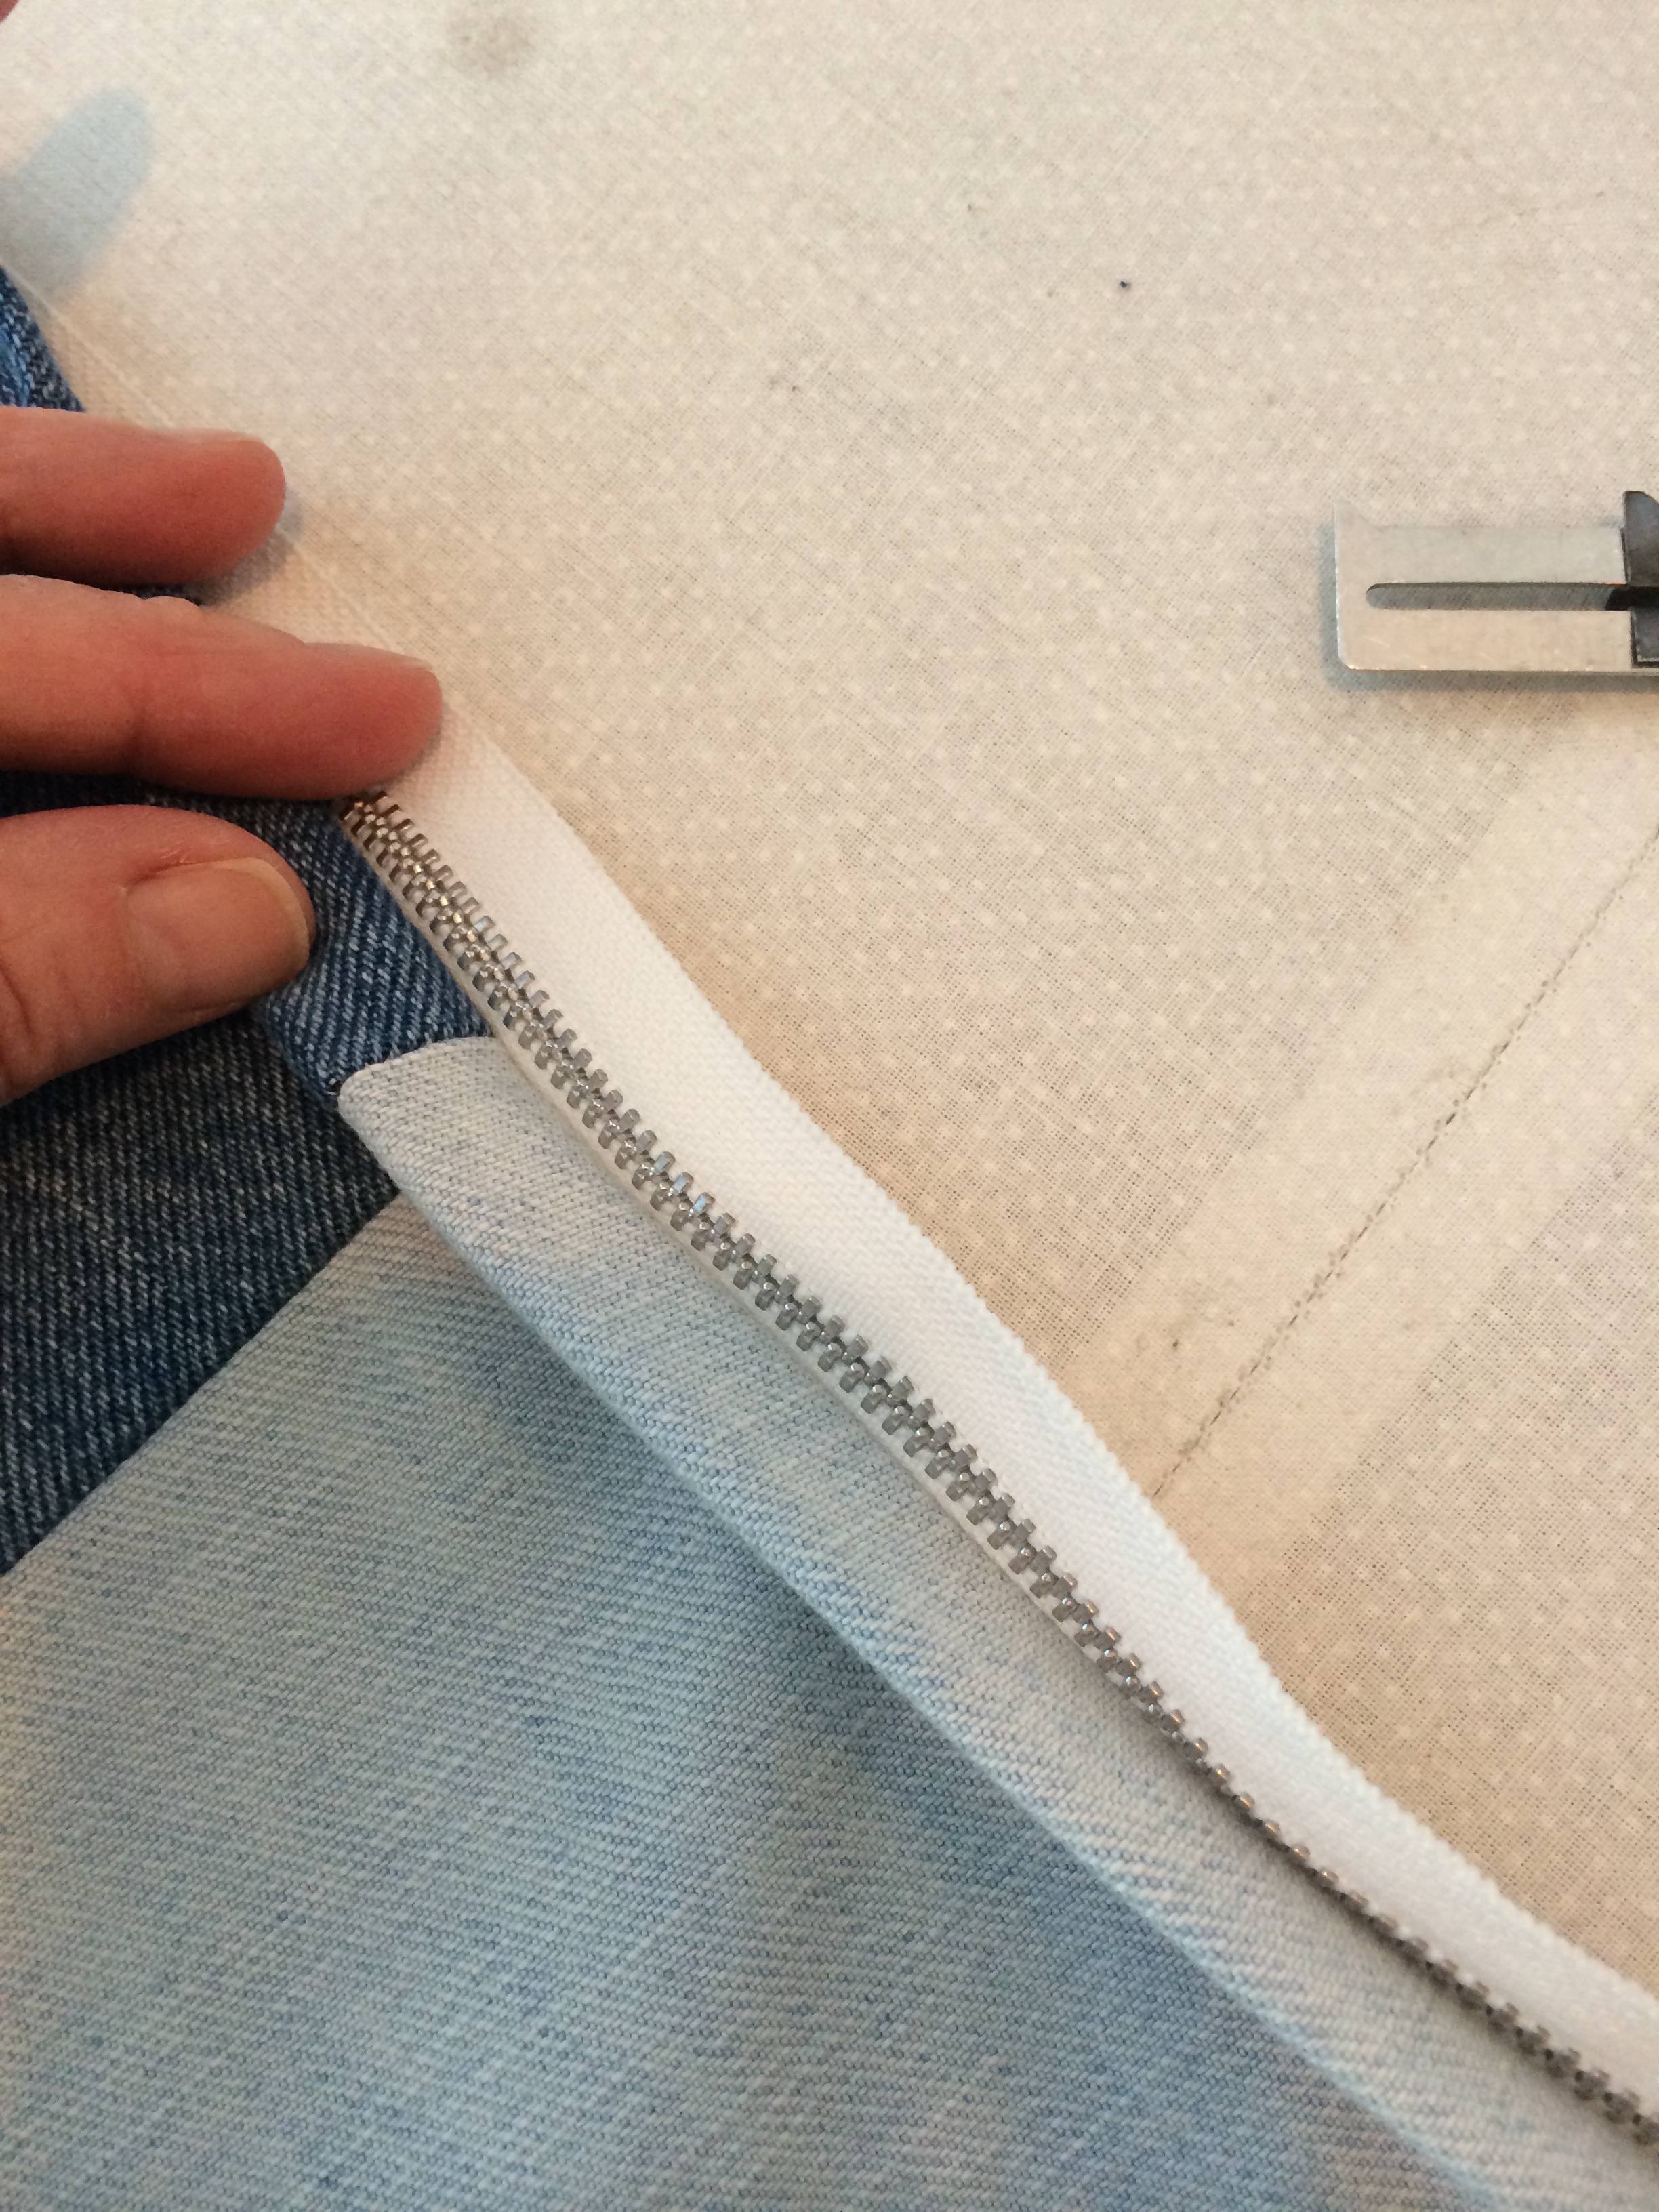

The width of the strip with the zipper attached was then 5 inches.
This strip was cut into 2 , one 2 inches, and one 3 inches wide.
With the zipper attached to the 2 inch wide side.


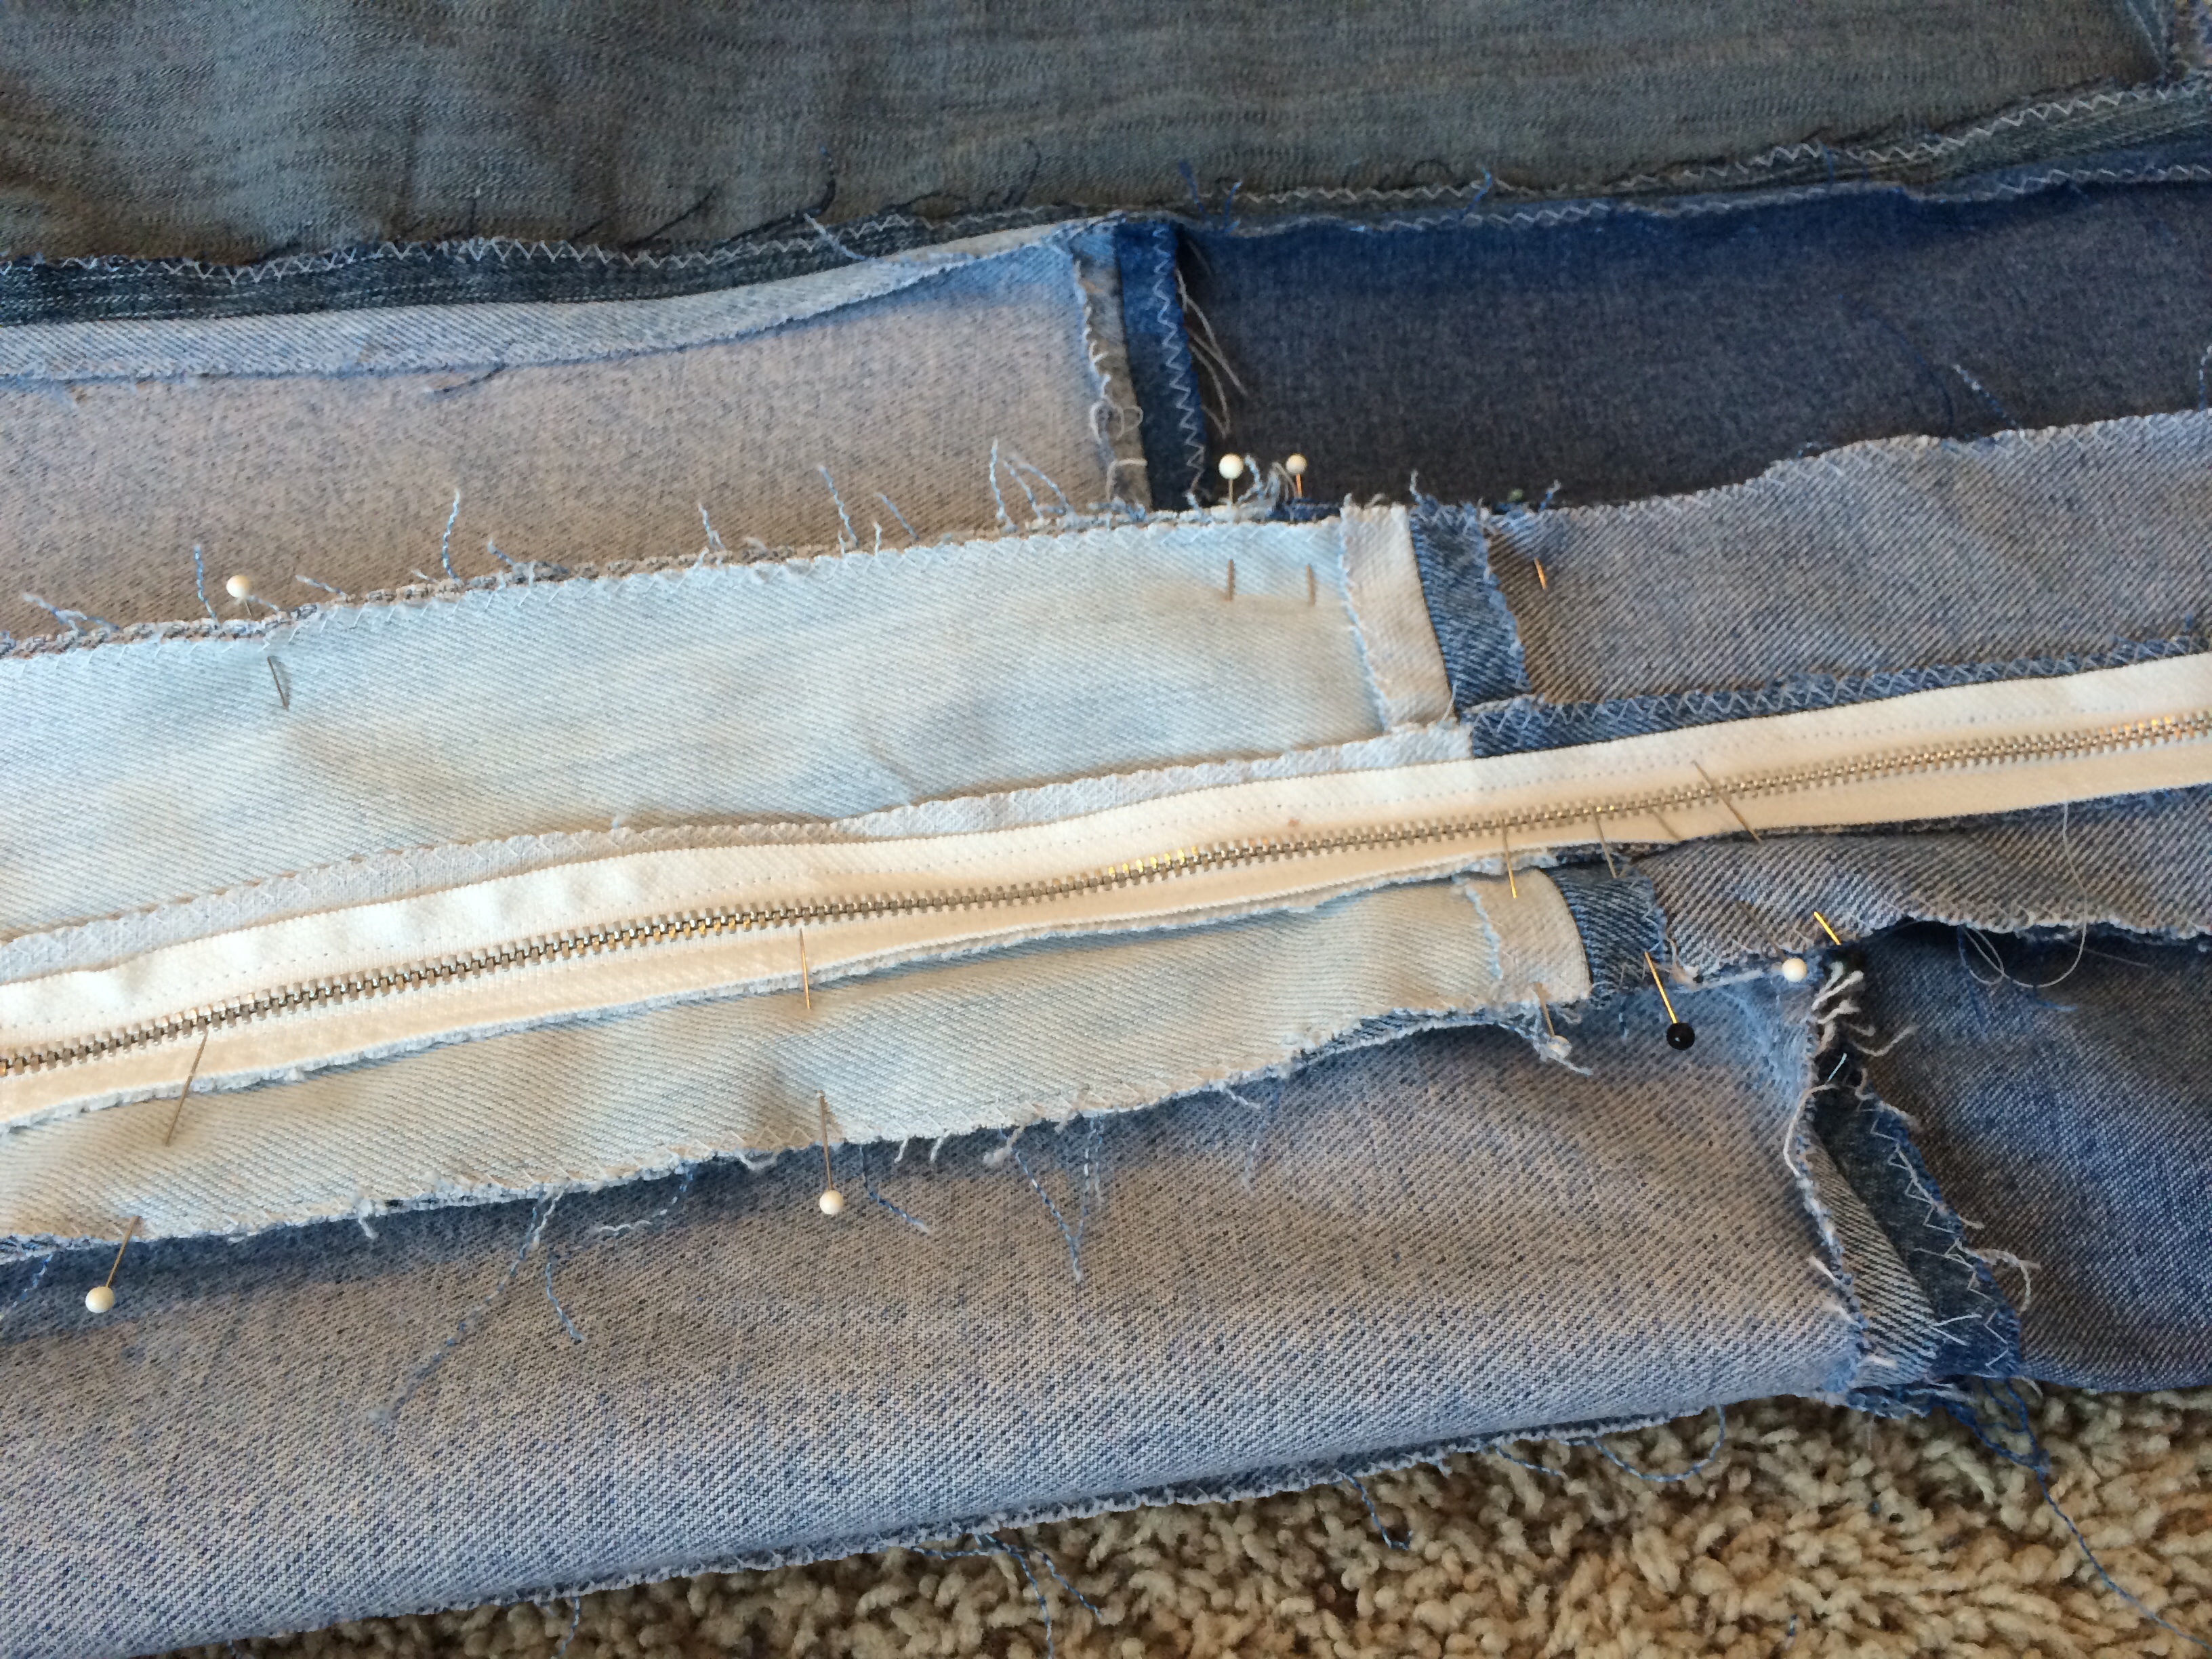
Next, I took the strip that was now 3 inches and folded down 1
edge by 1/2 inch(equaling a seam width), then pinned it to the unsewn
half of the zipper,

 .
.
and sewn into place, tnow the strip, including zipper is 4 inches wide.

Next I cut more pants into4 inch wide strips, and sewed them end to end to the
strip with the zipper. My goal length was 129 inches, enough to go around the main
pieces plus a little xtra just because. 126 inches should be enough, but it never hurts
to cya.

the side was pinned to the bottom and top of the bed, right sides facing
each other. I was not concerned about enclosing the bed, because all
I’d have to do is unzip the zipper to turn it inside out. The corners were
the tricky part, but you can see how I did them in the below pictures:


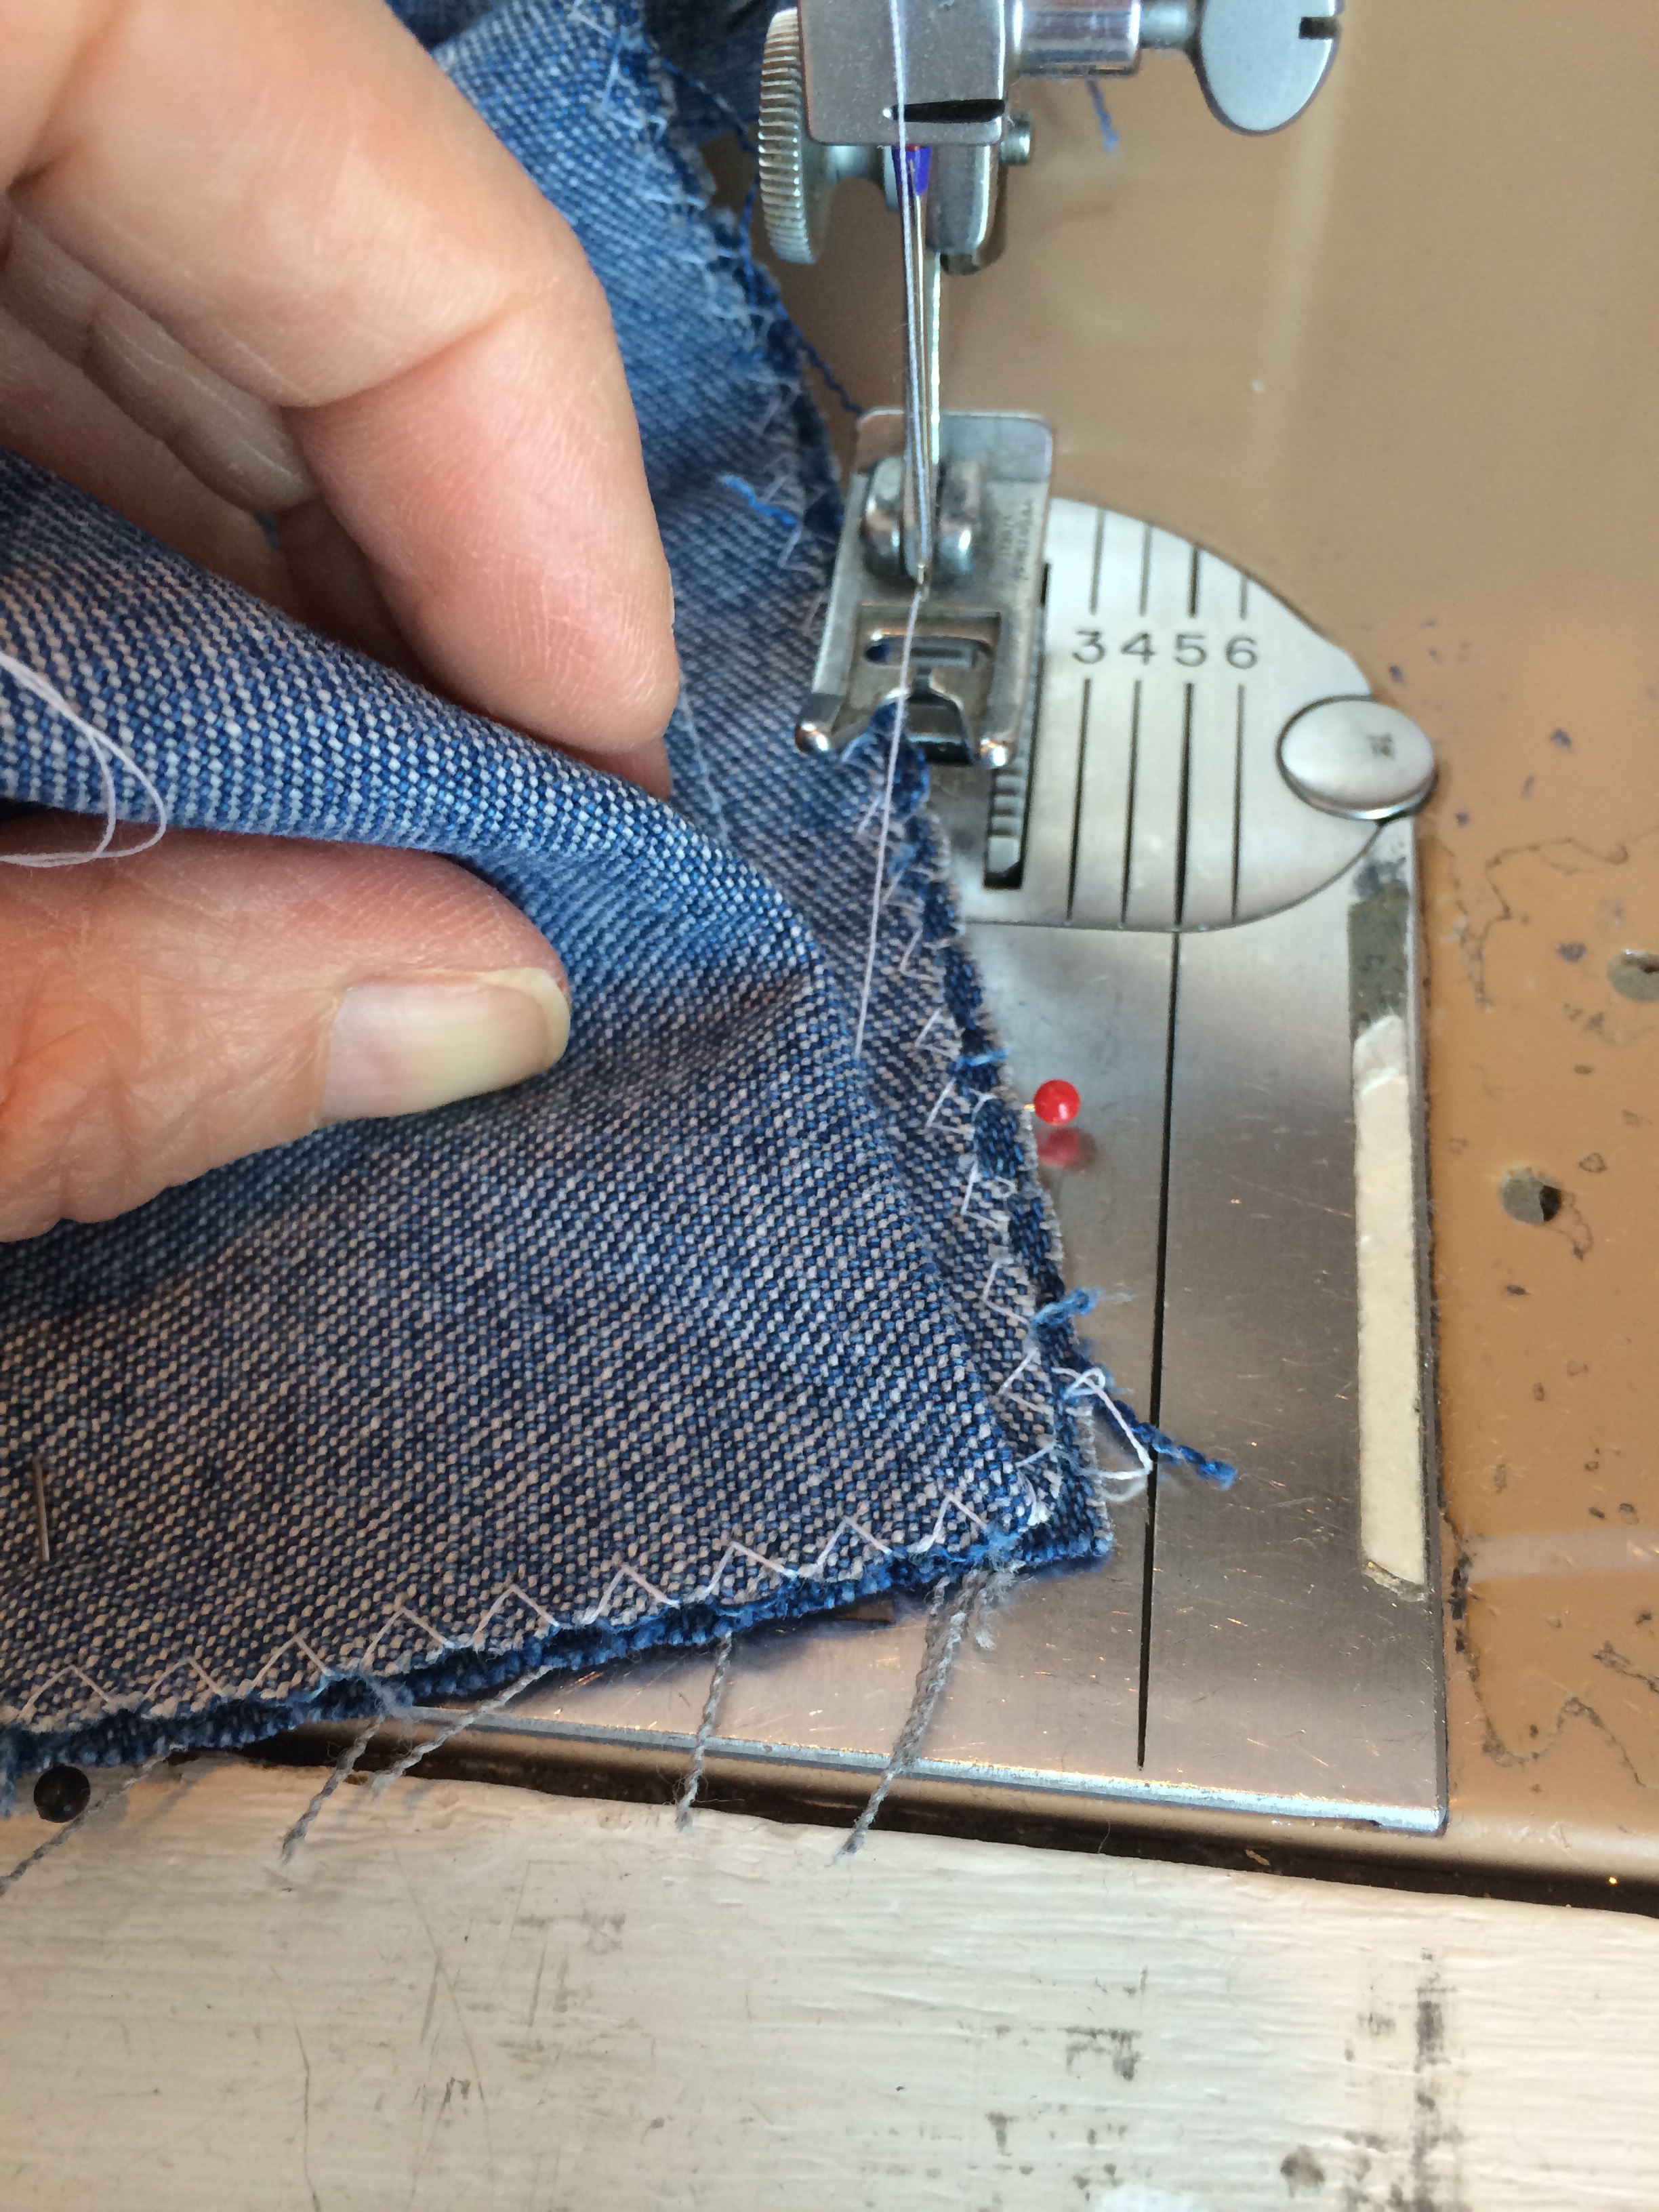


on the left, the sides are all sewn in , the right the finished bed turned
right side out….but alas it is not quite done… it still needs stuffing.
I decided to make a casing for the stuffing, because I’m all about making
things easier to clean. The casing would hold the stuffing. It was made the
same as the bed itself, only without the strips. I cut a 37 by 26 rectangle
from an old worn sheet of my daughters:
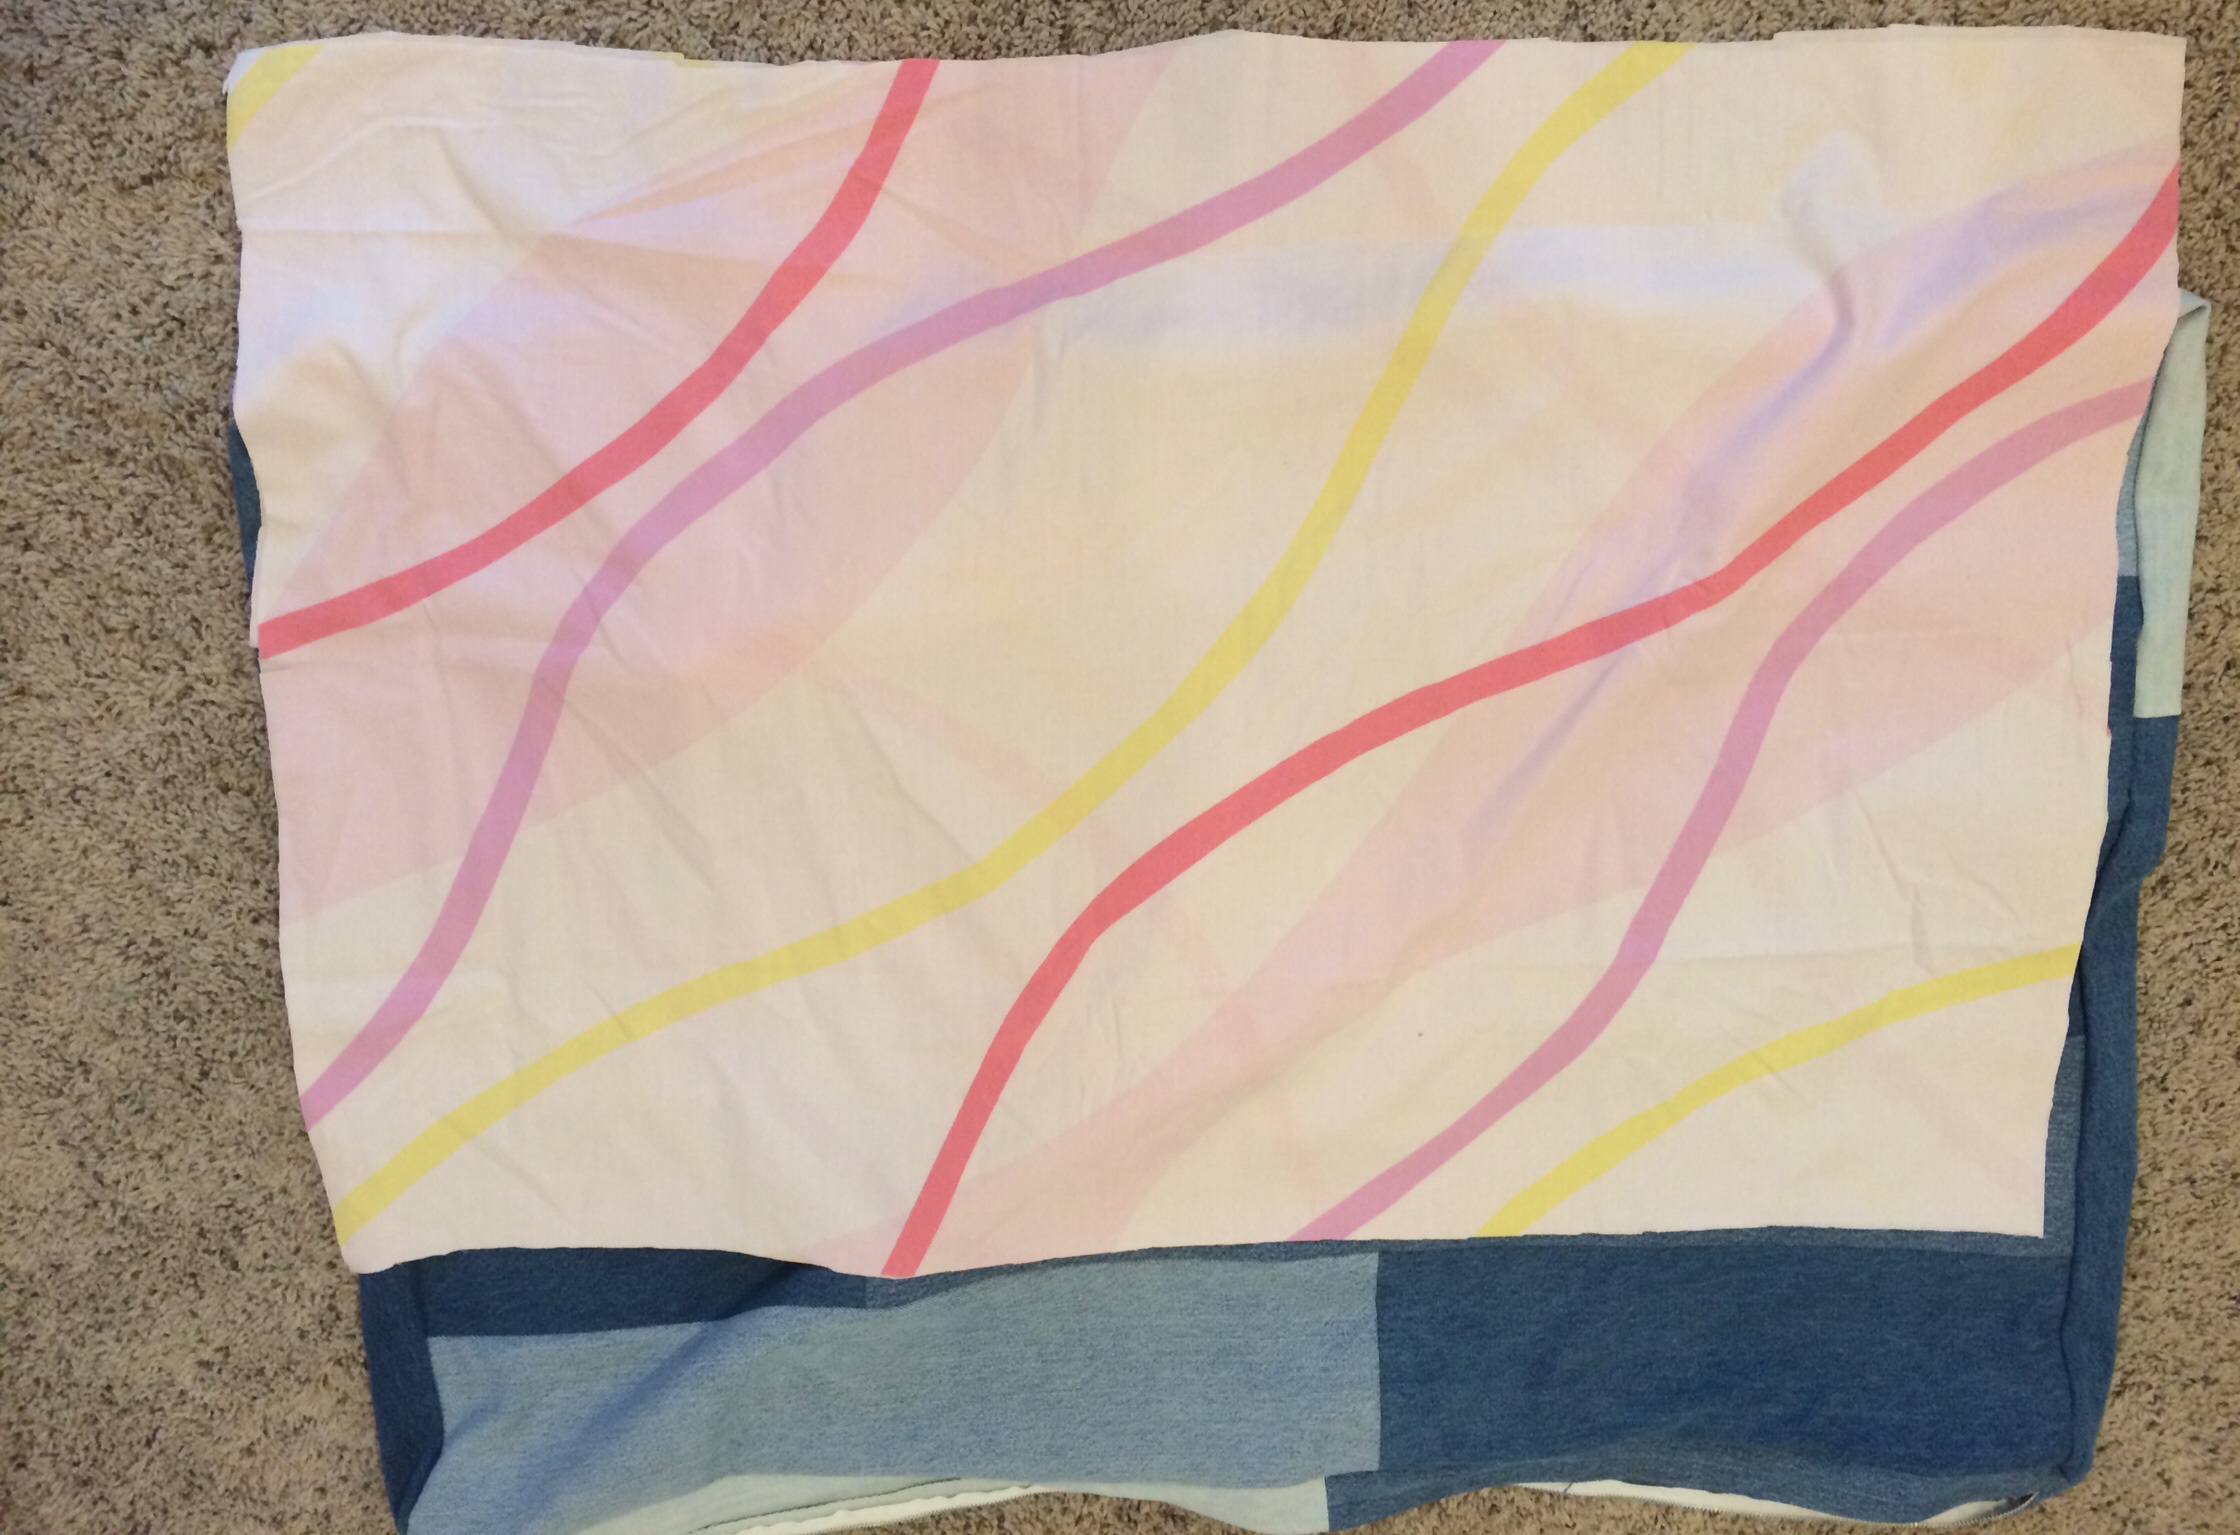

pieced several strips of the sheet that were 4 inches wide, to achieve 126 inches,
pinned/sewed this to the top and bottom pieces.

I placed about 8 layers of batting inside the casing, then sewed it shut on my machine,
pinning the raw edges inward, first.


The finished casing fit nicely into the bed.


Murphy loves his new bed!!
